I have a love-hate relationship with bread. Sometimes there is nothing more relaxing than making bread. Then there are other times when nothing goes right and it ruins your entire day.
Yeasted breads can be quite temperamental and fickle: If the water is too hot, it’ll kill the yeast. If the room is too cold, the dough won’t rise. If you overwork the dough, it becomes too tough and way too elastic.
Its no wonder many people are deathly afraid of working with yeast. I was too, until I bought myself a kitchen thermometer. It makes a world of difference.
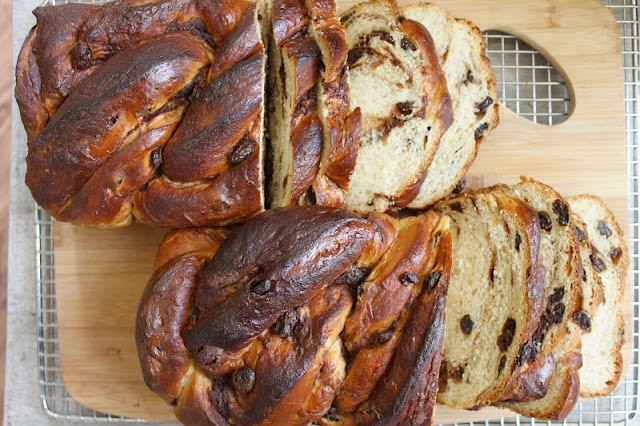
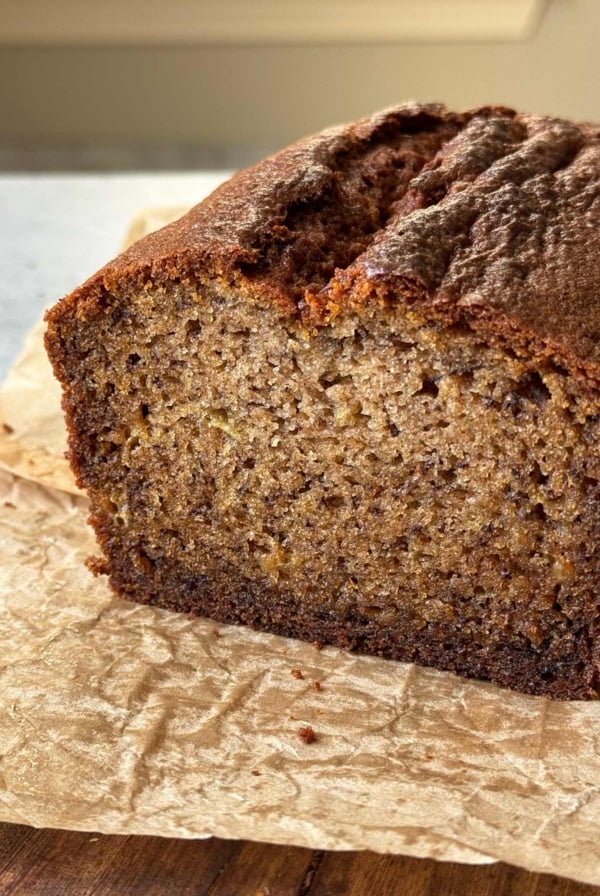
Braided Cinnamon Raisin Bread
I hate buying bread at the market. I’m one of those people that dig back in the shelf looking for the loaf with the latest “best by” or “expiration date”.
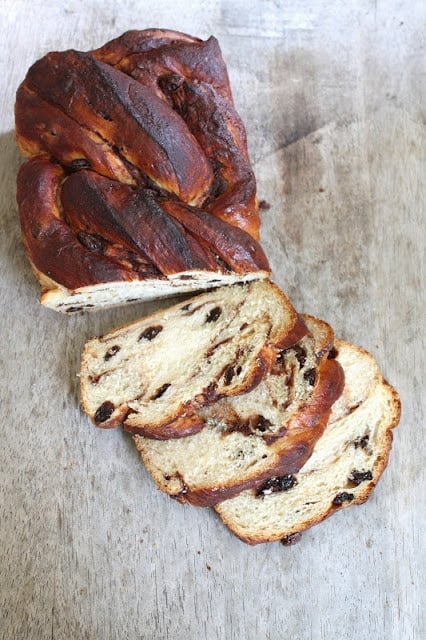
This bread is quite similar to Sun Maid Raisin Bread, but better, because its fresh and made without preservatives.
The dough for bread is fairly easy to make. However, I have to admit, this was the most time consuming cinnamon raisin bread I’ve ever encountered. After the third hour of proofing and resting the dough, I was beginning to lose hope and wonder if I’ll ever finish.
This is a fantastic bread to make when you have plenty of time on your hands, like a lazy Sunday morning. Or in my case, this lovely day I have off. It’s well worth the time and effort. There is nothing quite as rewarding as the satisfaction of making your own bread.
You get two loaves of delicious aromatic cinnamon bread with this recipe. Be sure to slice your bread with a serrated knife to keep from crushing the loaf. Bread should be cut at room temperature with a gentle sawing motion.
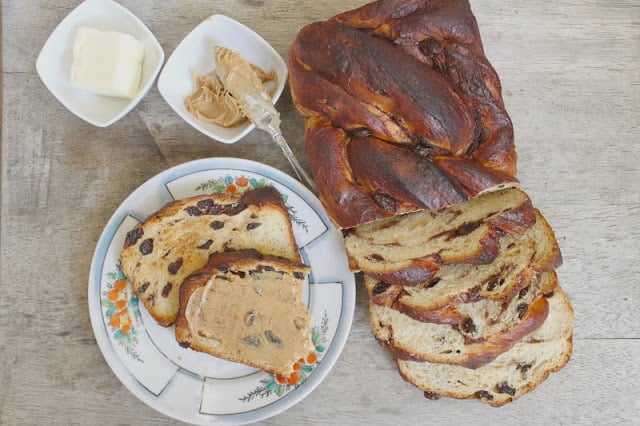
I love eating toasted braided cinnamon raisin bread with a slather of peanut butter, some slices of banana and a drizzle of honey.
But just think about all the other things you can make with this bread– cinnamon raisin french toast, rum raisin bread pudding, or even an ice cream sandwich!
Related Raisin Recipes
Braided Cinnamon Raisin Bread
Ingredients
Dough:
- 12 grams active dry yeast, (4 teaspoons)
- 340 grams warm water, ( 1½ cup), about 95-110℉
- 1/8 tsp granulated sugar
- 113 grams unsalted butter, (½ cup), room temp
- 488 grams bread flour, (3 ¾ cup)
- 78 grams nonfat dry milk powder, (¾ cup)
- 65 grams granulated sugar, (⅓ cup)
- 1 large egg, room temp and lightly beaten
- 1 ½ teaspoon kosher salt
- 212 grams raisins, (1½ cup)
Filling:
- 113 grams confectioners’ sugar, (1 cup)
- 3 rounded Tablespoons ground cinnamon
- 1 teaspoon pure vanilla extract
- ½ teaspoon kosher salt
Egg Wash:
- 1 large egg, room temp, room temp, lightly beaten
- 1 teaspoon water
- pinch kosher salt
Instructions
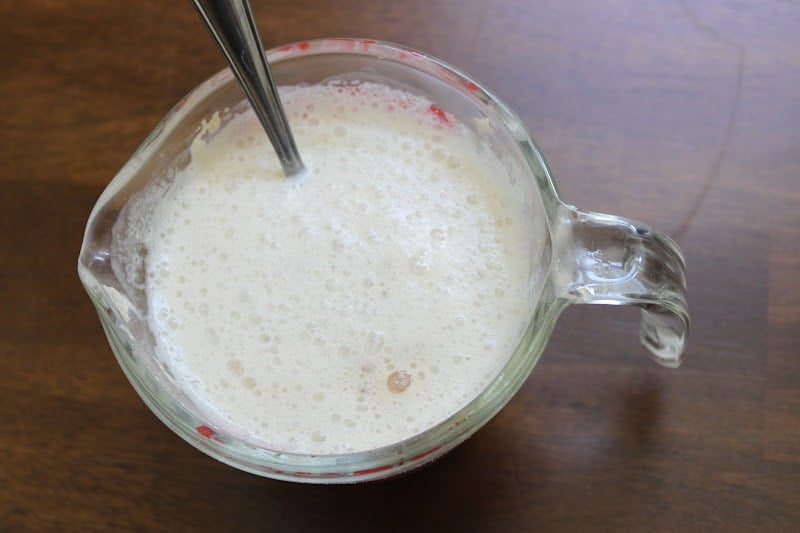
- In a small bowl, combine active dry yeast, warm water and 1/8 tsp of sugar. Mix together and let stand for 5-10 minutes until yeast has dissolved and mixture looks creamy.

- Cut butter into 32 pieces and toss with 1 tablespoon of flour. Set aside.
- In the bowl of stand mixer fitted with a hook attachment, whisk together flour, milk powder, and sugar. Add yeast solution and egg. Min on medium low speed for about 2-4 minutes until dough forms into a cohesive mass. Cover bowl with plastic wrap and let sit for 20 minutes.
- Place a cake pan on the bottom rack of the oven. Boil 4 cups of water.
- Remove plastic wrap from bowl. Add salt and continue to mix on medium low speed until dough is smooth and elastic. It should also clear sides of the bowl. With the mixer running, add the butter, a couple pieces at a time. Continue to knead until butter is fully incorporated and dough is smooth and clears the sides of the bowl. Add raisins and mix until distributed. Transfer dough to a large, lightly greased bowl. Fold dough over itself by lifting and folding edge of dough toward the center. Turn bowl 90 degrees and fold again. Continue to turn bowl and fold dough for a total of 8 times. Cover bowl tightly with plastic wrap and place in the middle of the oven.
- Pour the boiling water into the cake pan in the oven. Close door. Keep door closed for 45 minutes to allow dough to rise. You’ll be tempted to open the door to peek at the dough, but please keep it closed! Turn on the oven light to have a look inside. You want to keep as much steam inside the oven.
- Remove dough from oven and punch dough down. Repeat the 8 folds from step 5. Cover bowl and return to oven until dough has doubled in volume. This should take 30-45 minutes.
- Meanwhile, make the filling. In a medium bowl, whisk together confectioners’ sugar, cinnamon, vanilla, and salt. Set aside.
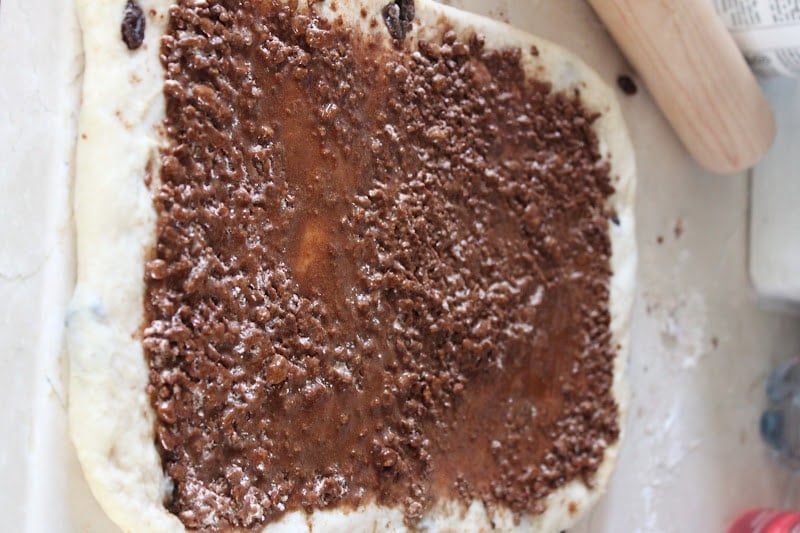
- Grease two 9”x5” loft pans. Transfer dough to a lightly floured surface and divide dough into two equal pieces. Working with one piece of dough, roll out dough to 7”x18” rectangle with an even 1/4 inch thickness. Using a spray bottle, spray the dough lightly with water. Sprinkle half of the filling mixture over the dough, leaving a 1/4 inch border along the sides. Spray filling lightly with water.
- With the short side facing you, roll dough away from you in a tight firm cylinder. Turn loaf seam side up and pinch closed. Also, pinch the ends closed. Cover cylinder with plastic wrap and let rest for 10 minutes. Repeat with second ball of dough.
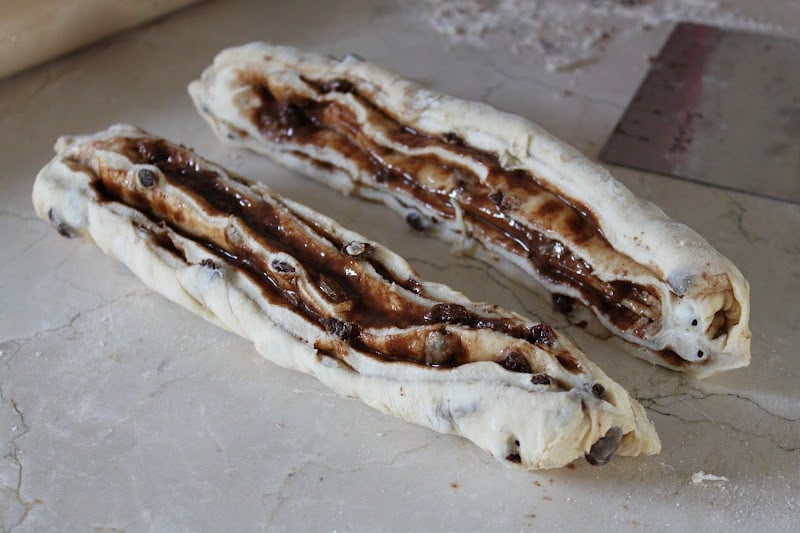
- Use a bench scraper to cut the cylinder in half lengthwise. Turn halves cut side up. Gently pull and stretch each half into 14 inch length. Line up the two pieces of dough and pinch the ends of the strips together.
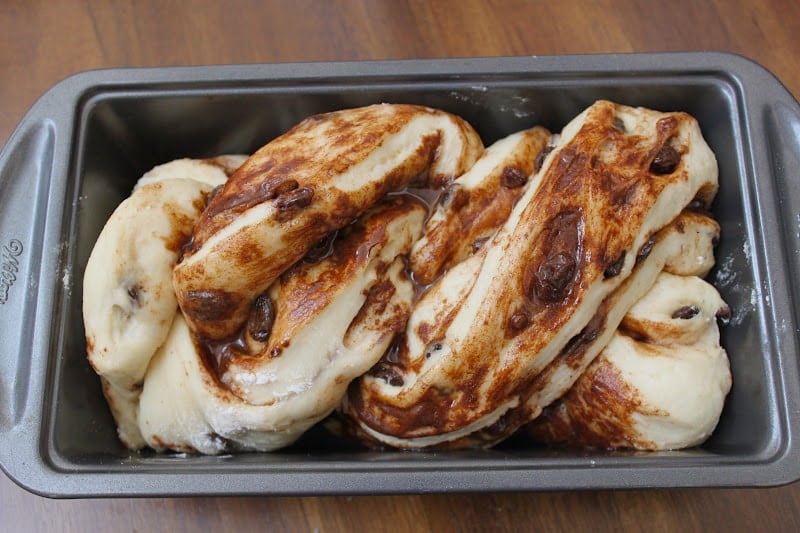
- Take the strip on the left and lay over strip on the right. Repeat, keeping up side up until the two strips of dough are tightly twisted. Pinch ends together. Transfer loaf, cut side up, to greased loaf pan. Repeat with second loaf.
- Cover loaves loosely with plastic wrap. Return to oven and let rise for 45 minutes. Remove loaves and water pan from oven. Preheat oven to 350 degrees F. Allow loaves to rise at room temperature until tops of loaves rise about an inch over the lip of the pan. This should take about 30-50 minutes depending on the warmth of the room.
- Brush loaves with egg mixture. Bake for 25 minutes until crust is nicely browned. Reduce oven temperature to 325 degrees F. Tent loaves with foil to prevent crust from burning. Continue to bake for another 15-25 minutes until internal temperature of bread reaches 200 degrees F.
- Transfer pans to wire rack and let cool for 5 minutes. Remove loaves from pans and let cool on rack. Let loaves cool to room temperature before slicing.
Notes
 Like this recipe? Rate & comment below!


What temperature should the oven be when you put the bread in the oven with a cake pan of water???
You don’t turn on the oven. The steam from the hot water creates the perfect warm environment for the dough.