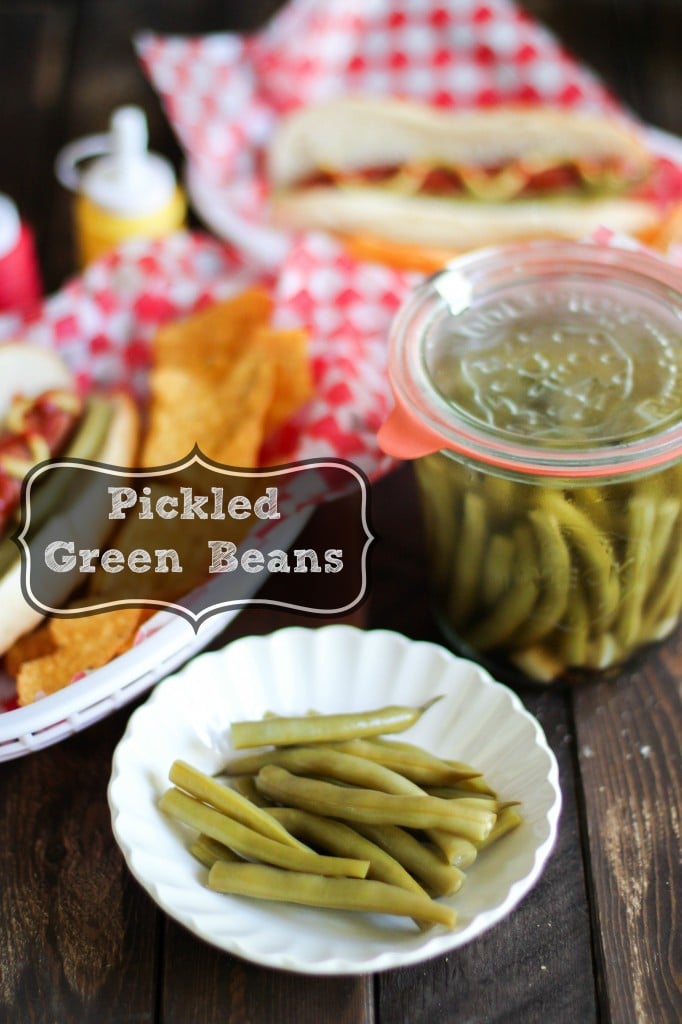
Pickled green beans flavored with garlic, black peppercorns and dill. Use this recipe to also pickle Brussels sprouts and cucumbers!
With summer winding down, I have plenty of fresh vegetables to preserve and pickle for the cooler months. Pickled cucumbers are the most famous of the pickled foods. It’s my favorite, especially those giant dill pickles sold at Disneyland. However, there is an entire world of pickled and preserved foods that extend beyond cucumbers.
Pickled fruits and vegetables are a staple in most Asian cuisine. Back in the Philippines, my grandmother was an avid pickler. Whenever there was an excess of harvest, she would pickle all sorts of fruits– from sour mangos to coconut meat to calamasi (see: calamondin).
She would make large batches and share it with family and friends. After people have finished eating it, (as a kid) my dad would have to run around the neighborhood to collect my grandmother’s precious jars. Once they were back in her possession, the process would start over again and she’d be making another batch of something.
I probably got that gene from her– that need/want to feed people and share food.
My boyfriend got me boxes and boxes of Weck jars for my birthday. I love Weck jars. They come in so many sizes to fulfill all my baking, canning, and storage needs. So far, I have used the jars to make blueberry jam and tiramisu. And last week, I started pickling!
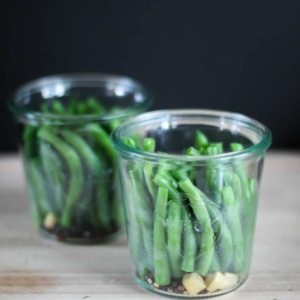
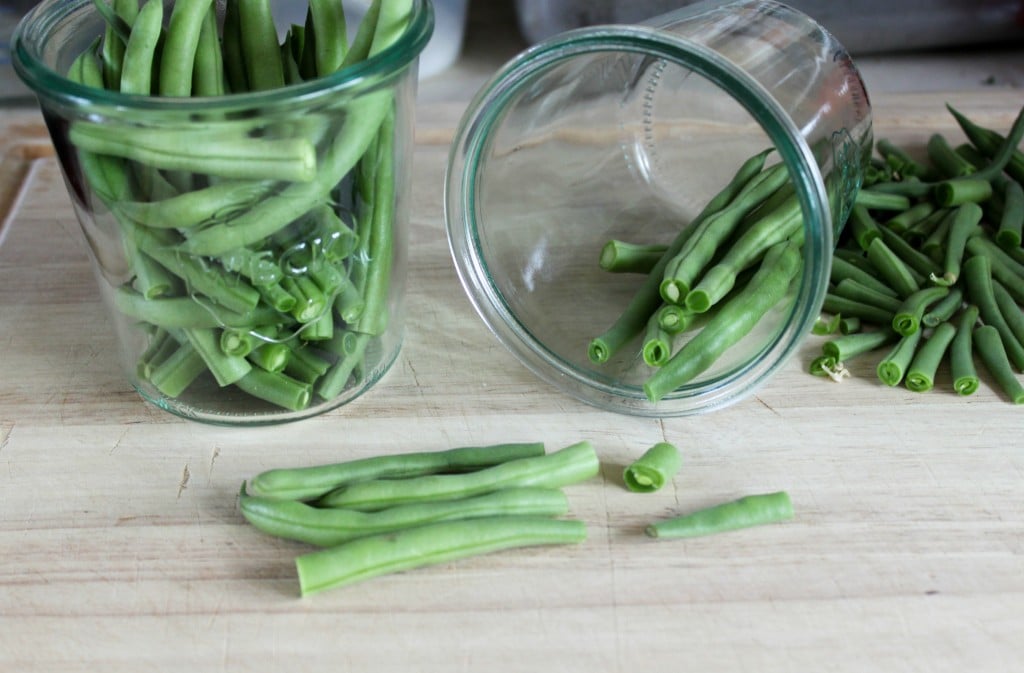
I’ve had all sorts of pickles, but this is my first foray into pickled green beans. I have hesitated making this before because I didn’t have a jar wide enough and tall enough for green beans. Weck makes the perfect one. After you have rinsed the green beans, trim the ends off to allow the beans to fit inside the jar.
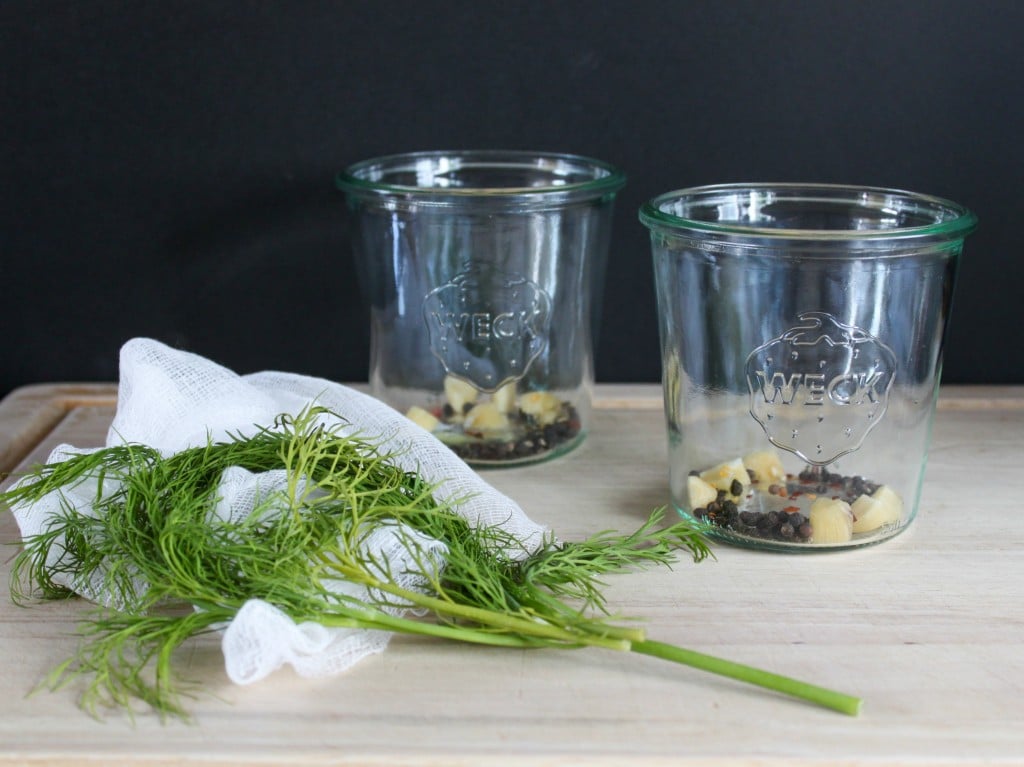
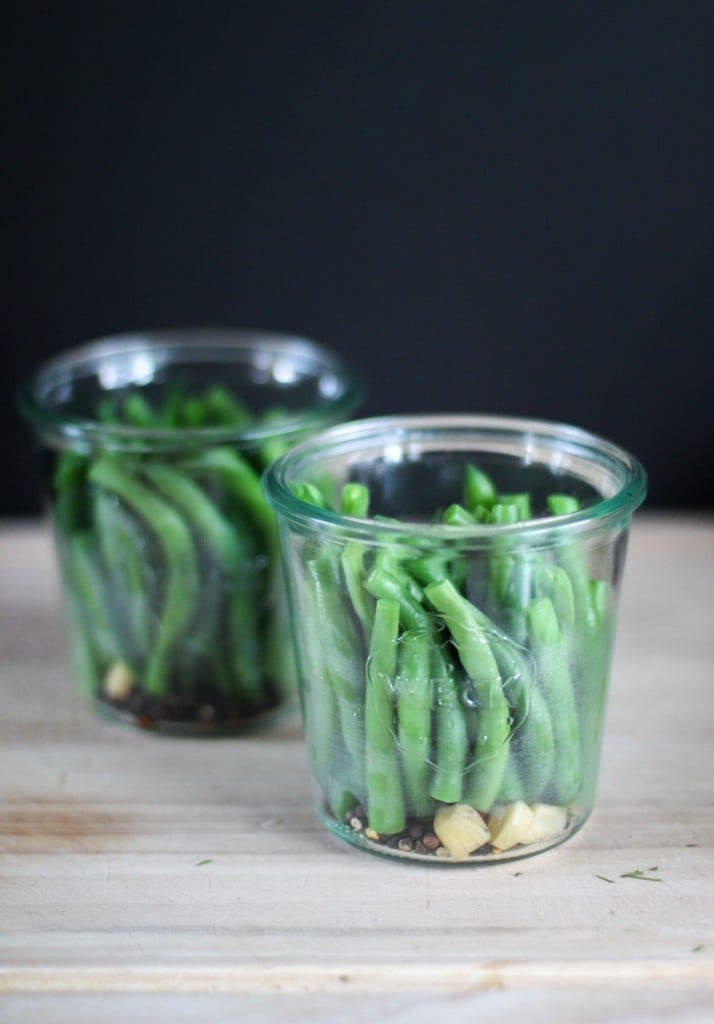
These pickled green beans are flavored with fresh dill sprigs, a couple cloves of roughly chopped garlic, some whole black peppercorns, and a sprinkle of red pepper flakes for heat.
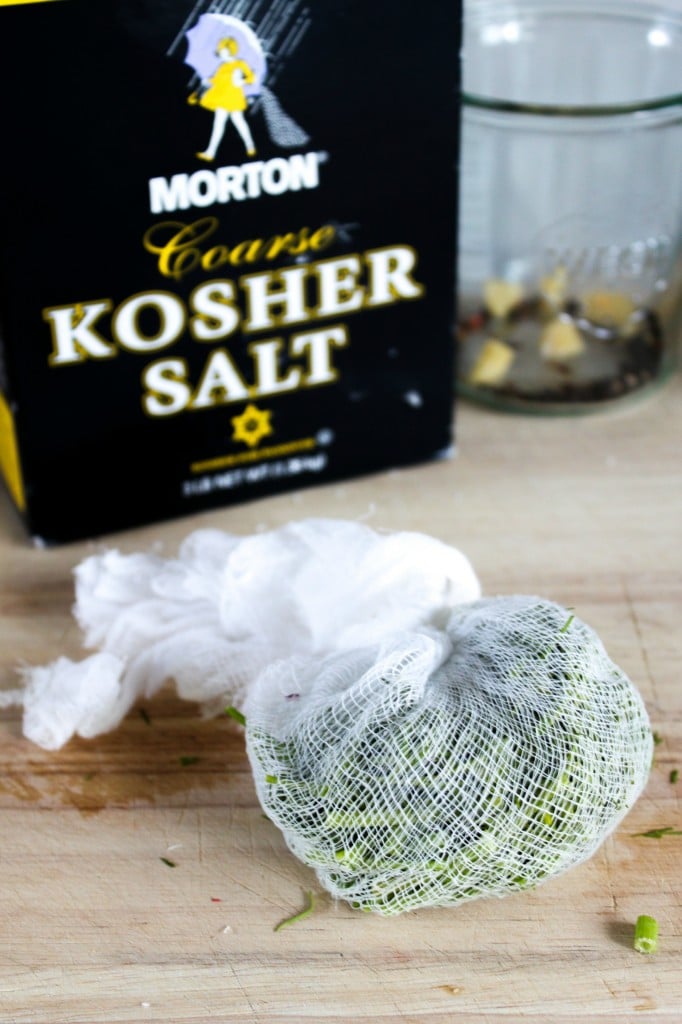
Pickling with fresh dill can be tricky. With pickles that require a week of fermentation, the fresh dill often goes from bright green to brown slimy mush. It is unattractive and unappealing. To prevent such situations, chop up the dill and tie it up in a cheesecloth sachet. Bring the vinegar pickling solution (water, vinegar, sugar, and salt) to a boil, then add the dill sachet and let it steep to infuse its flavors.
Lightly blanch the green beans in salted water. Don’t overcook the beans, you want them to still be crunchy. Cool them down in an ice bath, then dry them off before packing them tightly in the jars filled with spices. Once the pickling solution is done, ladle the hot liquid over the green beans. Leave the jars uncovered until the liquid has cooled to room temperature. Cover jars with tight-fitting lids and place in the refrigerator to ferment for 7 days. Once pickled, the green beans can remain in the fridge for one month.
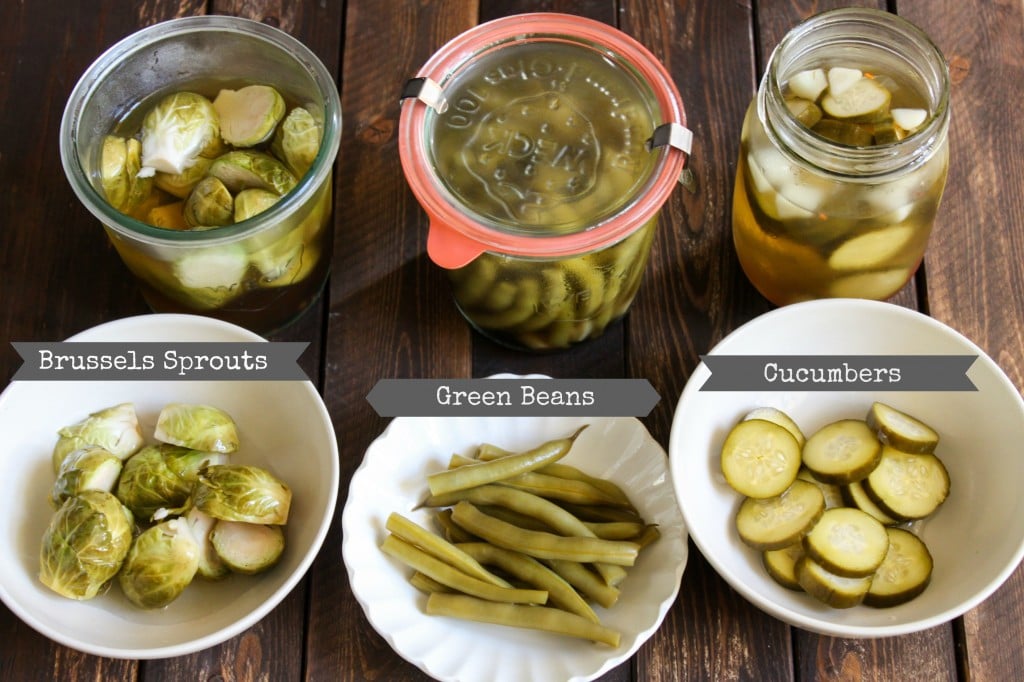
I made extra pickling solution to experiment making other pickles: pickled Brussels sprouts and traditional pickled cucumbers. The Brussels sprouts tasted very similar to sauerkraut. However, I suggest cutting the Brussels sprouts into quarters. The halves were a little too intense, tasty, but intense. The pickled cucumbers were perfect! They would be great on grilled hamburgers or bbq pork sandwiches.
And as for the pickled green beans, I am really happy with the way they turned out. I ate them with hot dogs. Delicious and refreshing!
Pickled Green Beans with Dill
Ingredients
- 1 pound green beans, trimmed and cut to length of jar
- 1 Tbsp + 3 Tbsp kosher salt, divided
- 3 garlic cloves, peeled and quartered
- 2 teaspoon whole black peppercorns
- ¼ teaspoon red pepper flakes
- 1 cup fresh dill, steams and leaves coarsely chopped
- 1 ½ cup distilled white vinegar
- 1 ½ cup water
- 3 Tbsp granulated sugar
Instructions
- Bring 3 quarts of water plus 1 tablespoon of kosher salt to a boil. Add green beans and cook for about 1 minute, until beans are tender yet still crunchy inside. Drain and immediately soak green beans in a bowl of ice cold water. Let green beans sit until they have cooled and stopped cooking. Drain well and pat green beans dry.
- Distribute quartered garlic, whole peppercorns, and red pepper flakes among glass jars. Add beans to jar, making sure that there is at least 1/2 inch between the top of the beans and the rim of the jar. Do not be afraid to pack the beans tightly. Set aside.
- Wrap the chopped dill in a cheesecloth and securely tie it with kitchen twine. In a sauce pot, combine water, vinegar, sugar, and 5 tablespoon kosher salt. Add dill sachet and bring mixture to a boil over high heat. Once it boils, cover pot and remove from heat. Let mixture steep for 10 minutes. Then remove dill sachet and bring mixture back to a boil.
- Ladle the hot mixture over the beans. Add enough liquid to cover the tops the beans. Let jar sit uncovered until liquid has cooled to room temperature. Cover jars with tight-fitting lids and place in refrigerator. Let green beans sit in the fridge for 7 days before eating. Afterwards, green beans can remain in the fridge for up to one month.
Notes
Nutrition
Nutrition information is automatically calculated, so should only be used as an approximation.
 Like this recipe? Rate & comment below!



Could one just use dried dill out of sheer laziness to have the dill flavor without the added step of infusing?…This must be made…love the idea of Brussels Sprouts as well…Thank you for the inspiration!
Hi Donna! Unfortunately, regardless of whether you use dried or fresh dill, it’s better to steep it. Dried dill left inside the container will still get slimy and yucky. I hope that helps!