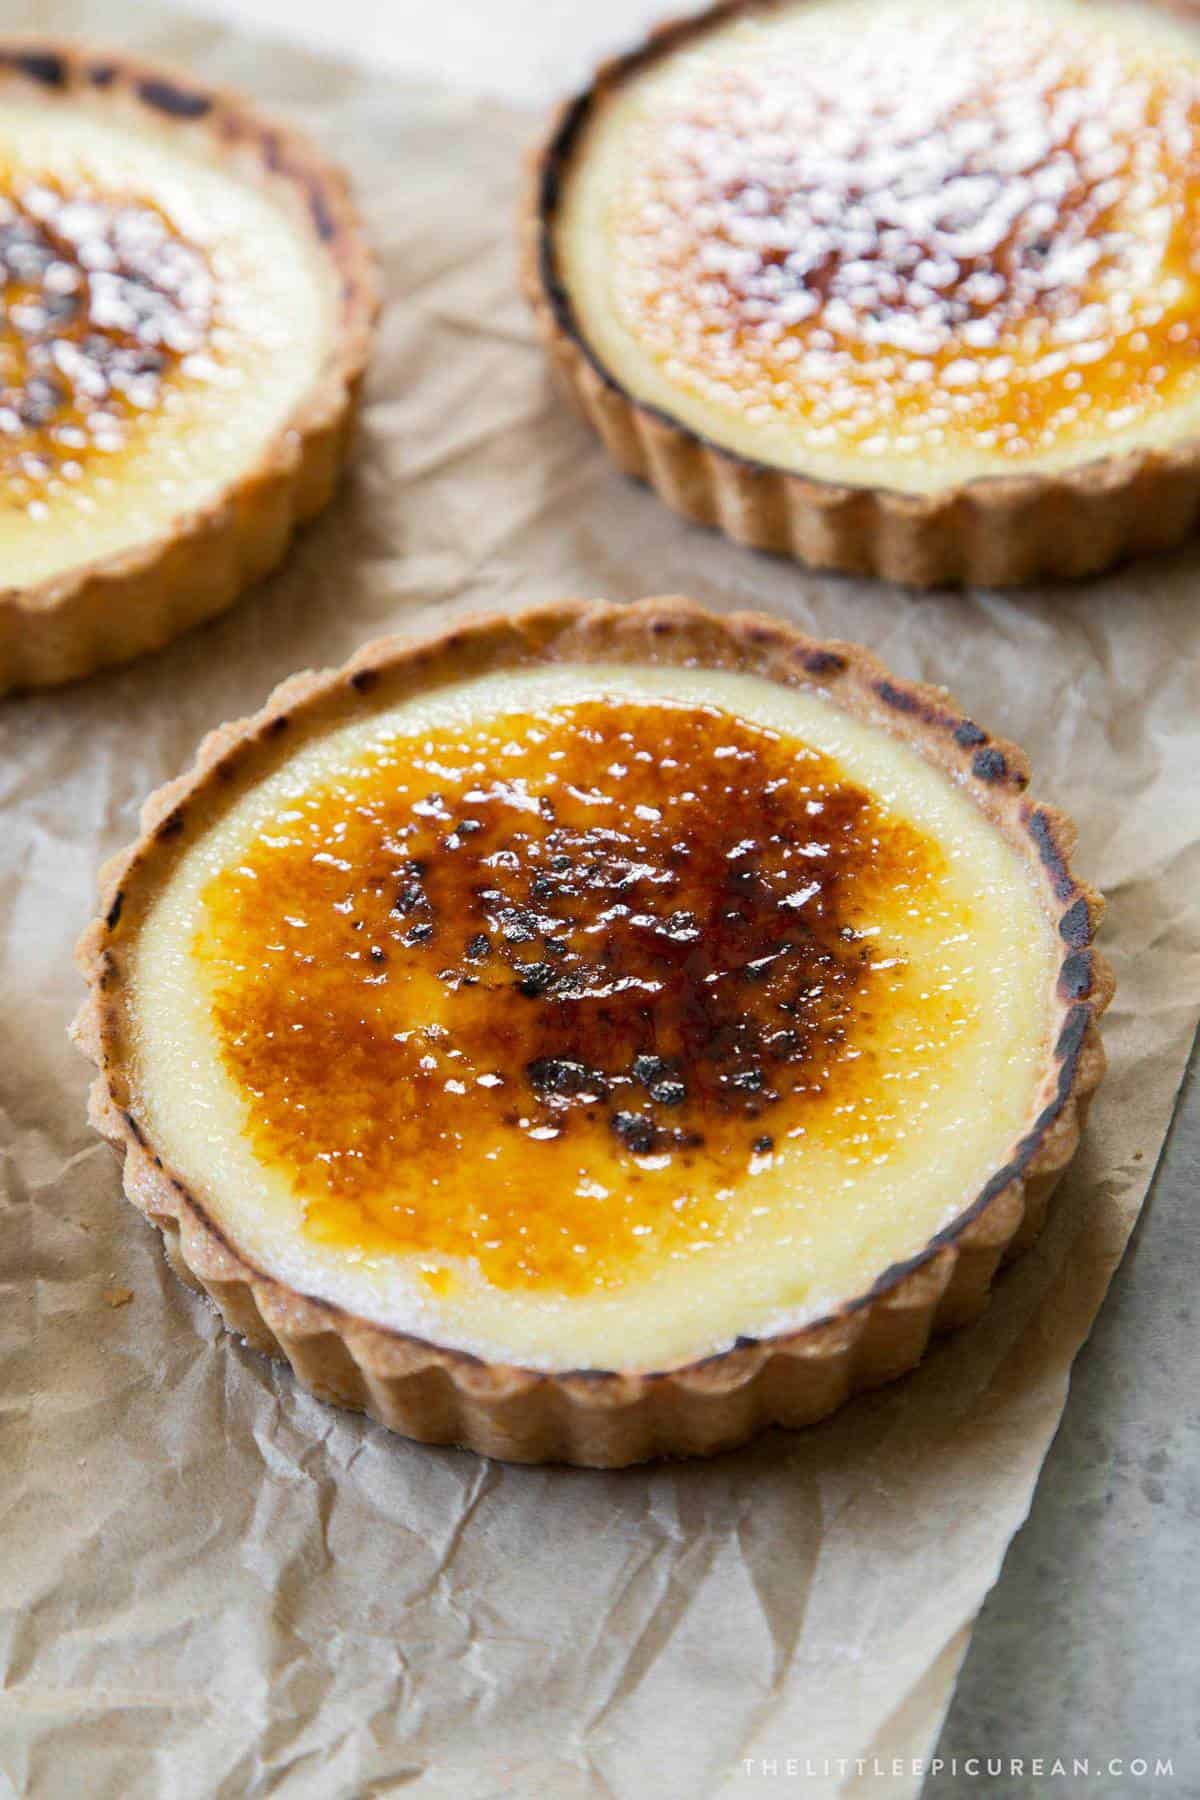
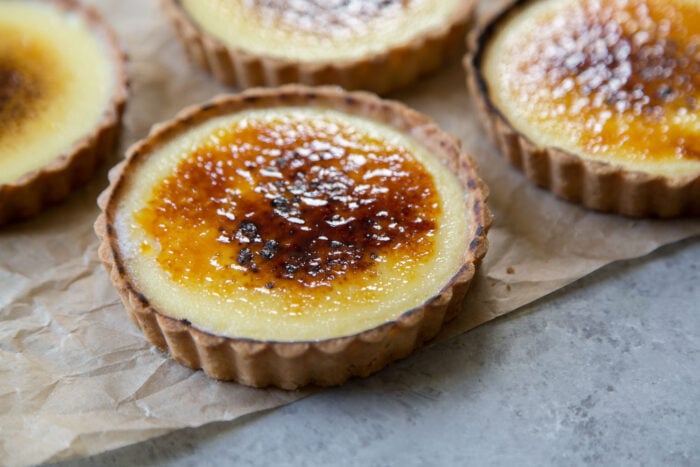
Crisp pastry shell, silky custard, and a delicate torched sugar topping. This crème brûlée tart transforms a classic dessert into a refined plated twist!
Crème brûlée is a simple dessert that everyone should try to make at least once! It requires just a few simple ingredients: cream, egg yolks, and sugar.
Crème brûlée is often dubbed the “perfect dessert” because of its contrasting flavors and textures. The sweet silky custard encased by a slightly bitter burnt sugar crust is an undeniably delicious combination.
How do you take a perfect dessert and make it even better? Add more crunch!
For me, crunch is the ONE thing lacking in crème brûlée. Yes, you get that initial crack of hard caramel when you break into the topping.
But, once that topping is gone… you are left with silky custard. Solution: enjoy crème brûlée in a crunchy, buttery tart shell!
Ingredients
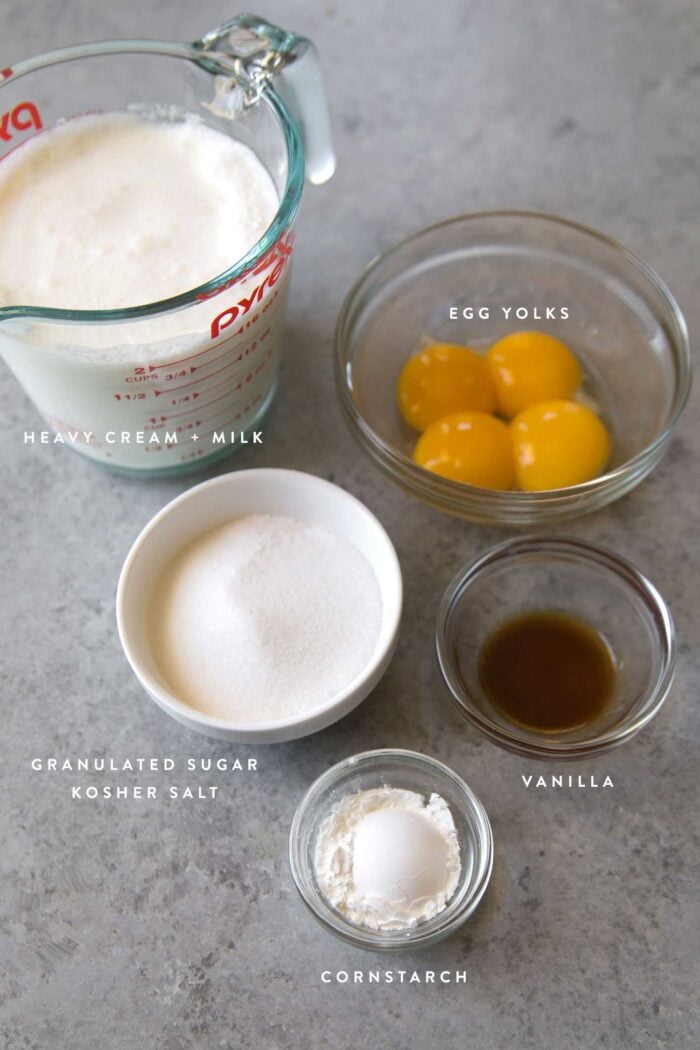
Traditionally, crème brûlée is made with heavy cream, egg yolks, sugar, and vanilla bean. This version is lightened with milk and thickened with cornstarch.
The traditional version does not have cornstarch. Rather, the mixture relies on egg yolks to thicken and set the mixture. However, since the filling in this tart is not oven baked in a water bath, the cornstarch helps to set the mixture in the fridge.
Note: I’ve tried several times to omit the cornstarch. Sometimes, it sets, sometimes it doesn’t. Use the cornstarch for a fool-proof safety measure.
For a richer, creamier version, simply substitute more cream in place of the milk listed in the recipe ingredients.
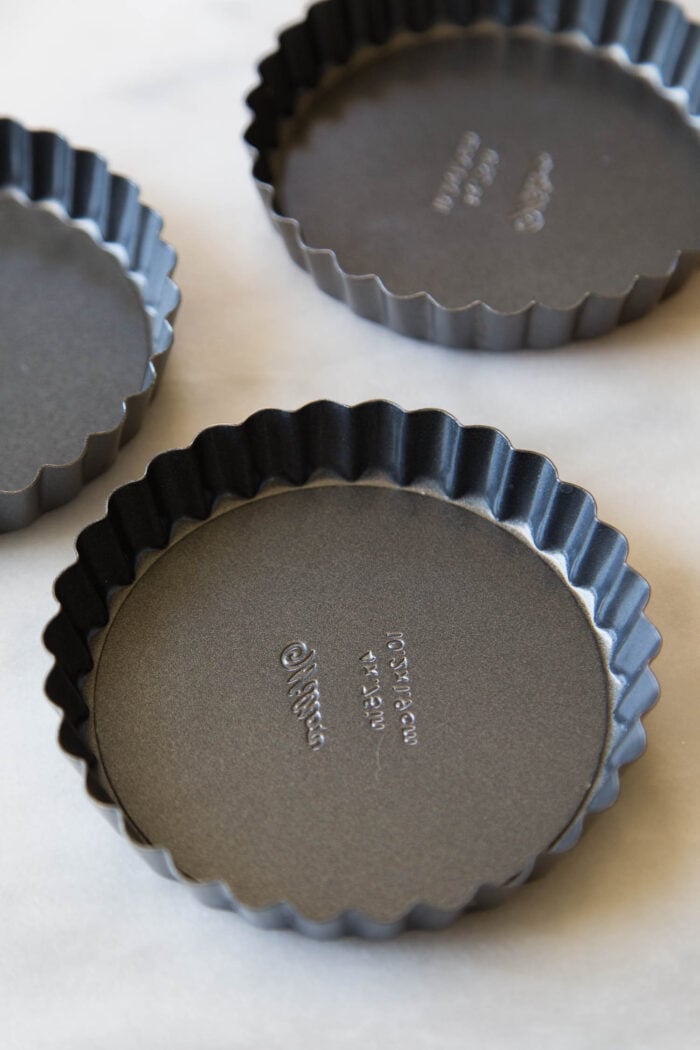
Recommended Tart Pans
I used these 4.75-inch tart pans with removable bottoms. The set comes with a pack of six.
It’s the same mini tart pans (tartlet pans) used for these peanut butter mousse tarts, blood orange earl grey tarts, and salted chocolate hazelnut tarts.
The recipe makes six 5-inch mini tarts or one 9.5-inch (or 10-inch) tart.
Pâte Brisée Shortcrust Pastry
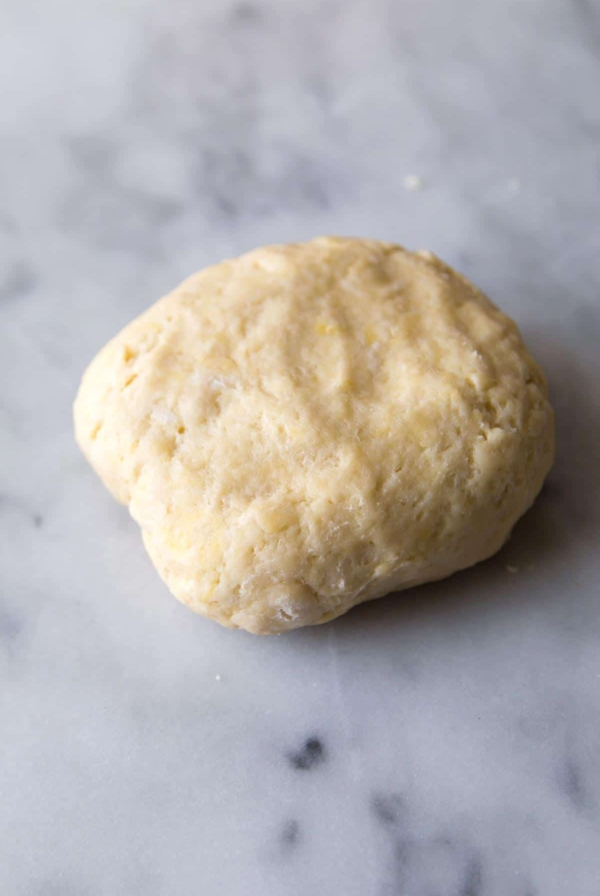
This is my favorite pastry dough crust. It is very simple to make and super easy to work with.
Unlike other tart shell doughs or pie doughs, pâte brisée dough is very forgiving. Since it does not contain any leavening agents, the dough can be rolled out multiple times without affecting its quality.
If the dough rips or tears, simply patch it with extra dough. Don’t worry about the dough’s appearance before baking. The dough will fuse together as it bakes, hiding any imperfections.
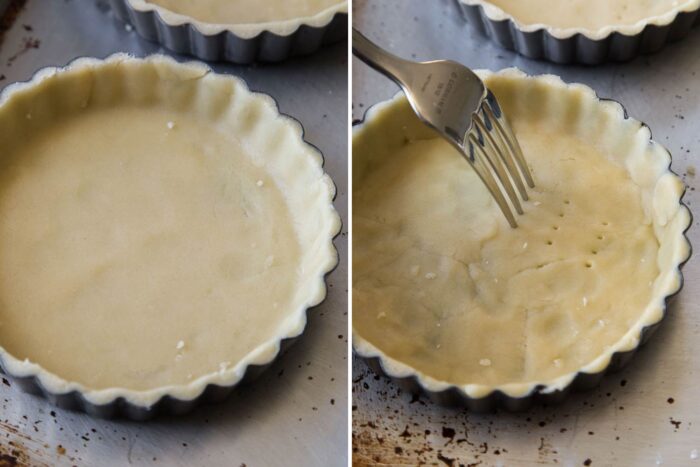
If you are terrified of rolling out dough (or you don’t have a rolling pin), you can take pieces of this pâte brisée and simply press it into the tart mold.
It is important to line the tart shell with an even layer of dough to ensure even baking times. Use the tines of a fork to dock the dough before baking. It will prevent the dough from puffing up during baking.
![]()
Baking Tip: Make Ahead Dough
The dough can be prepared ahead of time and stored in the fridge overnight. Bake the tart shells the following day. Store baked cooled tart shells at room temperature in an airtight container for up to 2 days.
Creme Filling and Assembly
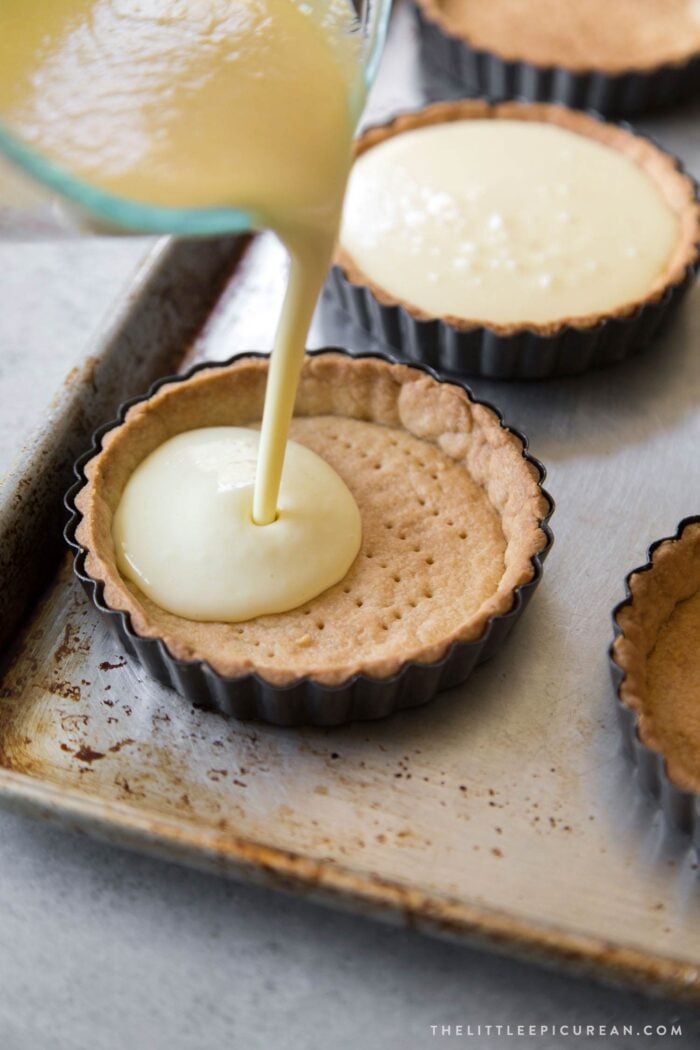
Cook the custard-like filling over the stove in a heavy bottomed sauce pot. The filling is prepared similar to pastry cream, creme anglaise, or ice cream base.
Pour the hot mixture directly into the cooled tart shells.
Don’t worry if there are air bubbles on top. This will get covered by the sugar topping before serving.
Store in the fridge for at least 3 hours until filling is set and no longer jiggles.
![]()
Baking Tip:Make Ahead Dessert
Assembled creme brûlée tarts can be stored in the fridge for up to 24 hours before serving. However, after 24 hours the cornstarch will cause the creme to weep moisture.
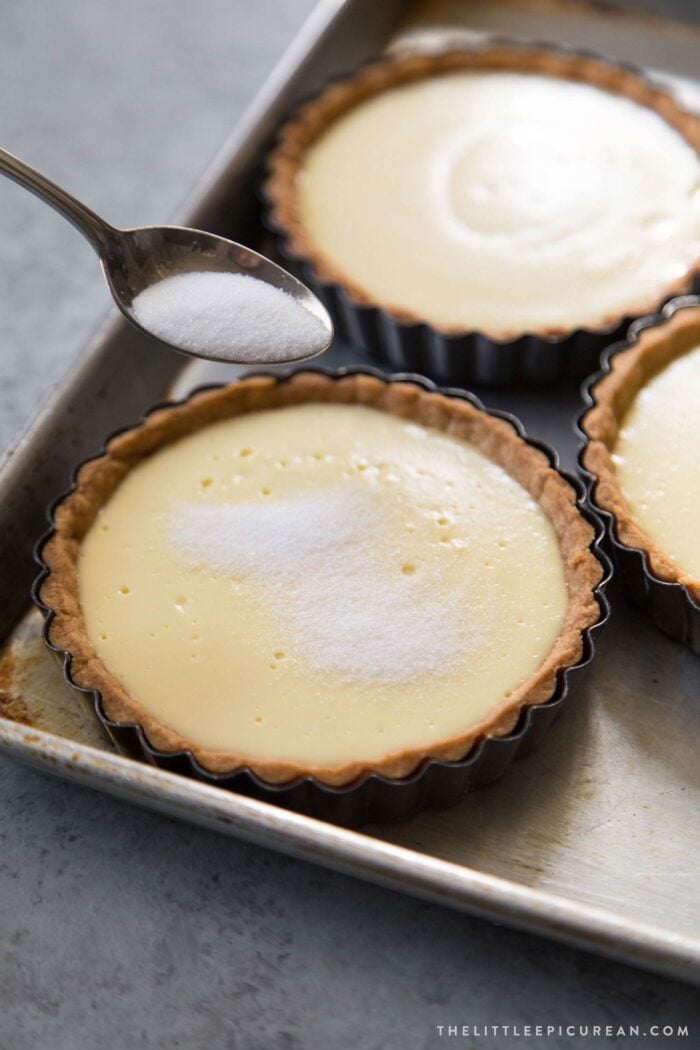
Creating the Sugar Crust
Sprinkle granulated sugar or superfine sugar over chilled tarts. Tilt the tart around to ensure the sugar coating is a nice even layer.
*Note: Depending on the temperature and humidity of your fridge, the surface of the filled tart may have condensation. If this happens, gently bloat the excess moisture with a paper towel.
Only add the sugar once you are ready to serve the creme brûlée tart. Don’t add the sugar too early. Otherwise, it will simply melt into filling.
There are two ways brûlée the sugar: kitchen torch or oven broiler.
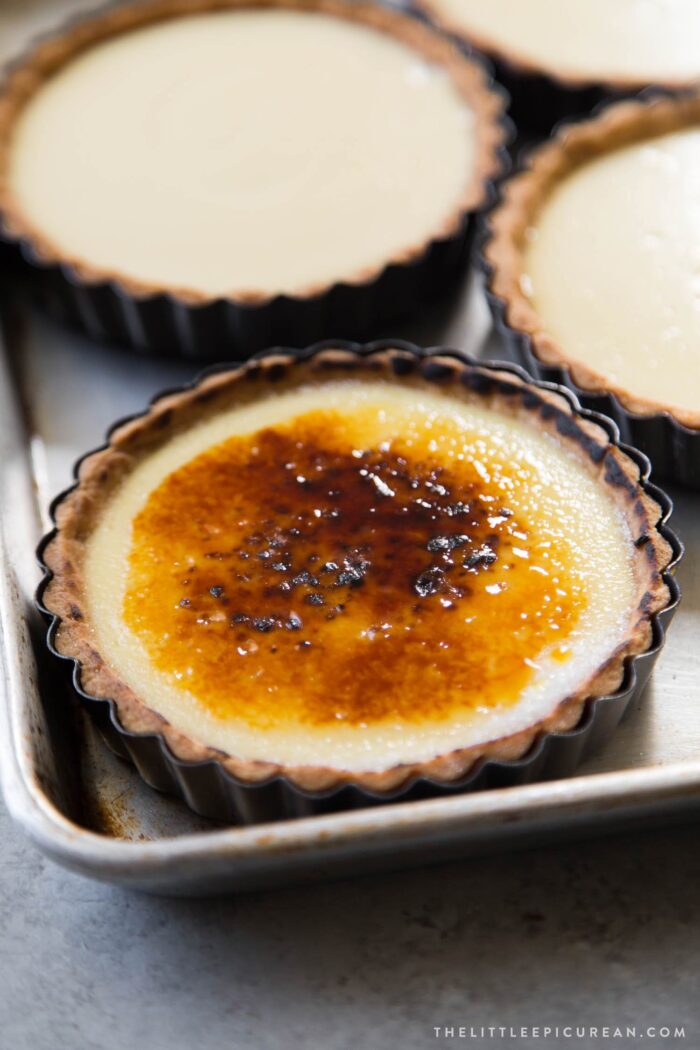
I highly recommend using a kitchen torch. This method gives you more control over the heating.
Place the sugar topped tart on a heat-proof safe surface like a baking sheet. Be careful to keep it away from anything that might burn or catch on fire (like kitchen towels, wooden cutting boards).
Use a round sweeping motion to melt and caramelize the sugar. Continue to heat the sugar until a nice golden caramel crust has formed.
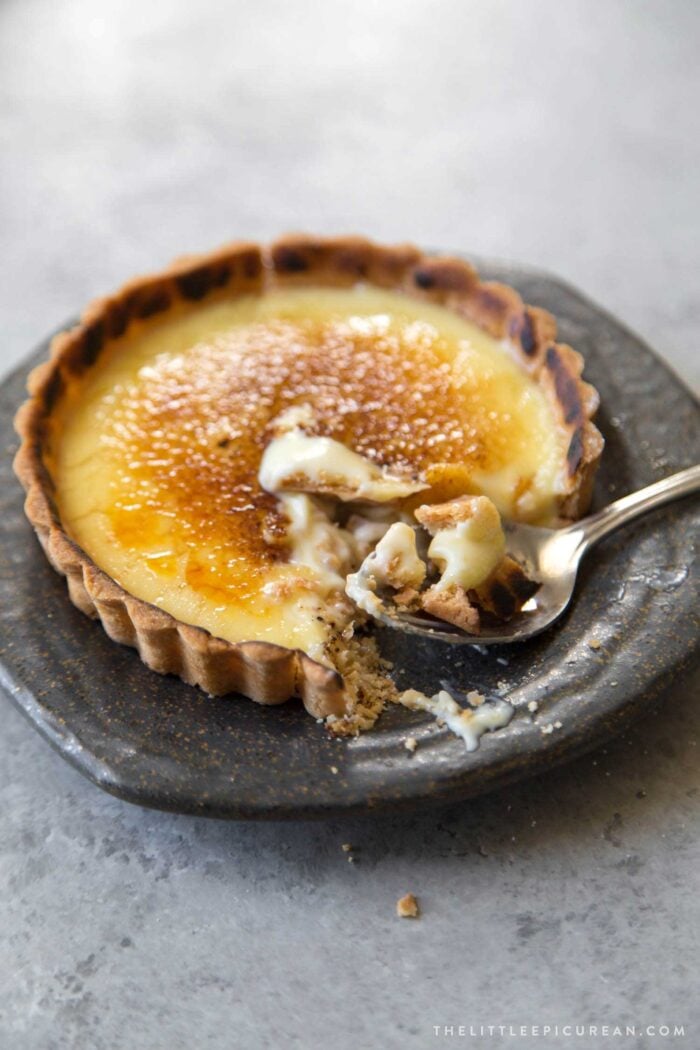
Serve and enjoy immediately!
Storage and Leftovers
Assembled tarts (without the sugar topping) can be stored in the fridge for up to 24 hours. The brûlée topping will melt in the fridge. It will also cause the creme filling to separate in the fridge.
More Tart Recipes
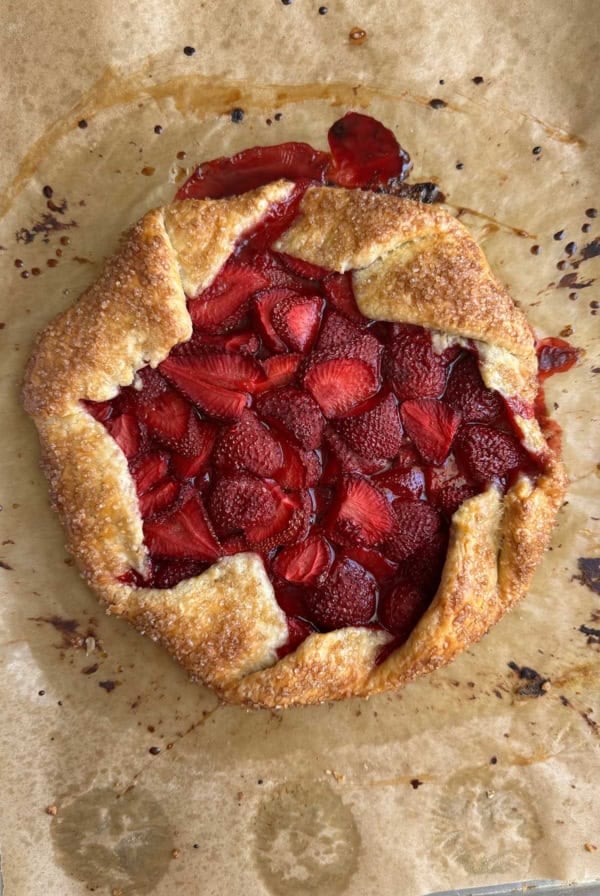
- Strawberry Tart with Vanilla Pastry Cream
- Brûléed Persimmon Tarts
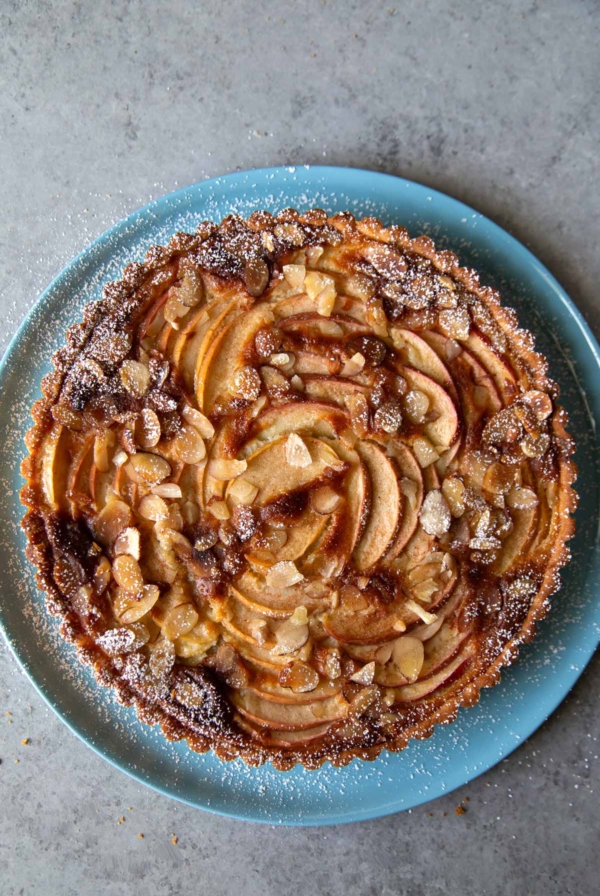
- Fig Tart with Honey and Pistachios
Crème Brulee Tart

Ingredients
Crust (Tart Shell):
- ½ cup unsalted butter, (113 g) softened
- ¼ cup granulated sugar, (50 g)
- ¼ teaspoon kosher salt
- ½ teaspoon pure vanilla extract
- 1 large egg yolk
- 1 ½ cup all purpose flour, (195 g)
Creme Filling:
- 1 ¾ cup heavy cream
- ¼ cup whole milk, or 2% milk
- 4 large egg yolks
- ⅓ cup granulated sugar, (68 g)
- 1 Tablespoon corn starch
- 1 ½ teaspoon pure vanilla extract
Sugar Topping:
- 6 Tbsp superfine sugar*, (70 g) or granulated sugar
Instructions
Crust:
- In the bowl of a stand mixer fitted with a paddle attachment, cream together butter, sugar, and salt until smooth. Scrape down sides of the bowl as needed to ensure even creaming.
- Add vanilla and egg yolk. Mix on medium speed until thoroughly incorporated.
- Add all the flour. Mix on low speed until dough is crumbly, about 30-45 seconds.
- Dump crumbly mixture onto a clean work surface. Press crumbs together until it forms a cohesive dough. Press dough into a rectangle about 1/2-inch thick. Wrap tightly in plastic wrap and chill in the fridge for at least 30 minutes, or up to overnight.
- Preheat oven to 375°F. Place dough on a lightly floured work surface. Divide dough into 6 equal parts.
- Working with once piece at a time, roll dough out into an even layer about 1/4-inch thick. Gently lift and place dough into the tart pan. Using your fingertips, press the dough against the sides and bottom of the pan. Use a knife or mini offset spatula to trim the overhang over the edge of the pan. Repeat with remaining dough pieces.*If dough is too cold, it will be difficult to roll out. Let rest at room temperature for 10-15 minutes to warm up.*If dough happens to tear while lining the tart pan, simply repair the tear by pressing additional dough into the hole.
- Use the tines of a fork to dock holes on the bottom of the lined tart pans. Bake in preheated oven for 16-18 minutes until dough is golden brown throughout. Cool crust in pan. Set aside while you make filling.
Filling:
- Pour cream and milk into a heavy bottomed sauce pot. Set over medium heat and bring to a simmer. Stir occasionally to make sure milk does not burn along the sides or bottom of pot.
- Meanwhile, whisk together sugar and cornstarch. Add egg yolks. Whisk until well combined. Add a few tablespoons of warming cream-milk to loosen mixture and whisk until smooth.
- Once the cream-milk is simmering, reduce heat to low. Slowly add about 1/4 cup of the hot liquid into the egg mixture. Whisk constantly to distribute heat. Continue to temper the egg mixture by continuing to add 1/4 cup of hot liquid at a time until only a few tablespoons of liquid remain in the pot.
- Pour all the egg-milk mixture back into the sauce pot. Use a spatula to stir mixture together. Continue to heat over low heat until mixture has reached temperature of 170° to 180°F (77° to 82°C) and has thickened to nappe (meaning when a finger is run across the back of the spatula, it leaves a well-defined track).
- Remove from heat and stir in vanilla. Immediately pour mixture through a strainer. Let cool slightly, about 5 minutes. Then, pour into baked tart shells.
- Place assembled tarts in the fridge uncovered for at least 3 hours until completely cooled and filling has set.
Topping:
- When ready to serve, remove chilled tarts from the fridge. Sprinkle about 2 tsp of superfine sugar over the top. Gently rotate tart around to ensure sugar is evenly distributed.
- Using a kitchen torch, use circular sweeping motion to melt and caramelize the sugar. Continue to heat the sugar until a nice golden crust has formed. Let sugar cool slightly before serving.
Notes
- Use heavy cream, heavy whipping cream, or whipping cream.
- Superfine sugar is often labeled as caster sugar, baker’s sugar, or ultrafine sugar. Use a food processor with a metal blade to make homemade superfine sugar.
- Superfine sugar melts quicker than granulated sugar.
Nutrition
Nutrition information is automatically calculated, so should only be used as an approximation.
 Like this recipe? Rate & comment below!