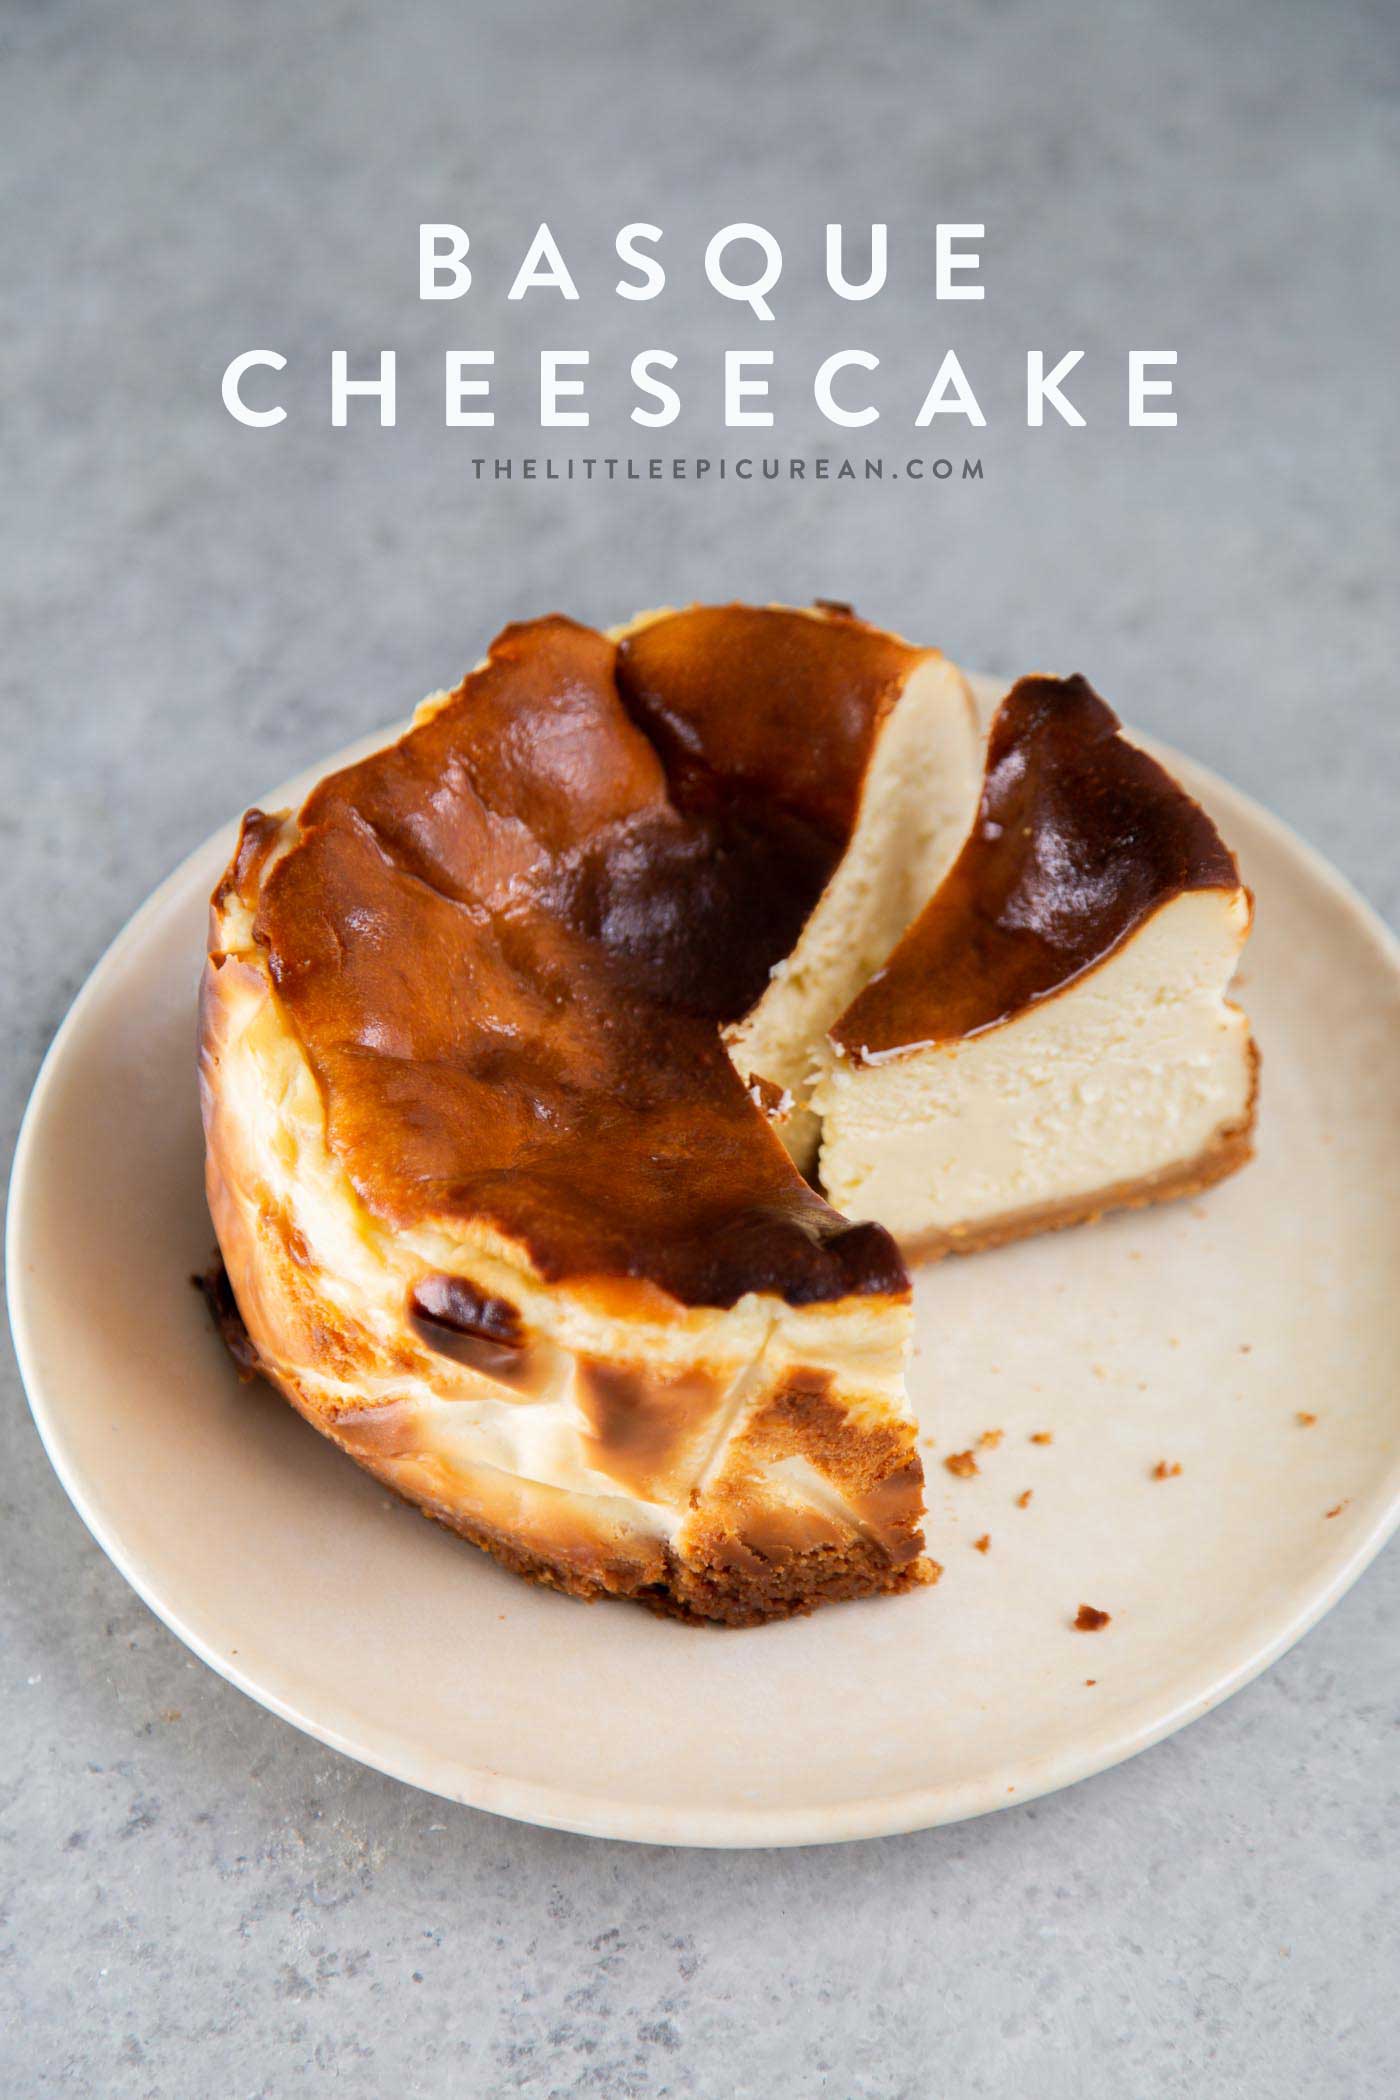
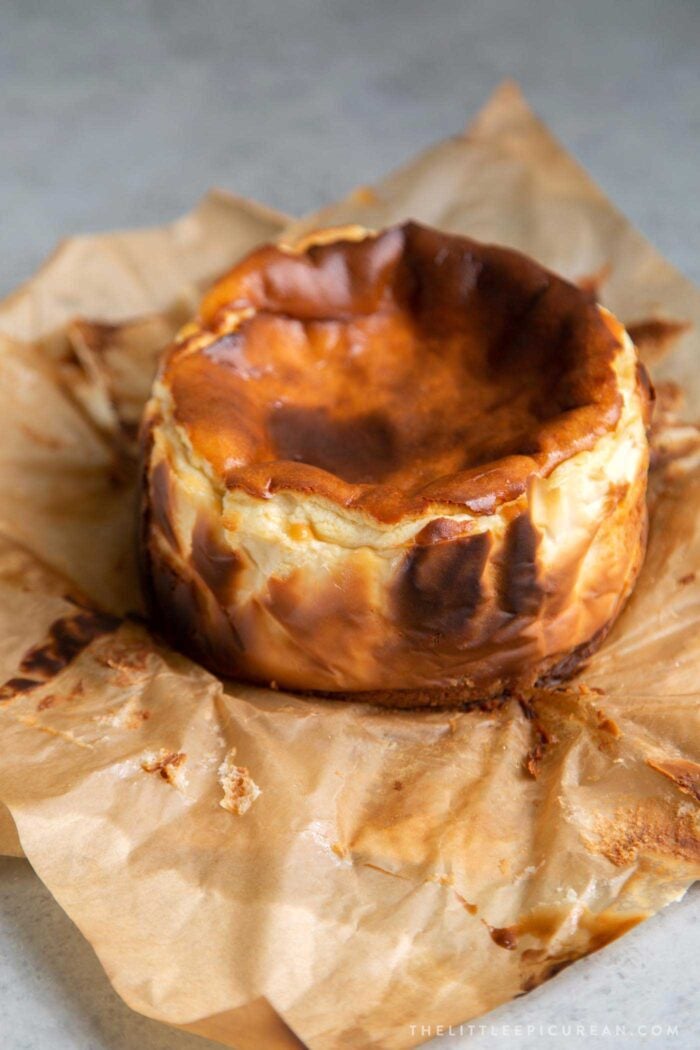
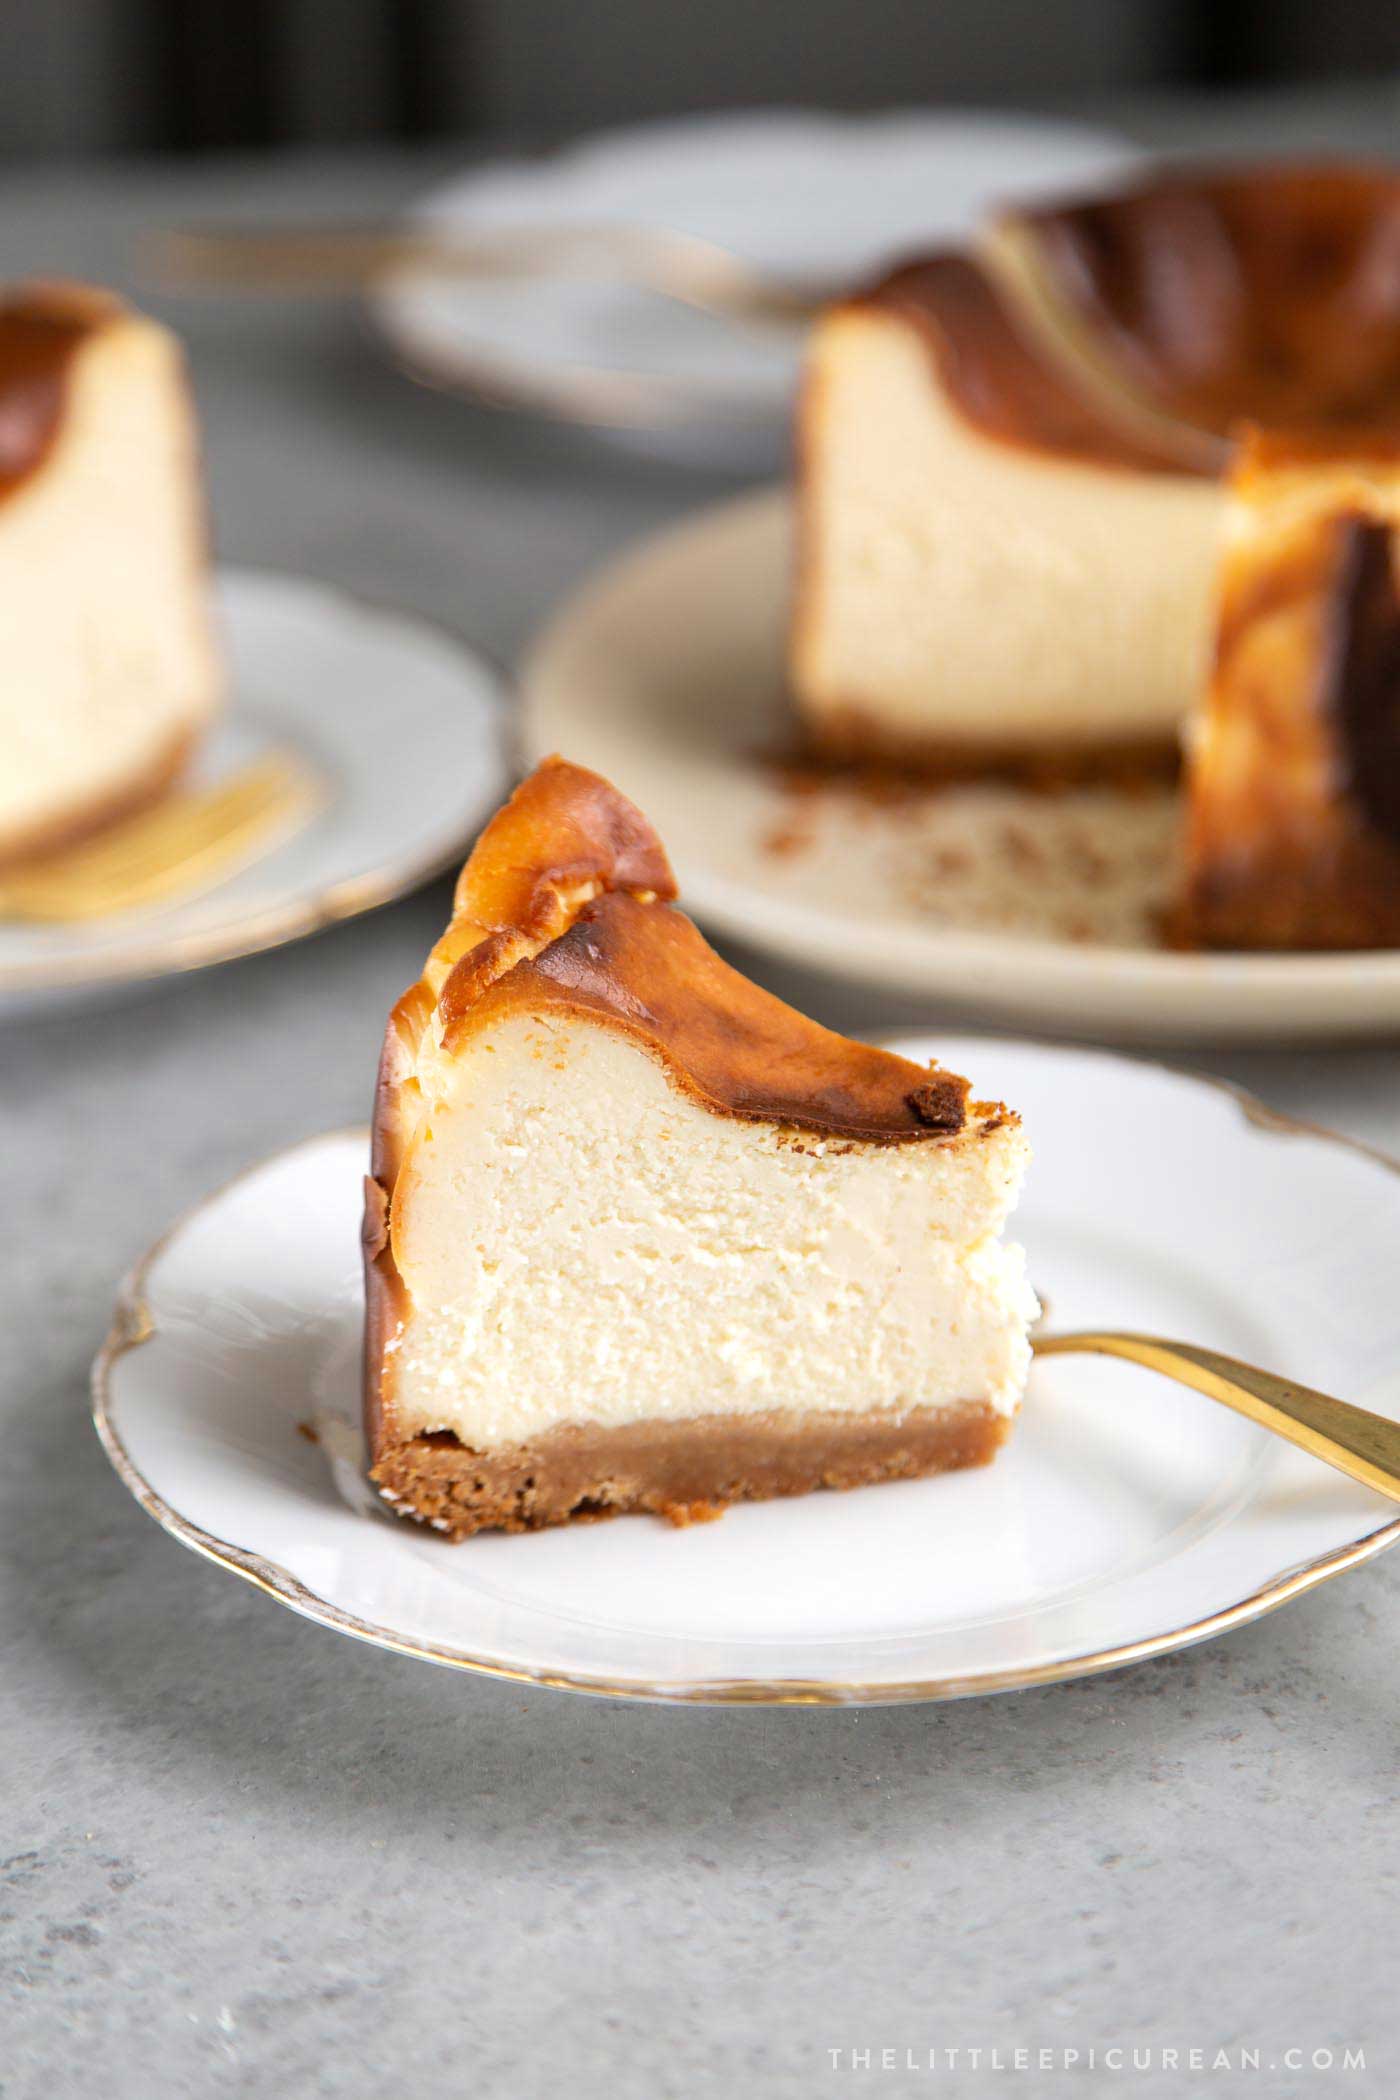
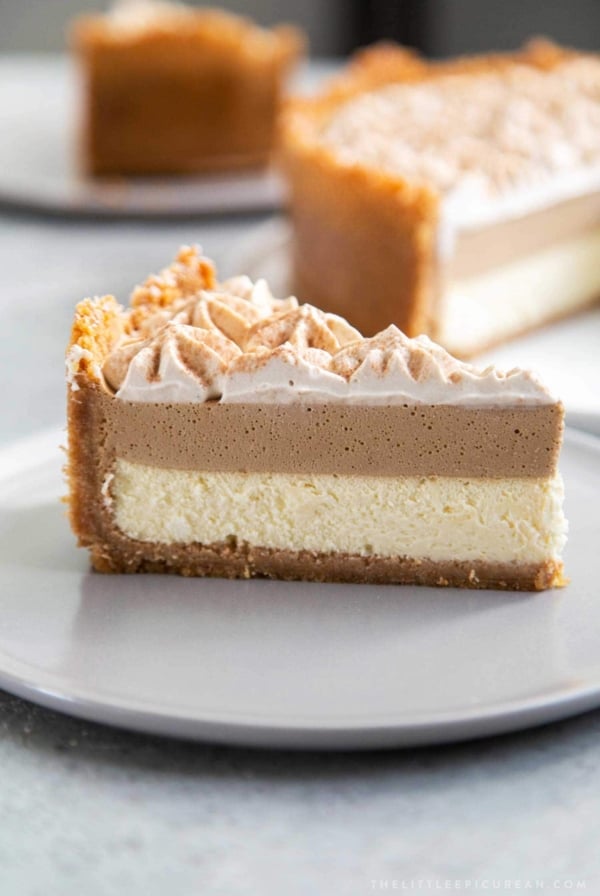
This burnt cheesecake is intentionally baked at high heat to create a dark golden exterior crust that encases a silky custard filling.

This Basque burnt cheesecake is intentionally baked at high heat to create a deeply caramelized crust that gives way to an impossibly creamy, almost custard-like center.
This is my version of this popular dessert- I’ve added an optional buttery vanilla wafer crust that brings out nutty, browned butter notes. The result? A cheesecake that’s less sweet than traditional American versions, more sophisticated, and honestly, easier to make.
Why this recipe works: High-heat baking (425°F) creates natural caramelization without a water bath. The flour-cream paste ensures ultra-smooth texture without lumps. A food processor eliminates the risk of overmixing that causes cracks in traditional cheesecakes.
What is Basque Cheesecake?
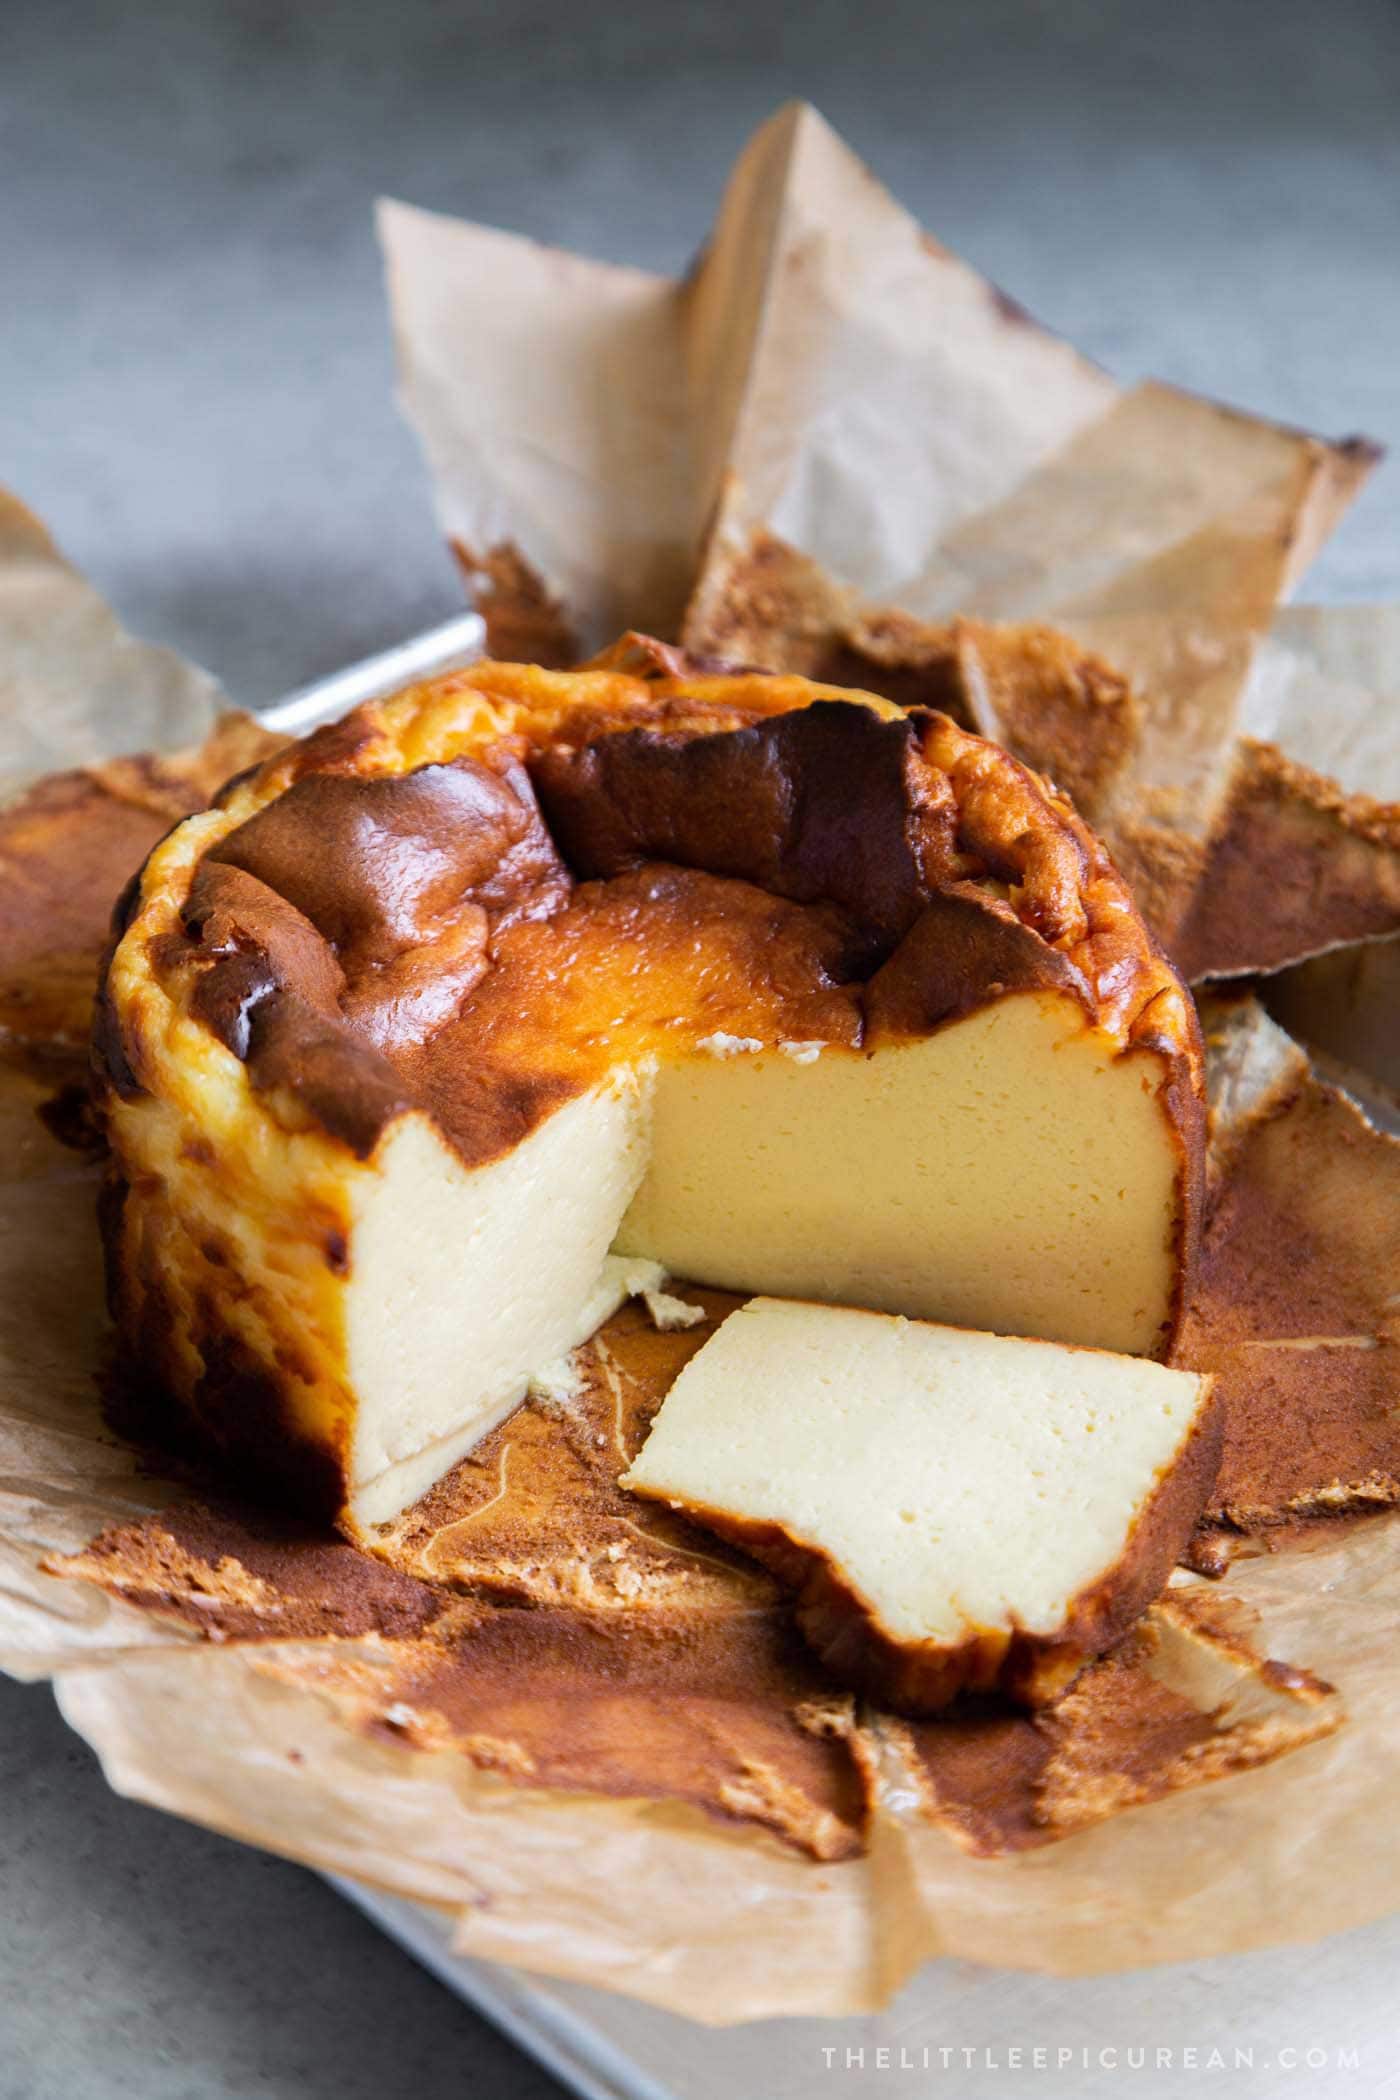
Basque cheesecake (also called burnt Basque cheesecake or San Sebastian cheesecake) originated at La Viña in San Sebastian, Spain in 1990. Unlike traditional American cheesecake, this Spanish dessert is:
- Baked at high temperature (400-450°F) instead of low and slow
- Intentionally burnt on top for deep caramelization
- Crustless in its authentic form (though I add one!)
- Jiggly in the center when done, not fully set
- Less sweet with pronounced caramel and molasses notes
The beauty of Basque cheesecake is its forgiving nature. No water bath, no precision, no worry about cracks—the burnt top is the whole point.
BASQUE CHEESECAKE VS. NEW YORK CHEESECAKE
| Basque Cheesecake | New York Cheesecake |
|---|---|
| Baked at 425°F for 35-40 minutes | Baked at 325°F for 60-90 minutes |
| No crust (traditionally) | Graham cracker crust |
| Jiggly, custardy center | Firm, dense texture throughout |
| Burnt, caramelized top | Smooth, pale surface |
| No water bath needed | Requires water bath |
| Minimal ingredients (5-6) | Often includes sour cream, lemon |

Why my version is different
Most Basque cheesecake recipes are crustless. After nearly 20 years in professional kitchens, I couldn’t resist adding a vanilla wafer cookie crust. Here’s why it works:
The butter in the crust browns slightly during the high-heat bake, creating nutty, almost hazelnut-like flavors that complement the caramelized top. The vanilla wafers echo the molasses notes in the burnt exterior, creating a cohesive flavor profile from bottom to top.
Want it traditional? Simply skip the crust section and pour the filling directly into your parchment-lined pan.
Ingredients
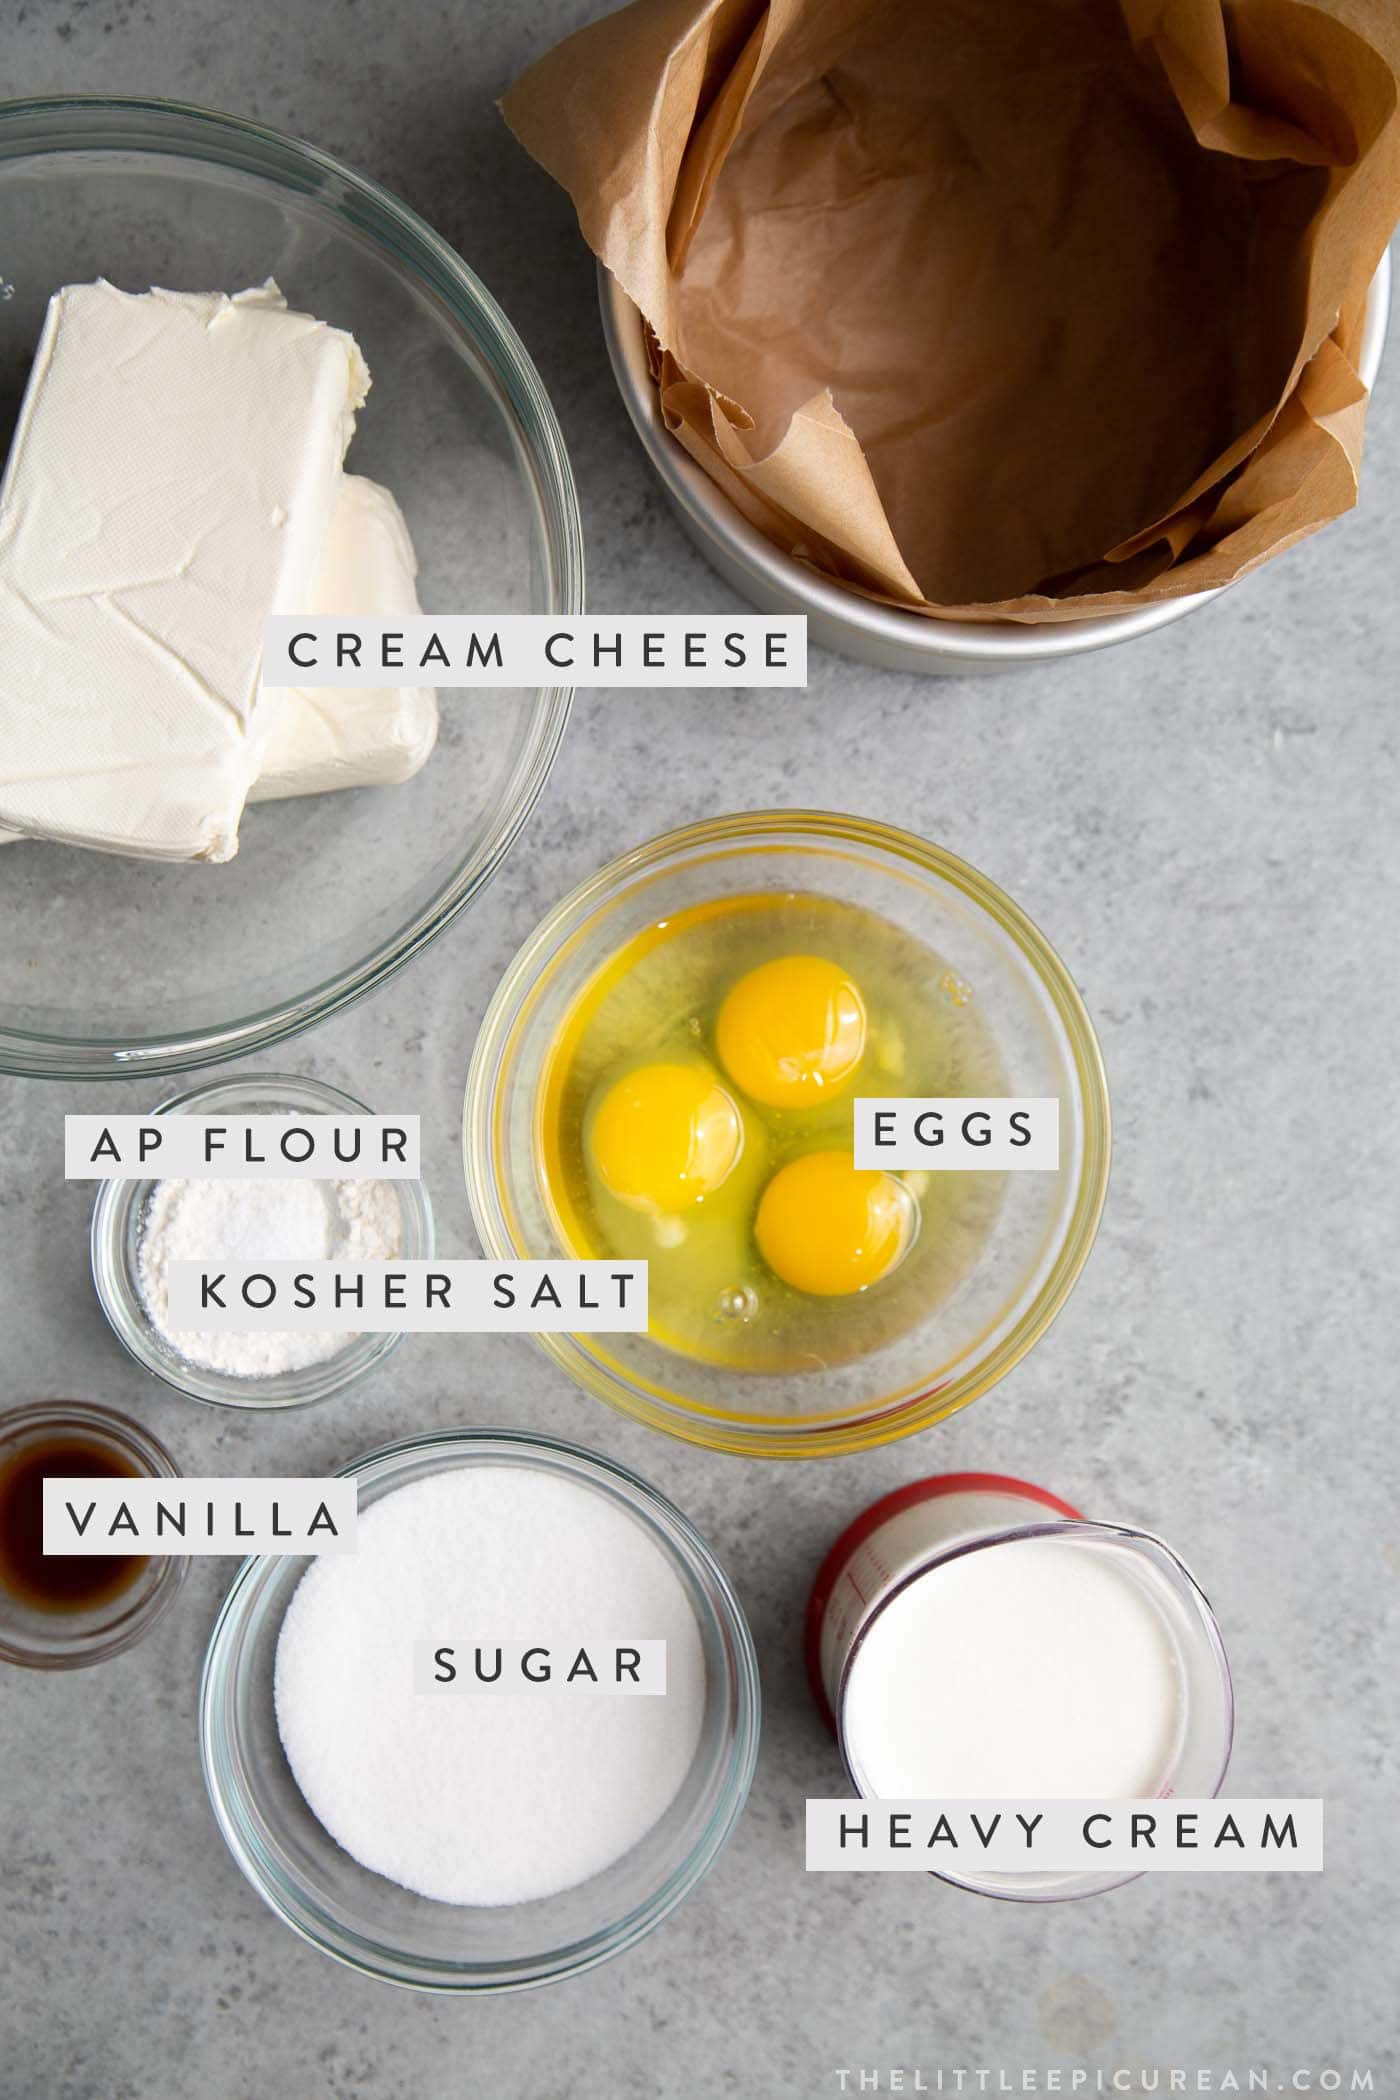
Cream Cheese
Use full-fat block cream cheese only. Room temperature is crucial—cold cream cheese creates lumps, and whipped or Neufchâtel (reduced-fat) won’t give you the rich, creamy texture this deserves.
Heavy Cream
Also called heavy whipping cream. You can substitute whipping cream (not as thick) or half-and-half (lighter texture) in a pinch, but heavy cream gives the best results.
Eggs
This recipe uses large eggs (about 2 oz/57g each). If using extra-large (2.25 oz) or medium (1.75 oz) eggs, adjust the number accordingly to hit approximately 6 oz total.
Flour
Just 2 tablespoons acts as an emulsifier, binding the cream and eggs into a silky filling. I use all-purpose, but cake flour or bread flour work too.
Sugar
At only ½ cup for the entire cake, this is less sweet than American cheesecake. The burnt top adds natural caramel sweetness. Pro tip: Try golden cane sugar or light brown sugar for deeper caramel flavor.
Vanilla Wafer Cookies
My secret weapon for the crust. They create a buttery, almost shortbread-like base. Nilla Wafers are the gold standard, though graham crackers work if that’s what you have.
Special Equipment Needed
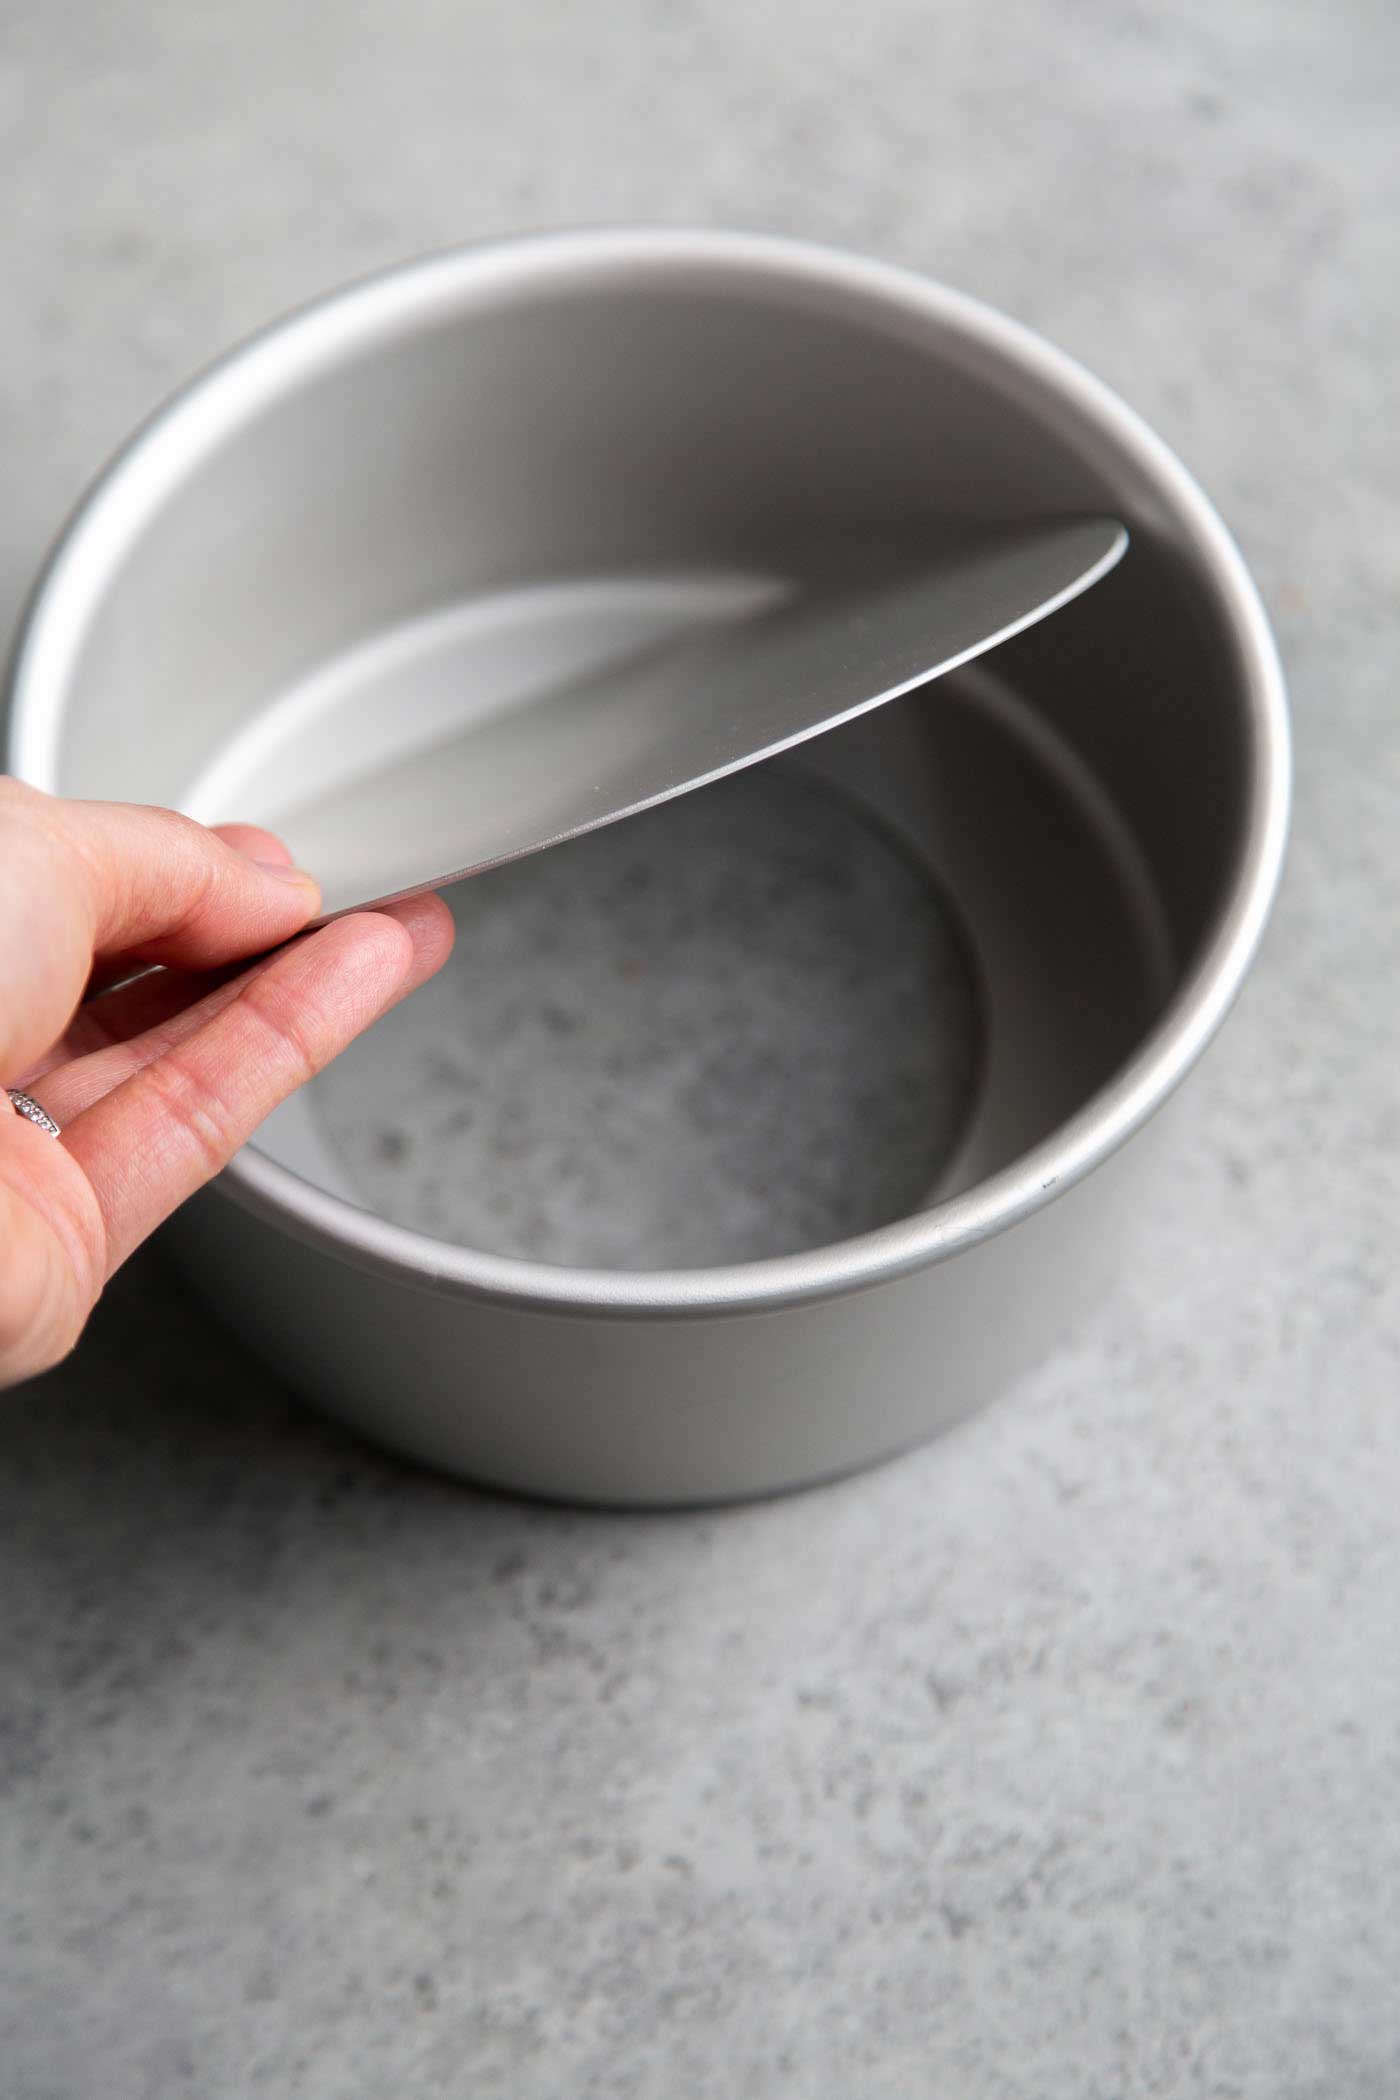
Deep Cake Pan (Essential)
You need a 3-inch deep, 6-inch round cake pan with removable bottom. Standard 2-inch pans won’t work—the batter rises significantly during baking.
Scaling up? For an 8-inch or 9-inch pan (3 inches deep), multiply the recipe by 1.5. Standard recipe quantities in larger pans create disappointingly shallow cakes.
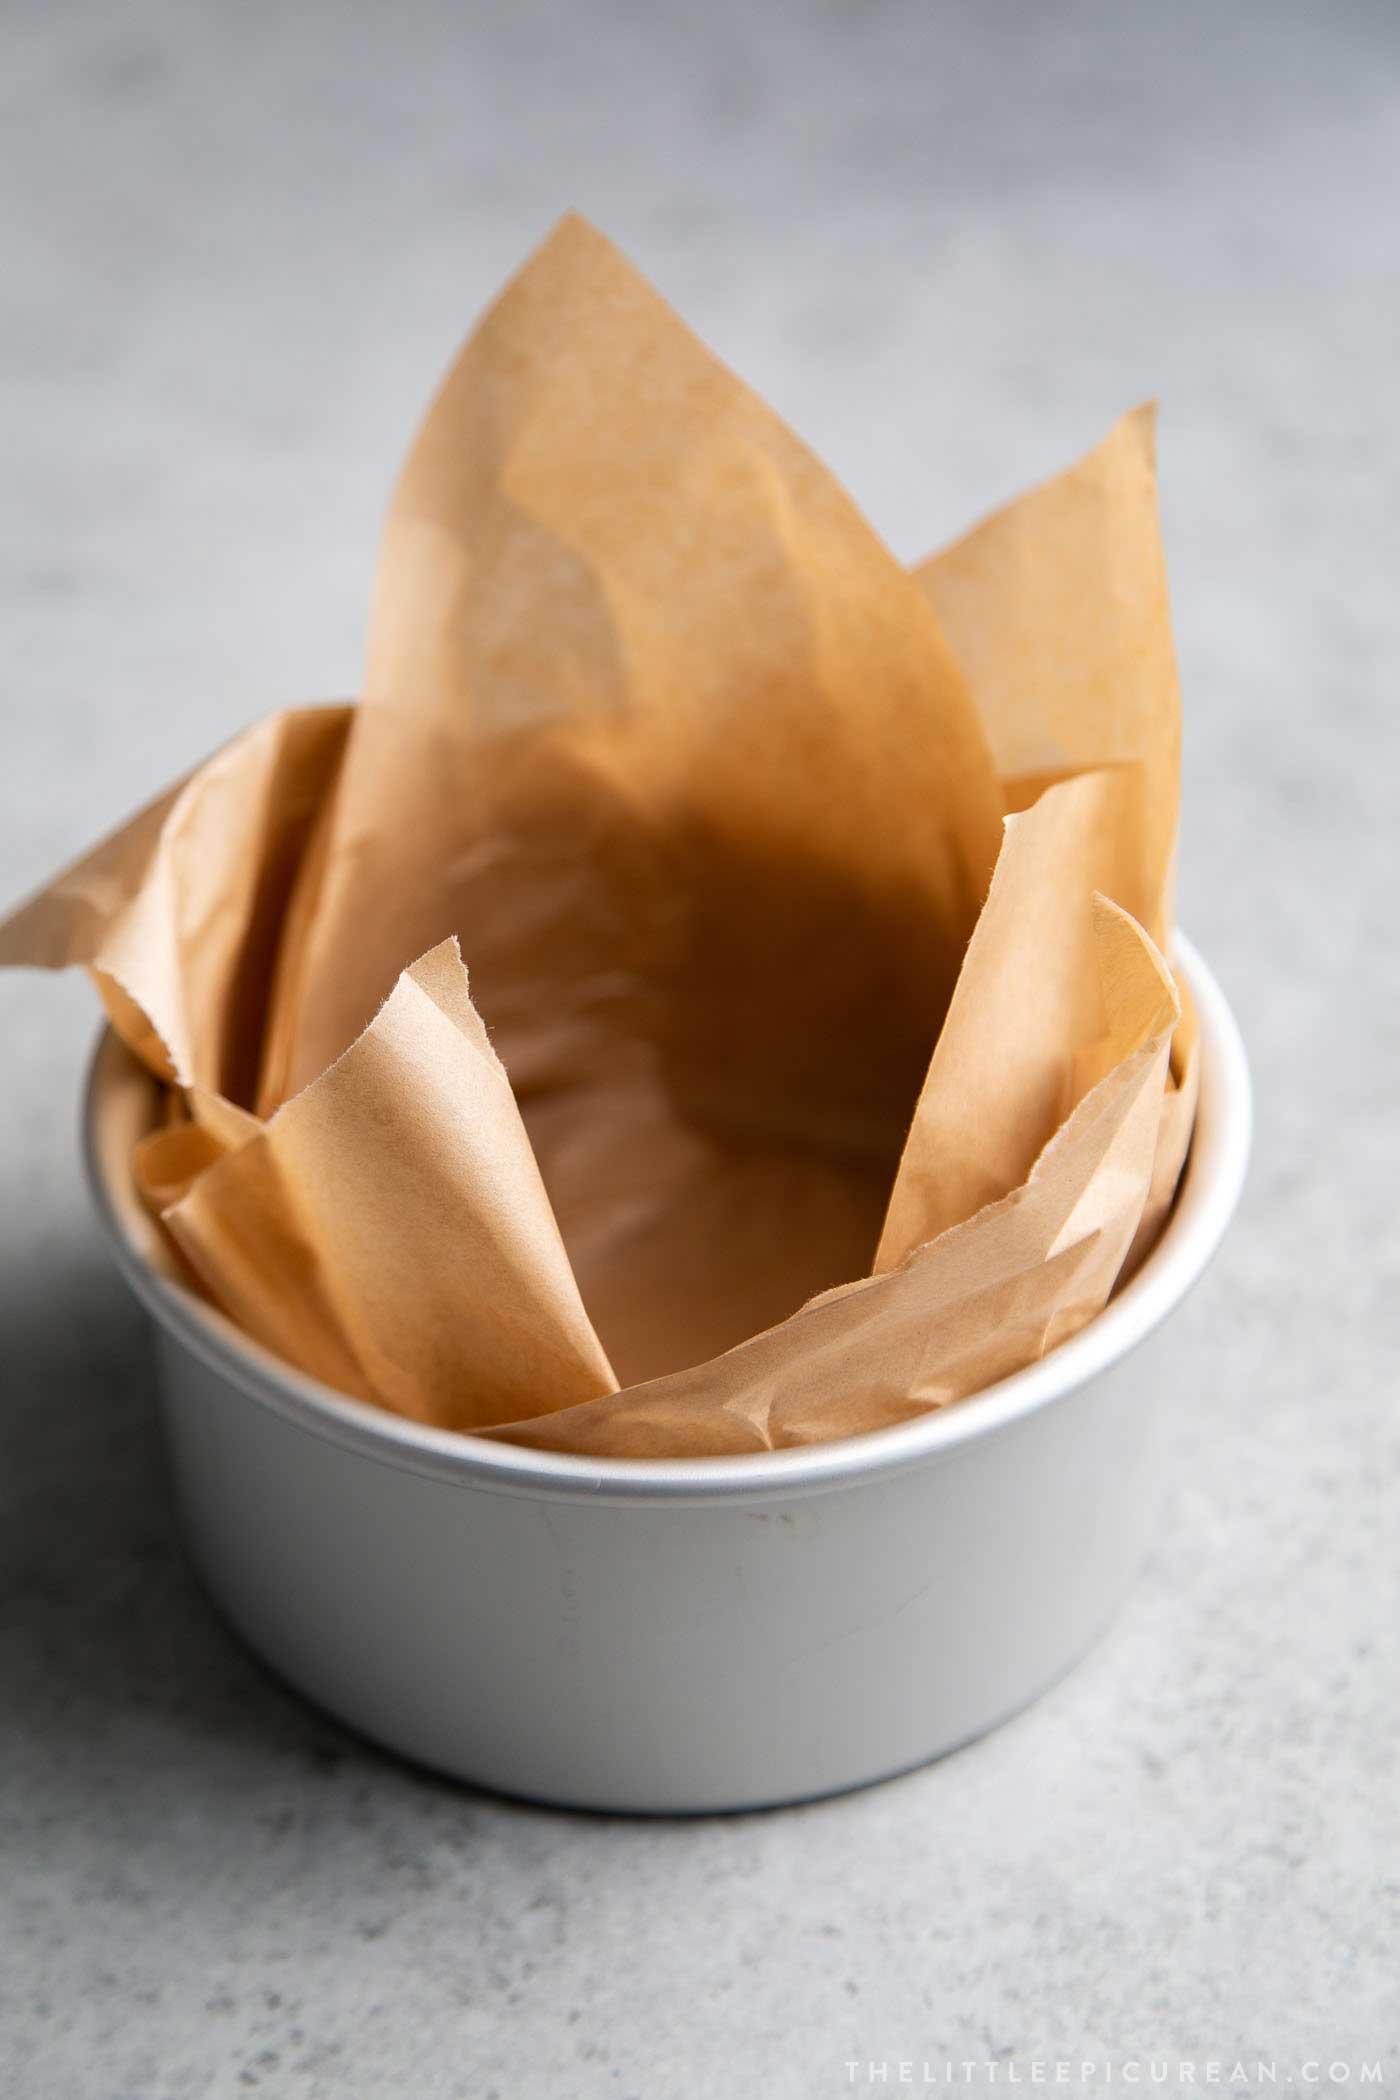
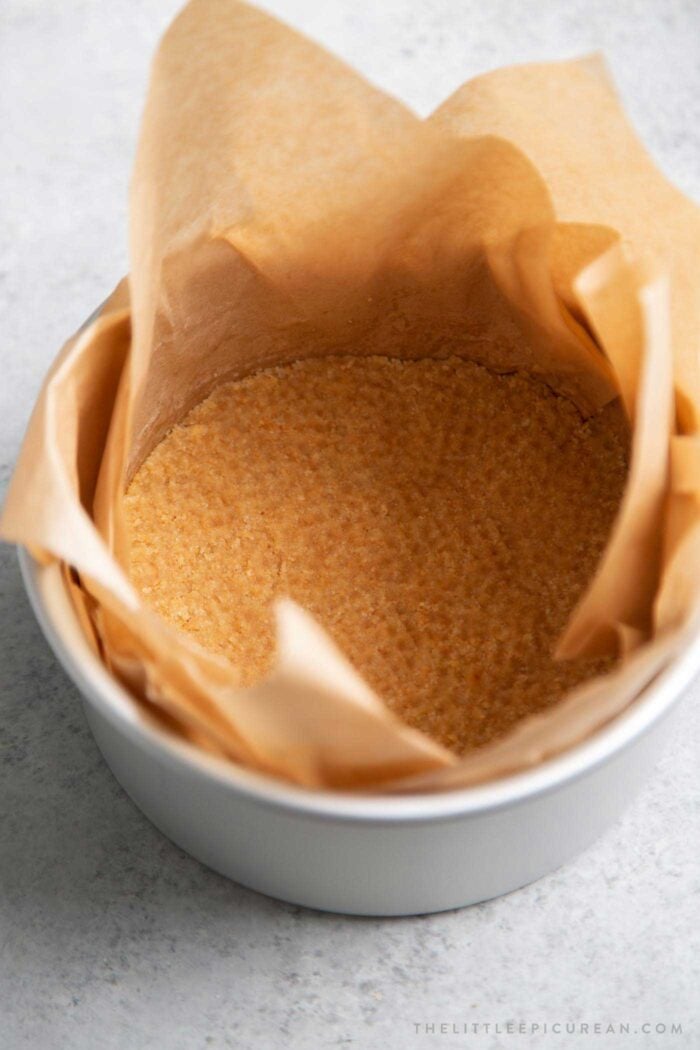
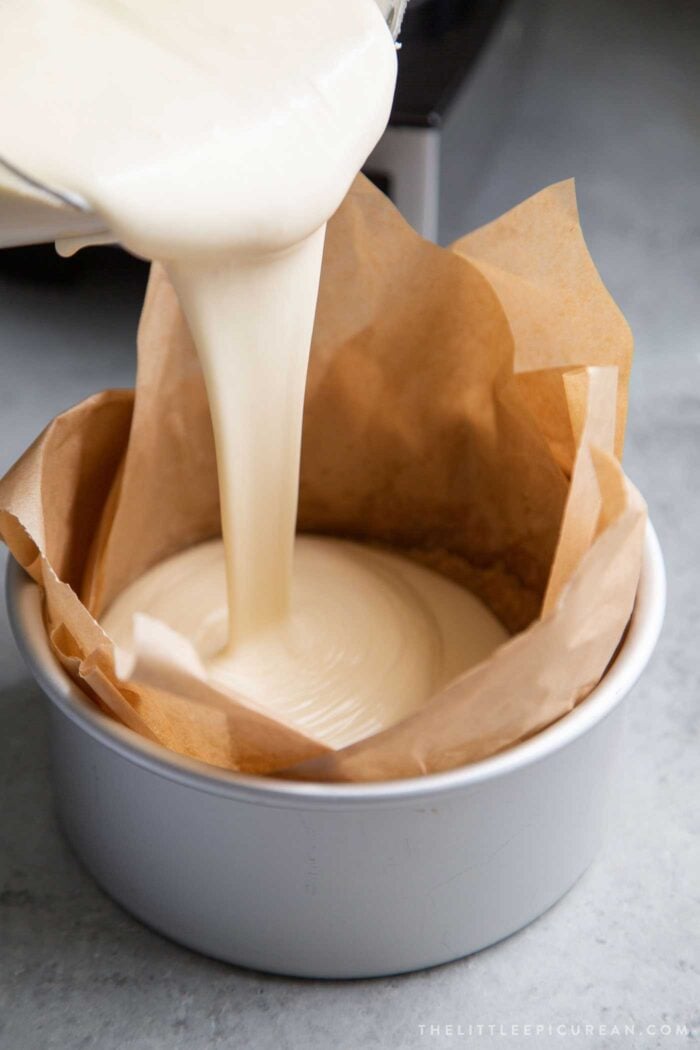
Parchment Paper
Line with two sheets of parchment paper, letting them extend 2-3 inches above the rim. The cheesecake puffs dramatically and will stick without generous lining—even to nonstick pans.
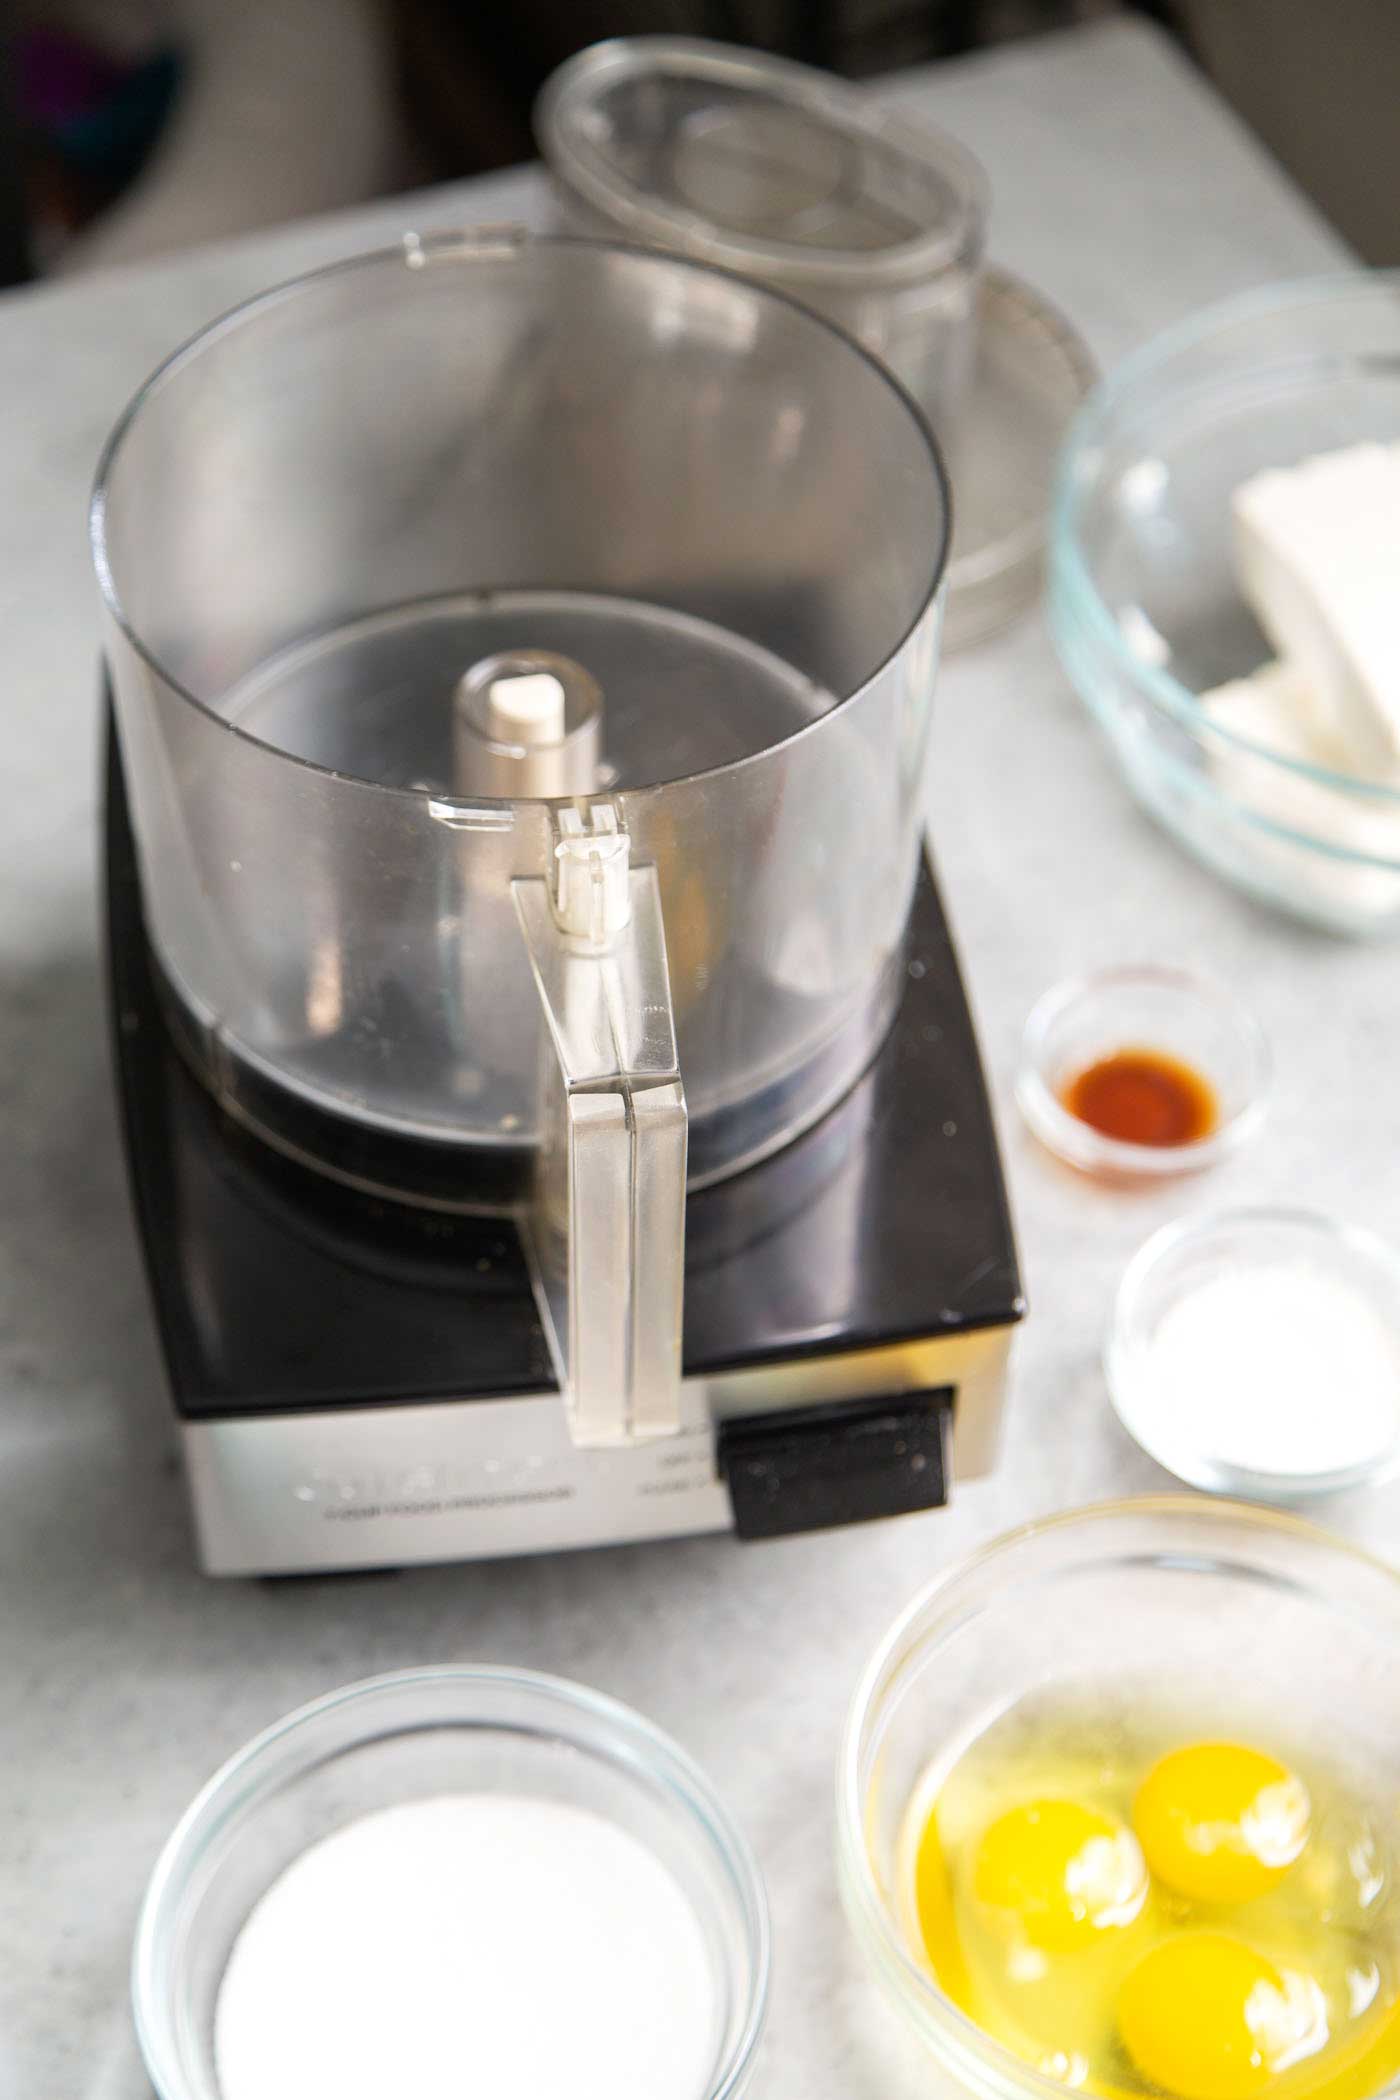
Food Processor (Recommended)
A food processor creates the smoothest filling with minimal effort. You can use a stand mixer or hand mixer, but process or mix just until combined—overmixing creates bubbles.
Instructions
- Make the Crust (Optional but Recommended)
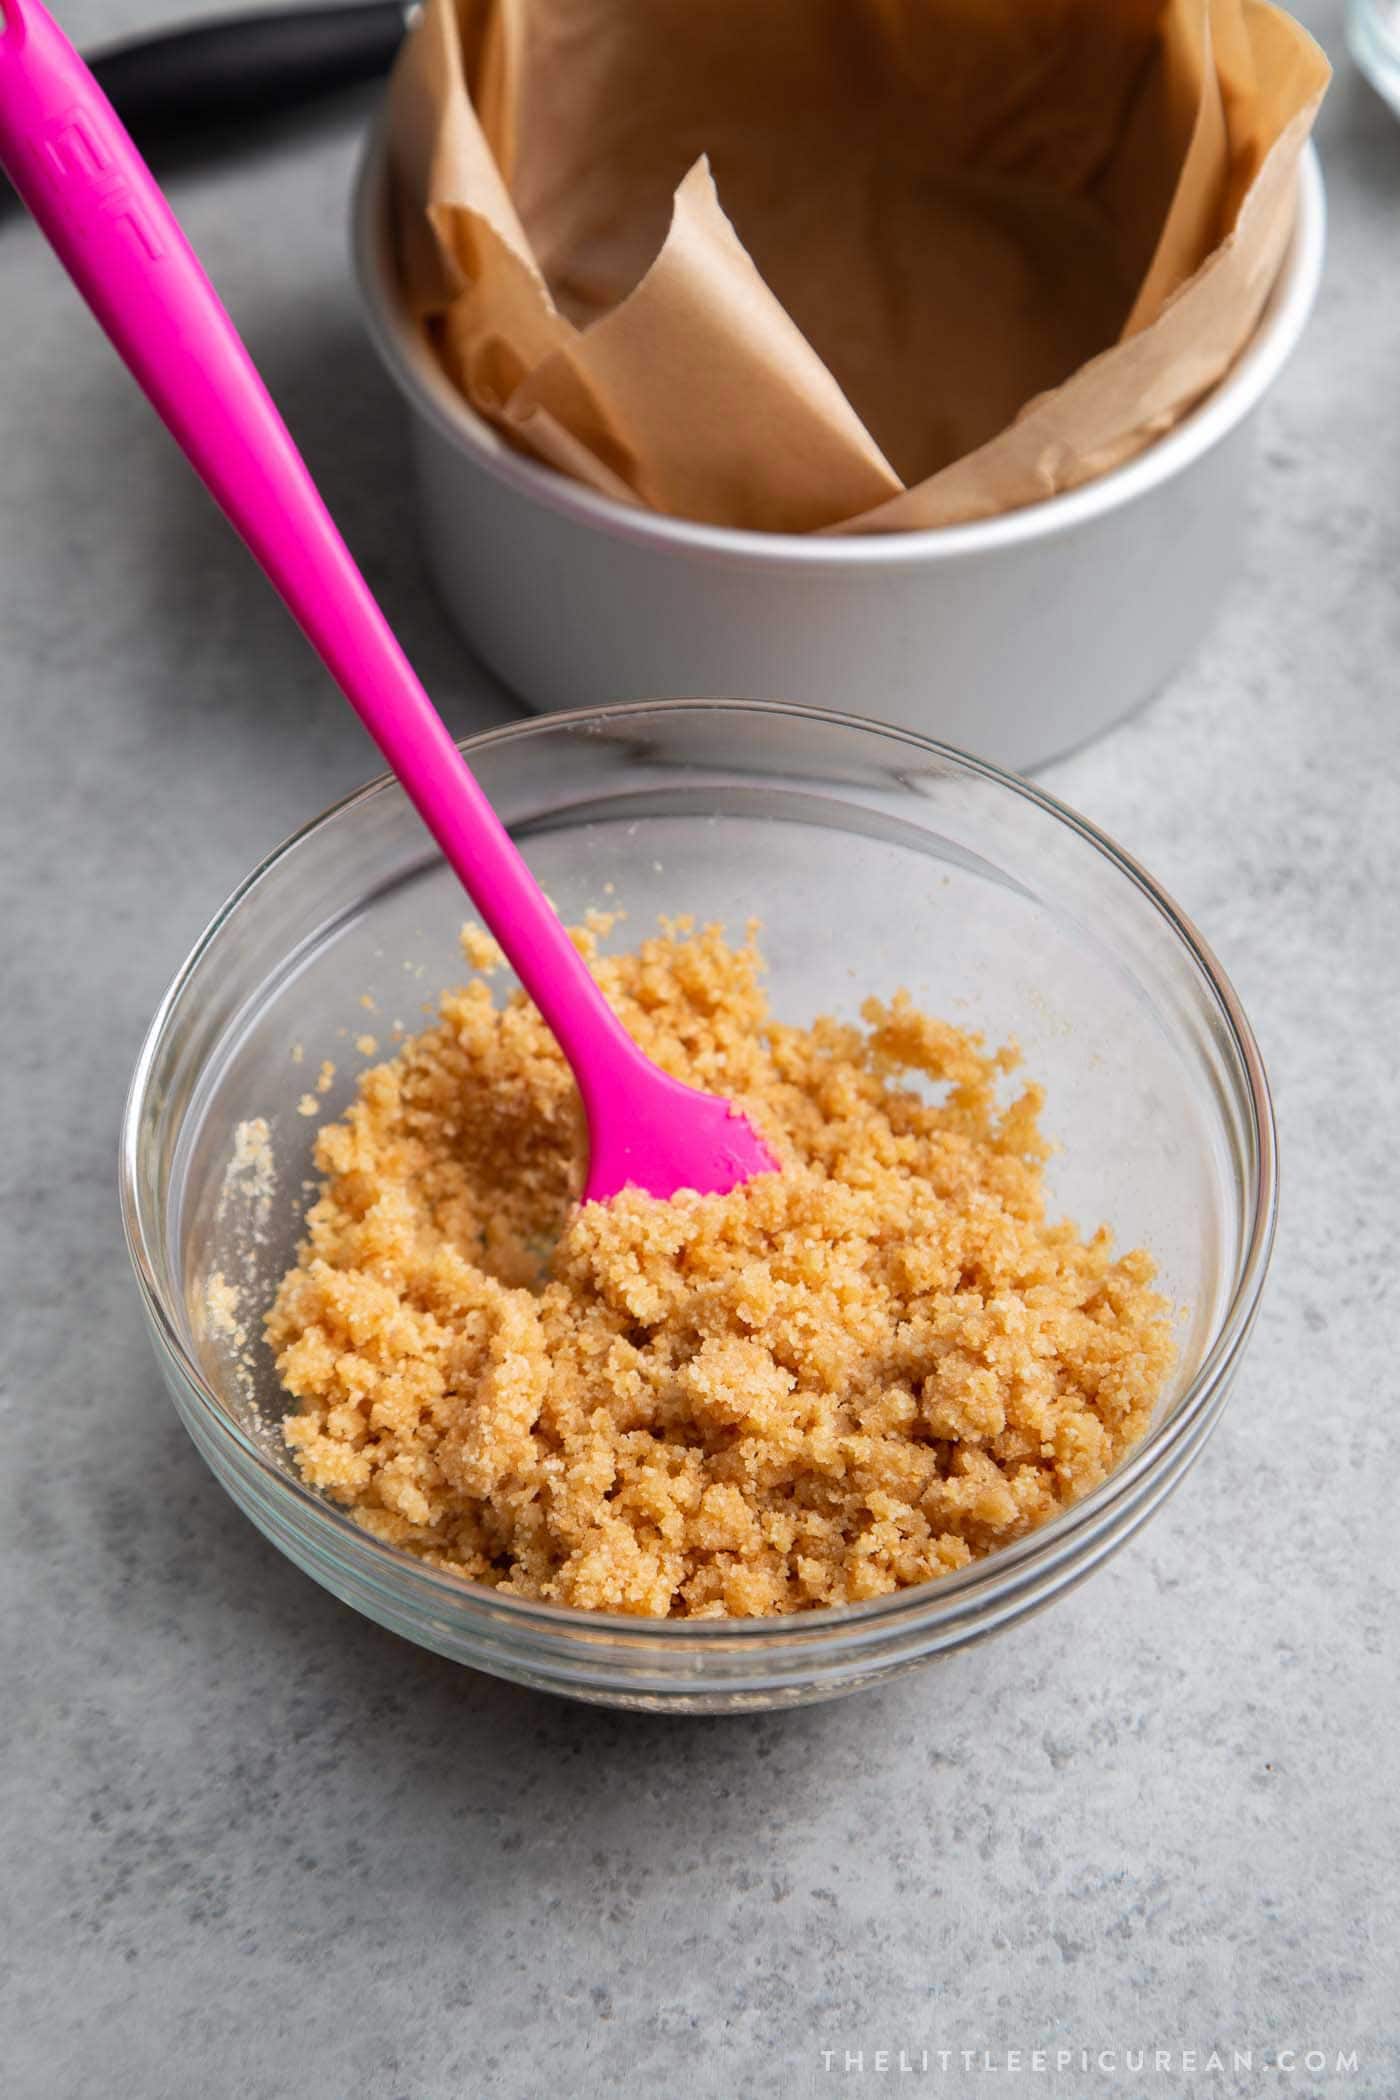
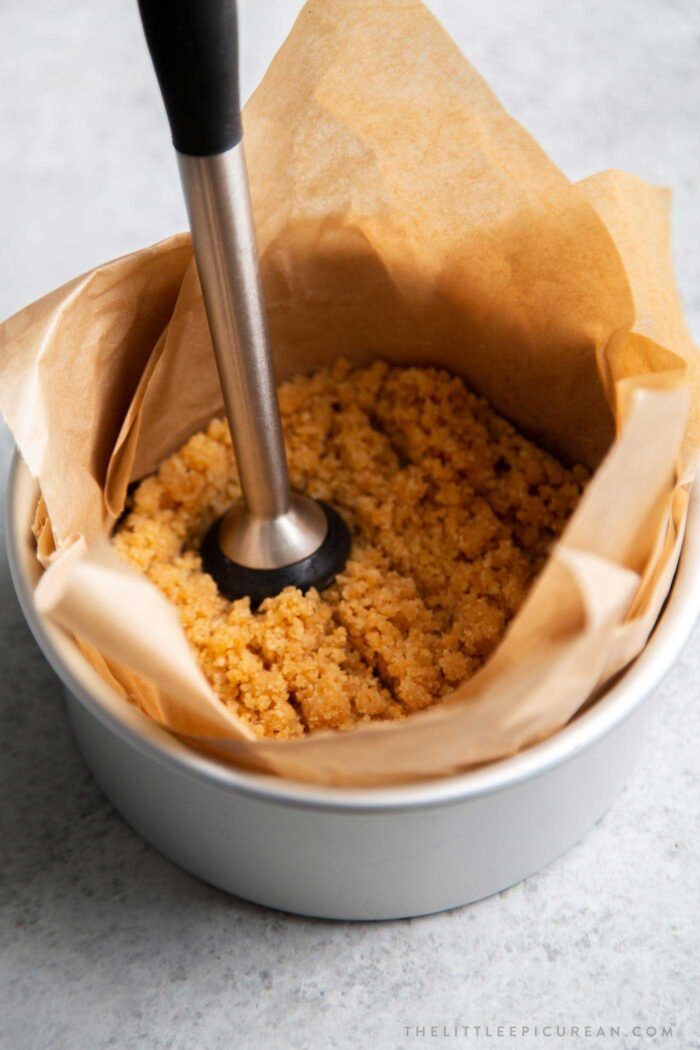
Combine ground vanilla wafer cookies, melted butter, and salt. Press firmly into the bottom of your parchment-lined pan using a tart tamper, muddler, or flat-bottomed glass.
Pro tip: The butter will be very hot from melting. Let it cool for 2-3 minutes before mixing with cookies to prevent a greasy crust.
- Mix the Filling (can’t mess this up!)
- Process cream cheese and sugar until completely smooth, scraping down the bowl
- Add vanilla and eggs one at a time while processing
- Create a flour paste in a separate bowl: Mix flour, salt, and ¼ cup cream until smooth, then gradually whisk in remaining cream
- Combine everything in the food processor for 30 seconds
Why the flour paste method? Mixing flour directly into liquid causes lumps. This professional technique ensures a perfectly smooth filling every time.
- Bake Hot and Fast
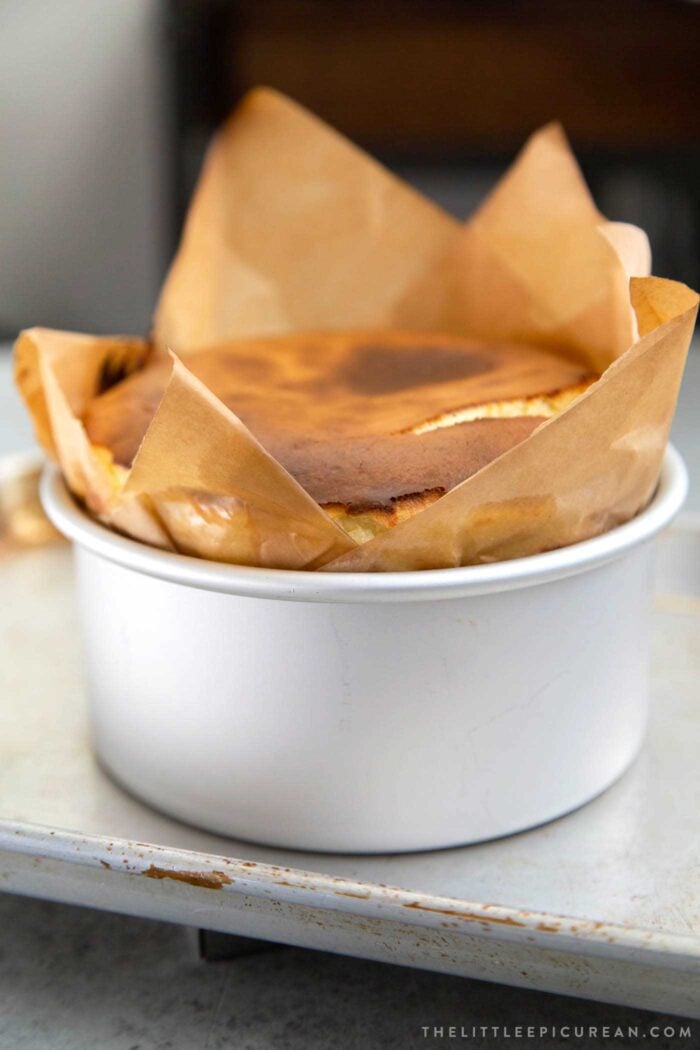
Pour filling over crust. Bake at 425°F for 35-40 minutes. You’re looking for:
- A deeply browned, almost burnt top (don’t be scared!)
- A jiggly center that moves like jello when you shake the pan
- Slightly puffed edges that will deflate as it cools
The center should look underdone. Trust me on this. The carryover heat will continue setting the filling as it cools.

How to Tell When It’s Done
This is where home bakers often panic. The cheesecake is done when:
✓ The top is dark golden brown to almost black in spots
✓ The center jiggles like loose jello when gently shaken
✓ The edges have puffed up and set
✓ Small cracks may appear on the surface (this is normal!)
What if my top isn’t dark enough at 40 minutes? Bake 3-5 minutes more. What if it’s too dark at 35 minutes? Pull it out early. This recipe is very forgiving.
Texture Guide: Soft Custard vs Firm Slice
You control the final texture based on how you cool it.
Soft, Silky Custard (My Favorite)
Cool at room temperature for 60-90 minutes. Slice while slightly warm. The texture is like a cross between flan and Japanese cheesecake—barely set, luxuriously creamy, almost pourable. Use a sharp, warmed knife for clean slices.
Best for: Immediate serving, special occasions, impressing dinner guests
Dense, Firm, and Creamy
Cool to room temperature, then refrigerate overnight. The filling firms up considerably, becoming sliceable like traditional cheesecake but with a creamier mouthfeel.
Best for: Make-ahead desserts, meal prep, easier transport
Both textures are equally delicious—it’s purely preference
Serving Suggestions
Traditional pairing: Pedro Ximénez sherry (a sweet Spanish dessert wine)
My go-to: Hot black coffee or a cold brew—the bitter notes complement the caramel sweetness perfectly
Topping ideas:
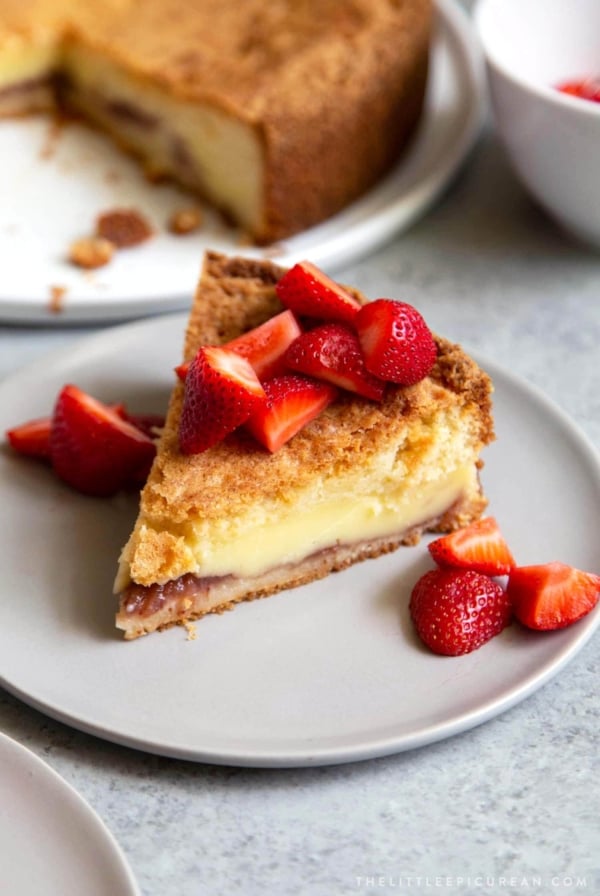
- Fresh strawberries or mixed berries
- Orange segments with a sprinkle of flaky sea salt
- Raspberry or strawberry compote
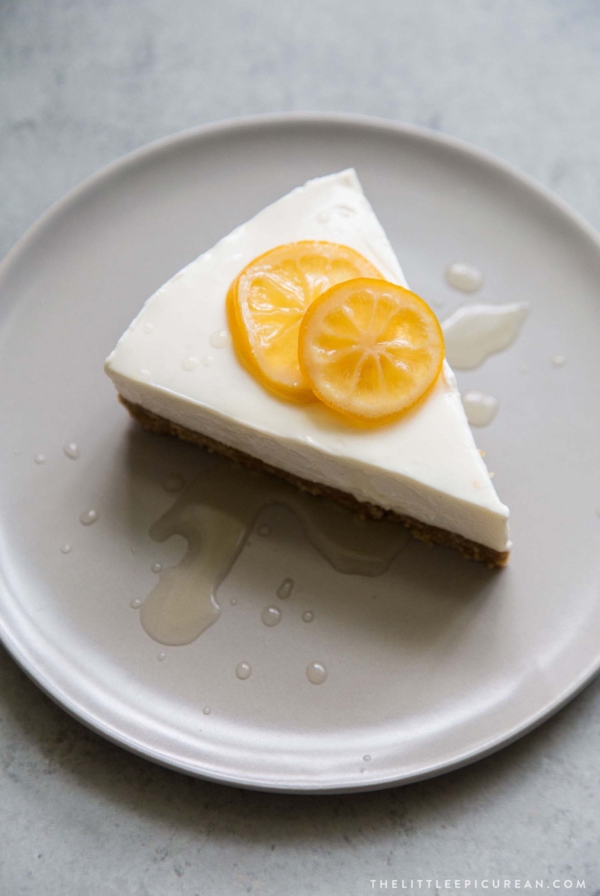
- Honey drizzle with crushed pistachios
- Dulce de leche and toasted coconut
Serve at room temperature for the softest texture, or chilled for firmer slices. Let refrigerated cheesecake sit out 10-15 minutes before serving for best flavor.
Storage & Make-Ahead
Room temperature: Up to 2 hours after baking
Refrigerator: Store in an airtight container or tightly wrapped in plastic wrap for up to 3 days
Make-ahead strategy: Bake the day before your event, refrigerate overnight, then bring to room temperature 30 minutes before serving.
Frequently Asked Questions
Yes! Use a stand mixer or hand mixer on medium speed. Mix just until smooth—don’t overbeat.
The “burnt” top is actually deep caramelization from high-heat baking. It creates complex molasses and toffee flavors that define this style of cheesecake.
Not recommended. The high-heat method works specifically for a deep, single cake. Ramekins or muffin tins will overcook quickly.
Basque cheesecake is less sweet than American versions. If you prefer sweeter desserts, increase sugar to ¾ cup or serve with sweetened berries, honey drizzle, or caramel sauce.
Bake 5-10 minutes longer next time. Every oven runs differently. Look for the visual cues (deep browning, slight puffing) rather than relying solely on time.
More Cheesecakes
Basque Cheesecake
Ingredients
Crust:
- 130 grams ground vanilla wafer cookies, (about 1 ¼ cup) or ground graham crackers
- ¼ tsp kosher salt
- 85 grams melted unsalted butter, (6 Tbsp)
Cheesecake:
- 454 grams brick style cream cheese, (16 oz) room temp
- 100 grams granulated sugar, (½ cup)
- 3 large eggs, room temp
- 1 ½ teaspoon pure vanilla extract
- 16 grams all-purpose flour, ( 2 Tbsp)
- ½ teaspoon kosher salt
- 250 ml heavy cream, ( 1 cup)
Instructions
- Line 3-inch deep 6-inch round cake pan with removable bottom with 2 layers of parchment paper, allowing paper to extend about 2-inches above cake pan rim. Set aside.
- Preheat oven to 425°F.
Crust:
- In a medium bowl, stir together ground vanilla wafer cookie (or ground graham crackers), salt, and melted butter until mixture is well moistened.
- Transfer to prepared cake pan. Press into an even layer into the bottom of the pan. Use a tamper or flat bottom of a drinking glass (or measuring cup) to compact and smooth out the crust. Set aside while you prepare filling.
Filling:
- Place cream cheese and sugar in a food processor fitted with blade attachment. Process until mixture is smooth. Scrape down sides of bowl as needed.
- Add in vanilla. With the processor running, add eggs one at a time, ensuring each egg is incorporated before adding the next. Stop processor. Scrape down sides of bowl.
- In a small bowl, stir together flour, salt, and about ¼ cup of cream until paste forms. Slowly add remaining cream, a little at a time, until mixture is smooth and there are no lumps of flour.
- Transfer flour mixture to food processor. Add any remaining cream to food processor bowl. Run food processor for another 30 seconds until mixture is smooth and well incorporated.
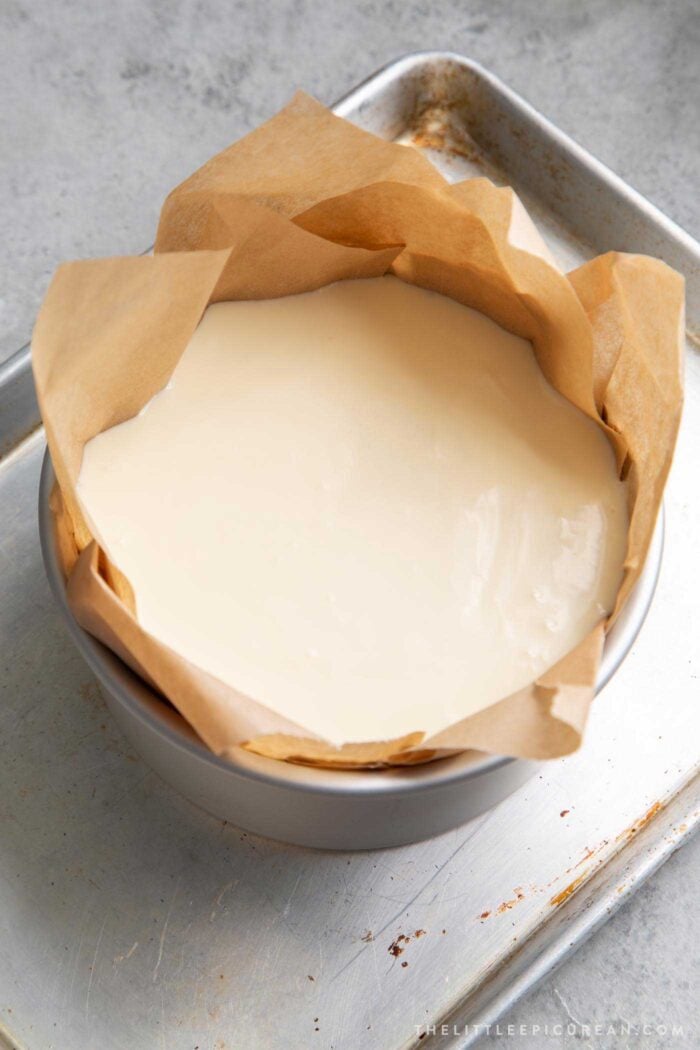
- Pour mixture into prepared cake pan on top of crust. Use a mini offset spatula or the back of a spoon to spread filling into an even layer.
- Place filled cake pan on a baking sheet to catch any spills during baking. Place in center of preheated oven. Bake for 35-40 minutes until top is browned yet center is stilly jiggly. Remove from oven and cool in pan.
- Let cheesecake cool to room temperature before serving. Unmold cheesecake from pan. Enjoy at room temperature or chill overnight.*
Video
Notes
- *See blog post regarding desired cheesecake texture- either soft silky custard or firm creamy.
- Reduce salt amount by half if using table salt.
- Store leftover cheesecake in an airtight container in the fridge for up to 3 days. Alternatively, tightly cover with plastic wrap.
Equipment Notes:
- I used this 3-inch deep 6-inch round cake pan with removable bottom
- I recommend this muddler. It can be used to tamp tart shells and pie crusts, as well as muddle herbs and fruits for drinks.
- I use an older model of this 14-cup food processor
Nutrition
Nutrition information is automatically calculated, so should only be used as an approximation.
 Like this recipe? Rate & comment below!


This is so good! I’ve made it twice now and came out perfectly both times :) I used an 8 in pan, and multiplied everything by 1.5 as the recipe states, using 4 eggs. 10/10
Thank you for sharing your results! So happy to hear you enjoyed it!
I have been mulling over this idea of combining NY and basque cheesecakes for Christmas gifting. So, thank you for this! Will the recipe work even if I use graham crackers for the crust? Thank you in advance!
Yes, you can use graham crackers! I’ve also tried with a combination of graham crackers and pretzel!
This was so delicious and the texture was perfect!
Followed the recipe exactly–this turned out okay but not great. I don’t like overly sweet desserts but this is not nearly sweet enough. The 1/2c of sugar for 18oz of cream cheese, 3 eggs, and 1c cream should have stood out to me. The flavor came out sort of dull and lacking without sweetness to balance out all the cream and cheese. Texture was really nice, though.
The crust also burned–I left the cheesecake in the oven just long enough to get the caramelized “Basque” top and for the cake to set, but that was too long for the crust. The recipe probably needs a longer cook time and lower cook temp.
I’m going to make a raspberry compote tomorrow to see if that helps lift the flavor and add sweetness. Overall, though, this was a lot of effort for a disappointing result.
Hi! Any suggestions how to adapt this to ramekins? Thank you!
Hi! I don’t recommend baking this recipe in ramekins because the filling will likely overcook.
wish I could upload an image but ok, you need to try with ‘golden granulated sugar or light brown sugar and cane (white) sugar mix
It turns into Into a light caramelised taste which goes well with the ‘burnt’ edges
I’ve made this beautiful dessert countless times since it’s been published, each time it’s great. Not overly sweet, lovely creamy light but rich texture, and easy to follow instructions. The great thing about this cake is if you must under or overbake just a few minutes – its forgiving! (which has happened especially during the holidays with the oven is at capacity), It’s always a hit, even with my more traditional cheese cake lovers – but I never skip out on the crust, it’s a must! I like to top it with fresh berries and its stunning – and hard to resist going in for a slice. Thank you for sharing, Little Epicurean!