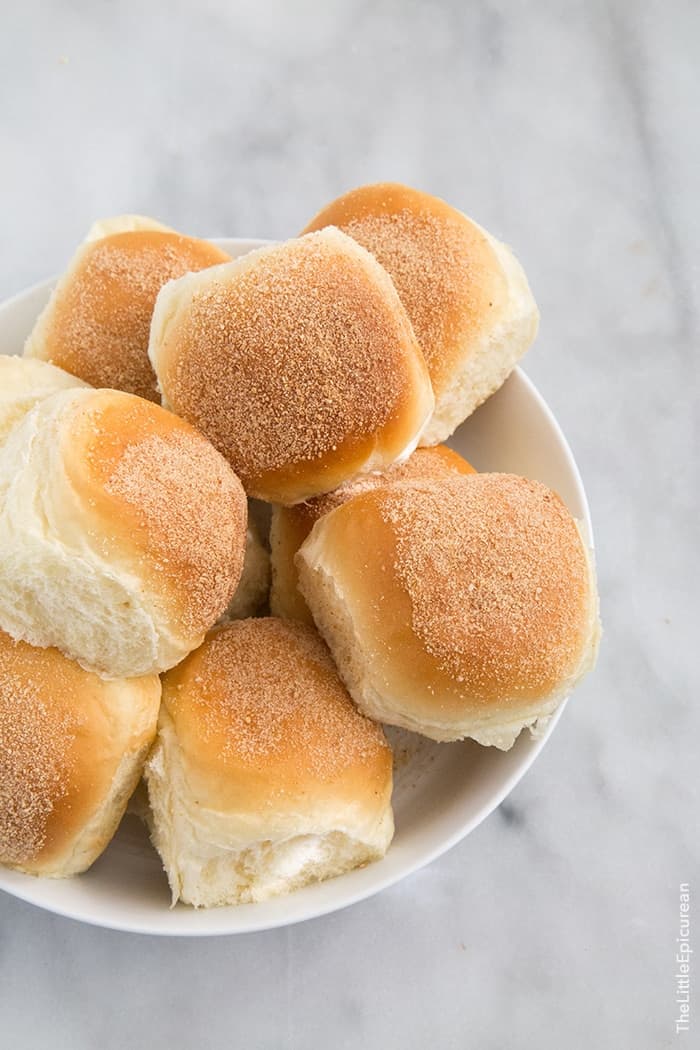
Bring the Filipino bakery experience home with pillowy-soft pandesal- the beloved breakfast roll that’s worth waking up for.
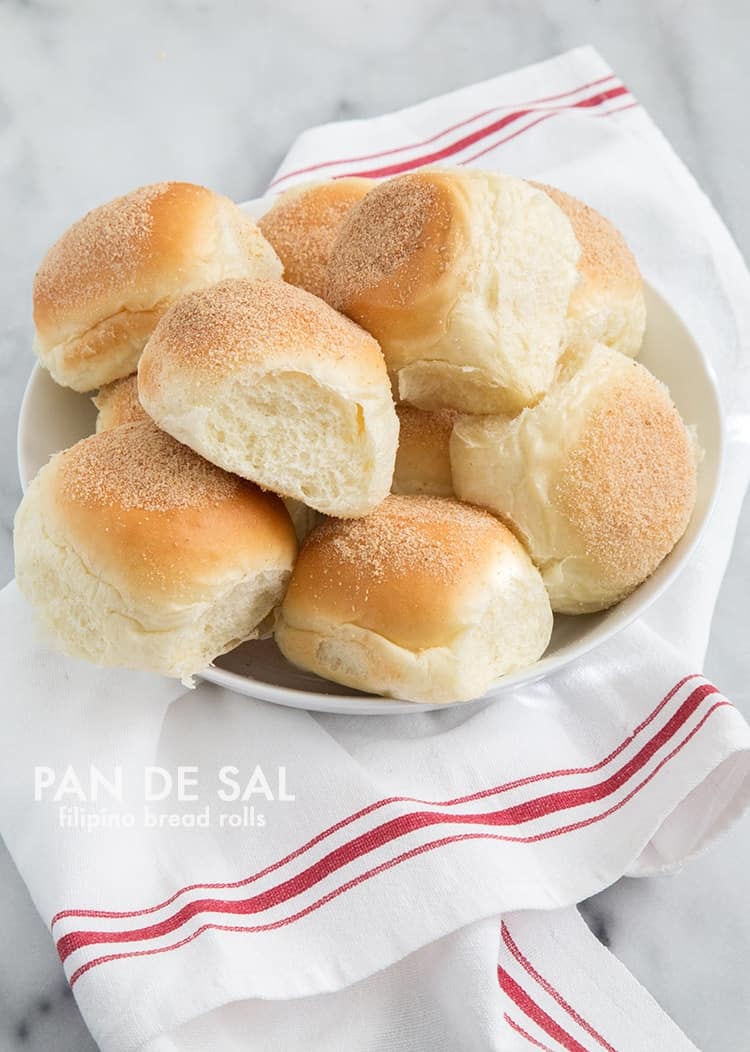
If you’ve ever wandered past a Filipino bakery at dawn, you know the smell: warm, yeasty, slightly sweet pandesal fresh from the oven. These cloud-like bread rolls are the an iconic Philippine bread.
With my professional pastry training and Filipino roots, I’m sharing the technique that creates that signature pillowy crumb and golden breadcrumb coating. Whether you’re reconnecting with childhood memories or discovering pandesal for the first time, this recipe delivers authentic results.
What is Pandesal?
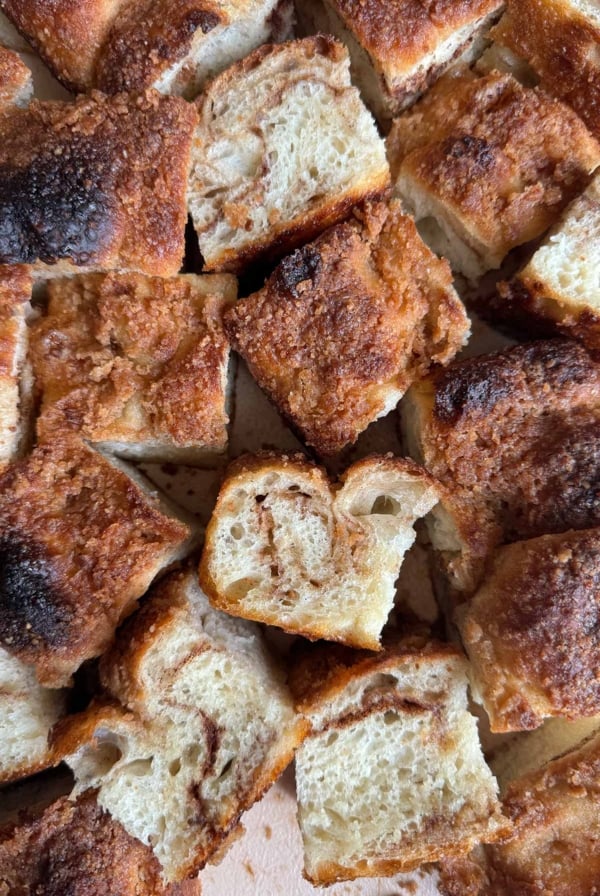
Pandesal (also spelled pan de sal) is the quintessential breakfast bread of the Philippines. These slightly sweet, pillowy-soft rolls are instantly recognizable by their breadcrumb coating and oval shape. Unlike dinner rolls that accompany meals, pandesal is the star of Filipino breakfast and merienda (afternoon snack).
The texture sits somewhere between Hawaiian sweet rolls and classic dinner rolls—tender and fluffy with a delicate crumb, but much less sweet than Hawaiian rolls. Fresh from the oven, they’re best enjoyed warm, torn open to release their soft, steamy interior.
The Story Behind the Bread
In the Philippines, pandesal isn’t just breakfast—it’s a daily ritual. Before sunrise, Filipinos line up at neighborhood bakeries to buy pandesal “mainit-init” (piping hot), often still warm enough that the paper bag becomes translucent with steam.
The name “pan de sal” literally translates to “salt bread” in Spanish, a remnant of Spanish colonial influence. Ironically, modern pandesal is slightly sweet rather than salty, though the name stuck. This bread evolved from Spanish pan de agua, adapting to Filipino tastes and local ingredients over generations.
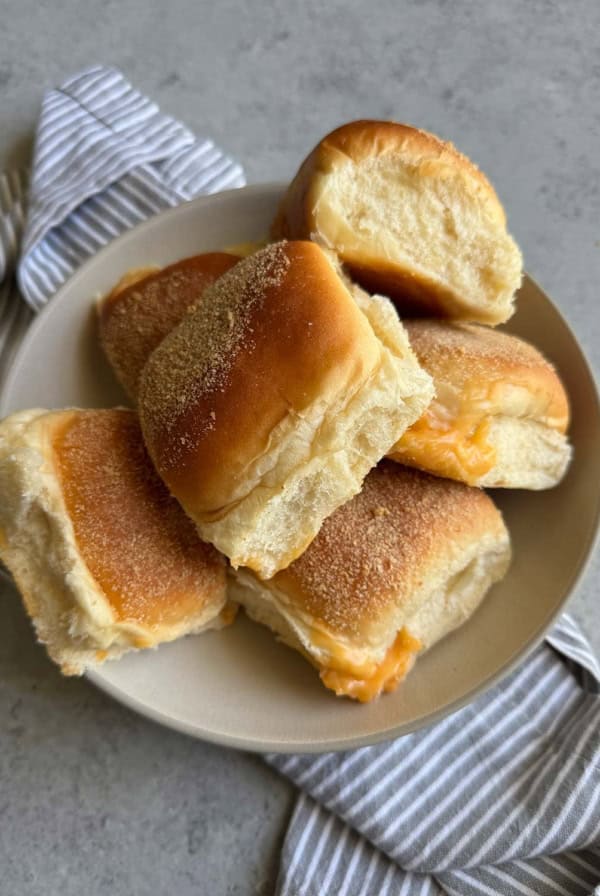
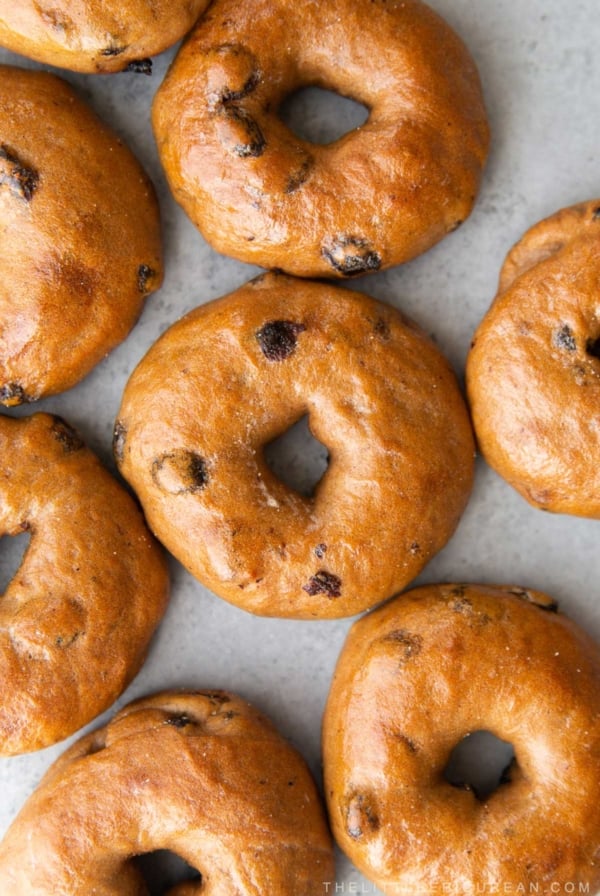
Today, every region has slight variations—some softer, some denser, some sweeter—but all share that distinctive breadcrumb coating. Try the popular ube cheese pandesal variation or my new cheese pandesal!
![]()
What makes pandesal special isn’t just the recipe; it’s the memories attached to it. It’s coffee dipped with your lola (grandmother) or cheese sandwiches packed for school. That’s what I want to help you recreate in your own kitchen.
Essentials Tools
While you can make pandesal with minimal equipment, these tools make the process easier and more consistent:
- Kitchen Scale: Professional bakers work by weight, not volume. A digital scale ensures every roll is the same size, so they bake evenly. This is the single most important tool for consistent results.
- Stand Mixer with Dough Hook: Makes kneading effortless, though hand kneading absolutely works—it just takes longer and builds arm muscles.
- Instant-Read Thermometer: Takes the guesswork out of milk temperature. Yeast is finicky about temperature, and this $15 tool saves batches from failure.
- 18×13-inch Half Sheet Pan: Professional bakers use half sheets for even heat distribution. The size matters—too small and rolls crowd each other; too large and they spread too thin.
- Bench Scraper: Invaluable for portioning dough cleanly and scraping your work surface. So many variations to choose from.
- Plastic Wrap: Keeps dough from forming that dreaded “elephant skin” during rising.

Pandesal Ingredients
These bread rolls rely on simple, pantry-friendly ingredients. Here’s what you’ll need:
- Dry Ingredients
- all-purpose flour (or a combination of all-purpose and bread flour)
- kosher salt (highly recommend using Diamond Crystal)
- Wet Ingredients
- active dry yeast
- milk (can be whole, reduced fat, or even a mixture of water and milk)
- granulated sugar
- butter (or mixture of butter and oil for softer rolls)
- large eggs
- For Coating
- Fine breadcrumbs (store-bought or homemade)
Step-by-Step Instructions
Activating the Yeast: The Foundation
- Warm the milk to 100-105°F. Pour into the bowl of your stand mixer. Sprinkle the yeast over the milk and add 2 teaspoons of the sugar. Stir gently to combine.
- Let stand for 5-10 minutes until the mixture becomes foamy and fragrant, smelling slightly like beer. This tells you the yeast is alive and active. If nothing happens, your yeast is dead—start over with fresh yeast.
Building the Dough: Proper Mixing Technique
- In a separate large bowl, whisk together the flour and salt. Set aside.
- Add the remaining sugar, room temperature butter (and oil*), and lightly whisked eggs to the yeast mixture in the stand mixer.
- Fit the mixer with the dough hook attachment. With the mixer running on low speed, add the flour mixture in three additions, allowing each to incorporate before adding the next. Scrape down the sides of the bowl as needed.
- Once all flour is added, increase speed to medium. Knead for 5-7 minutes until the dough comes together into a smooth, elastic ball. The dough should pull away from the sides of the bowl and feel soft and supple, though slightly tacky. Don’t add more flour! This tackiness is what creates tender rolls.
First Rise: Patience Pays Off
- Lightly oil a large bowl. Remove dough from the mixer and shape into a ball. Place in the oiled bowl, turning once to coat all sides. Cover tightly with plastic wrap.
- Let rise at room temperature (72-75°F is ideal) for about 1 hour, until doubled in volume. The dough should look puffy and hold an indentation when gently pressed with a finger.
Shaping and Coating: The Signature Look
- Punch down the dough to release air bubbles. Turn out onto a clean work surface. Using your bench scraper or a knife, divide the dough into 24 equal portions. For precision, weigh the entire dough mass, divide by 24, and portion by weight (each piece should be about 35-40g).
- Roll each portion into a smooth ball by cupping your hand over the dough and moving it in circles on the work surface. The dough should roll against the counter, creating surface tension that forms a smooth top.
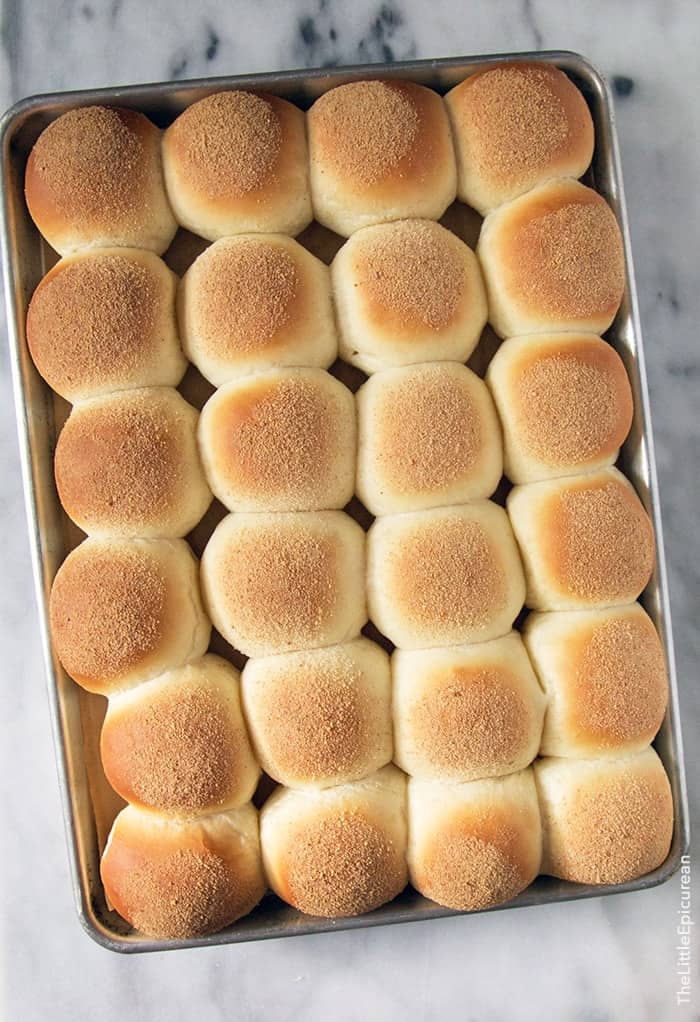
- Pour breadcrumbs into a shallow bowl. Dip the top of each dough ball into the breadcrumbs, coating generously. Place breadcrumb-side up on a parchment-lined 18×13-inch baking sheet, spacing them about 1½ inches apart.
- Cover the entire pan loosely with plastic wrap to prevent the dough from drying out. This is crucial because exposed dough forms a skin that prevents proper rising and breadcrumb adhesion.
Final Proof and Baking: Achieving Golden Perfection
- Let the rolls proof at room temperature for 20-30 minutes, until noticeably puffy and nearly doubled in size. They should look pillowy and soft, with visible expansion.
- Meanwhile, preheat your oven to 350°F.
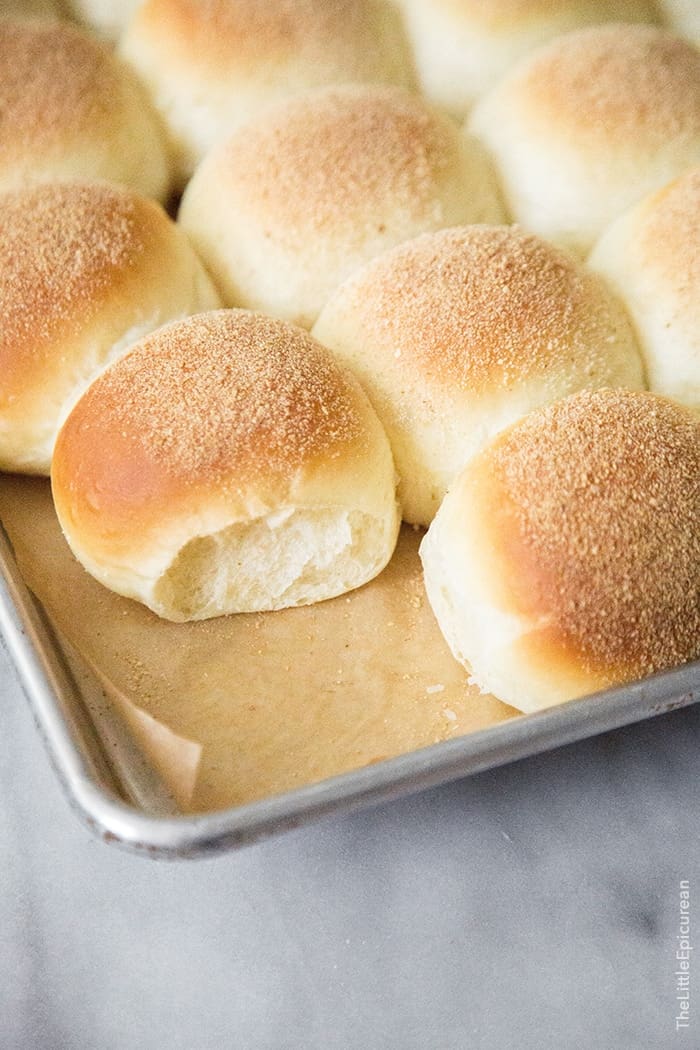
- Remove the plastic wrap. Bake for 20-25 minutes, until the rolls are golden brown and fragrant. The breadcrumb coating should be toasted and crispy, and the rolls should sound hollow when tapped on the bottom.
- Transfer to a wire rack. Serve warm or at room temperature. Try your hardest not to eat them all in one sitting—I know it’s difficult!
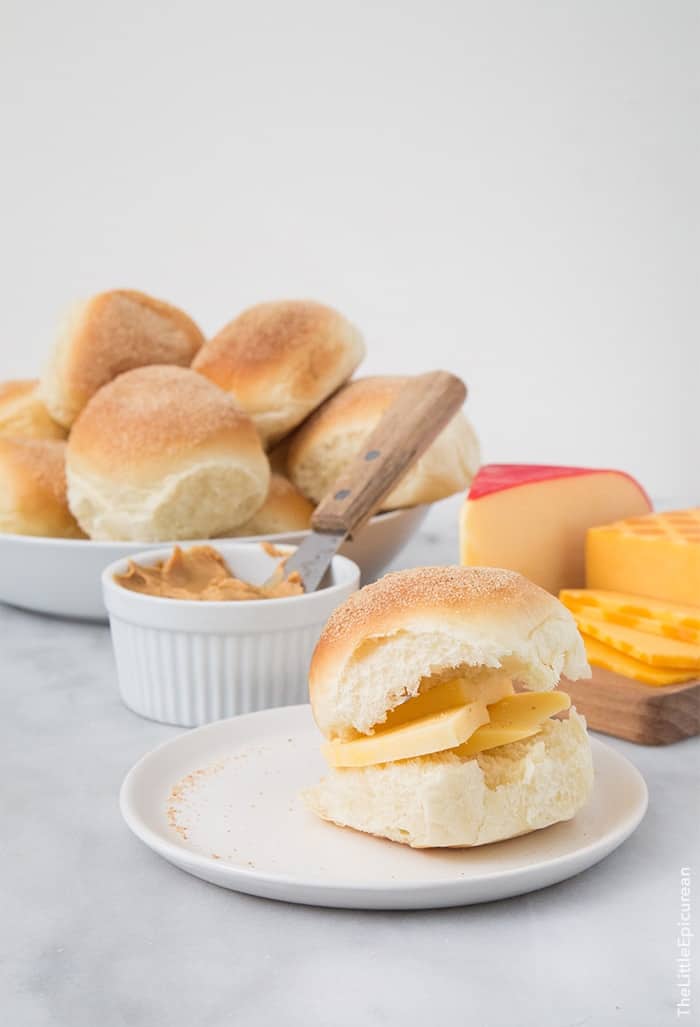
How to Serve Pandesal Filipino-Style
Part of pandesal’s charm is its versatility. Here’s how Filipinos enjoy these rolls throughout the day:
Traditional Morning Pairings:
- With kesong puti (fresh Filipino white cheese) or sharp cheddar
- Dipped in hot coffee or Filipino hot chocolate (tsokolate)
- Stuffed with scrambled eggs and dried fish
- Spread with liver pâté or corned beef
Sweet Options:
- Peanut butter
- Sweetened condensed milk drizzled inside
- Butter and sugar (the childhood favorite)
- Ube halaya (purple yam jam)
- Coconut jam (matamis na bao)
The Filipino “Sawsaw” Tradition: Filipinos love to “sawsaw” (dip) pandesal. Tear the roll open while hot, releasing steam, then dunk it in your coffee until just soaked. The combination of slightly sweet bread with bitter coffee is perfection. You can also try dipping in hot chocolate or even condensed milk for extra indulgence.
Pandesal Sandwiches:
- Ham and cheese (the classic packed lunch)
- Tuna salad or egg salad
- Pulled pork with pickled vegetables
Storage and Make-Ahead
Room Temperature Storage: Keep completely cooled pandesal in an airtight container for up to 3 days. They’re best enjoyed within 24 hours for optimal freshness.
Refrigerating Dough (Professional Method): After the first rise (step 8), you can refrigerate the dough overnight instead of shaping immediately. Punch down, cover tightly, and refrigerate for up to 24 hours. The next morning, let it come to room temperature (about 30 minutes), then proceed with shaping and the final proof. This slow fermentation actually develops more flavor.
Freezing Baked Pandesal: Freeze completely cooled rolls in freezer bags for up to 2 months. Thaw at room temperature, then reheat in a 300°F oven for 5-7 minutes to crisp up the exterior.
Best Reheating Method: For that fresh-baked texture, wrap rolls in a damp paper towel and microwave for 10-15 seconds, or reheat in a 300°F oven for 5 minutes. The steam from the damp towel or oven heat softens them beautifully.
Frequently Asked Questions
Absolutely! Hand kneading works perfectly—it just takes longer (about 10-12 minutes of active kneading). The dough is ready when it’s smooth, elastic, and passes the windowpane test. Hand kneading also gives you a better feel for the dough’s texture, which many bakers prefer.
For best results, use the AP flour and bread flour combination as written. If you don’t have bread flour, you can substitute with all-purpose flour for the entire recipe—you’ll still get delicious rolls, just slightly less chewy.
Do NOT use whole wheat flour without adjusting the liquid, and never use self-rising flour, which contains baking powder and salt.
Yes, though milk provides richer flavor and creates a softer crust. If substituting water, the rolls will be slightly less tender. You can also use low-fat milk, or in a pinch, mix ½ cup evaporated milk with ¾ cup water.
I exclusively use Diamond Crystal Kosher Salt in all my recipes for consistency. It’s less salty than Morton’s kosher salt, table salt, or fine sea salt. If using a different salt, reduce the amount slightly and add more to taste if needed.
After kneading, the dough should be smooth, elastic, and slightly tacky but not sticky. Perform the windowpane test: pinch off a small piece and stretch it gently between your fingers. If it forms a thin, translucent membrane without tearing, your gluten is properly developed.
Troubleshooting Guide
This almost always comes down to dead yeast. When you mix yeast with warm milk and sugar, it should smell fragrant (like beer) and foam up within 5 minutes. If nothing happens, the yeast is no longer active—check the expiration date and try the yeast freshness test.
Also, cold environments slow rising significantly. If your kitchen is cold, give the dough extra time or find a warmer spot (like inside a turned-off oven with the light on).
This happens when the dough surface dries out and forms an “elephant skin.” Keep the dough covered with plastic wrap at all times during portioning, resting, and proofing. If the surface feels dry, lightly mist it with water before dipping in breadcrumbs.
The two most common culprits:
Overworked dough: Too much mixing or handling overdevelops gluten, making the dough tight and elastic. Overworked dough needs more resting time to relax. Mix just until the dough is smooth and passes the windowpane test.
Improper proofing: Overproofed dough rises too much and then collapses, baking up dense because it has no energy left to rise in the oven. Underproofed dough hasn’t had enough time to develop air pockets, also resulting in dense bread. Proof by sight and touch, not just by time.
![]()
Don’t stress about bread making—it’s actually quite relaxing once you get the rhythm. Whenever I’m stressed or need to clear my mind, I bake a batch of bread. Maybe it’s learning patience through the rising process, or the repetitive motion of shaping dough, but more likely it’s the incredible aroma of fresh bread filling my kitchen. That scent alone makes everything better.
A kitchen filled with the smell of pandesal is pretty hard to beat. And sharing these warm rolls with family? Even better.
Pandesal (Filipino Bread Rolls)

Ingredients
- 2 ¼ teaspoon active dry yeast (7 g)
- 1 ¼ cup whole milk (285 g), warmed to 100-105℉
- 4 cups all-purpose flour (520 g), or mixture of APF + BF*
- 1 ½ teaspoon kosher salt, (Diamond Crystal kosher salt)
- 1 Tablespoon salted or unsalted butter (15 g), softened, room temp
- 2 Tablespoons grapeseed oil (25 g), or other neutral flavored oil*
- ⅓ cup granulated sugar (70 g), divided
- 2 large large eggs, room temp, lightly whisked
- breadcrumbs, as needed
Instructions
- Activate the yeast: Warm milk to 100-105°F and pour into the bowl of a stand mixer. Sprinkle yeast over the milk and add 2 teaspoons of the sugar. Stir and let stand for 5-10 minutes until foamy and fragrant.
- Prepare dry ingredients: In a large bowl, whisk together flour and salt. Set aside.
- Combine wet ingredients: Add remaining sugar, butter, oil, and lightly whisked eggs to the yeast mixture in the stand mixer.
- Mix the dough: Fit mixer with dough hook attachment. With mixer on low speed, add flour mixture in three additions, allowing each to incorporate before adding the next. Once all flour is added, increase to medium speed. Knead for 5-7 minutes until dough forms a smooth, elastic ball that pulls away from the bowl sides.
- First rise: Transfer dough to a lightly oiled bowl, turning once to coat. Cover tightly with plastic wrap. Let rise at room temperature for about 1 hour, until doubled in volume.
- Shape the rolls: Punch down dough and turn out onto a clean surface. Divide into 24 equal portions (Weigh for precision. Each piece should be 35-40g). Roll each portion into a smooth oval ball.
- Coat with breadcrumbs: Pour breadcrumbs into a shallow bowl. Dip the top of each dough ball into breadcrumbs, coating generously. Place breadcrumb-side up on a parchment-lined 18×13-inch baking sheet, spacing 1½ inches apart. Cover loosely with plastic wrap.
- Final proof: Let rolls proof at room temperature for 20-30 minutes, until puffy and nearly doubled in size.
- Bake: Preheat oven to 350°F. Remove plastic wrap and bake for 20-25 minutes, until golden brown and fragrant. Transfer to a wire rack. Serve warm or at room temperature.All images and text ©The Little Epicurean.
Notes
Dough Tips:
- Proofing times are based on 72°F room temperature with relative humidity. Cold kitchens need longer rising time. LISTED TIMES are estimates, use visual cues to determine if the dough is ready.
- Keep dough covered with plastic wrap at all times to prevent drying.
- Dough may feel slightly sticky or tacky after kneading. Don’t add more flour or the rolls will be dense.
- For best results, weigh ingredients with a kitchen scale.
Storage and Leftovers:
- Room temperature: 3 days in an airtight container (best within 24 hours)
- Refrigerate unbaked dough: Up to 24 hours after first rise
- Freeze baked rolls: Up to 2 months (reheat before serving)
Nutrition
Nutrition information is automatically calculated, so should only be used as an approximation.
 Like this recipe? Rate & comment below!
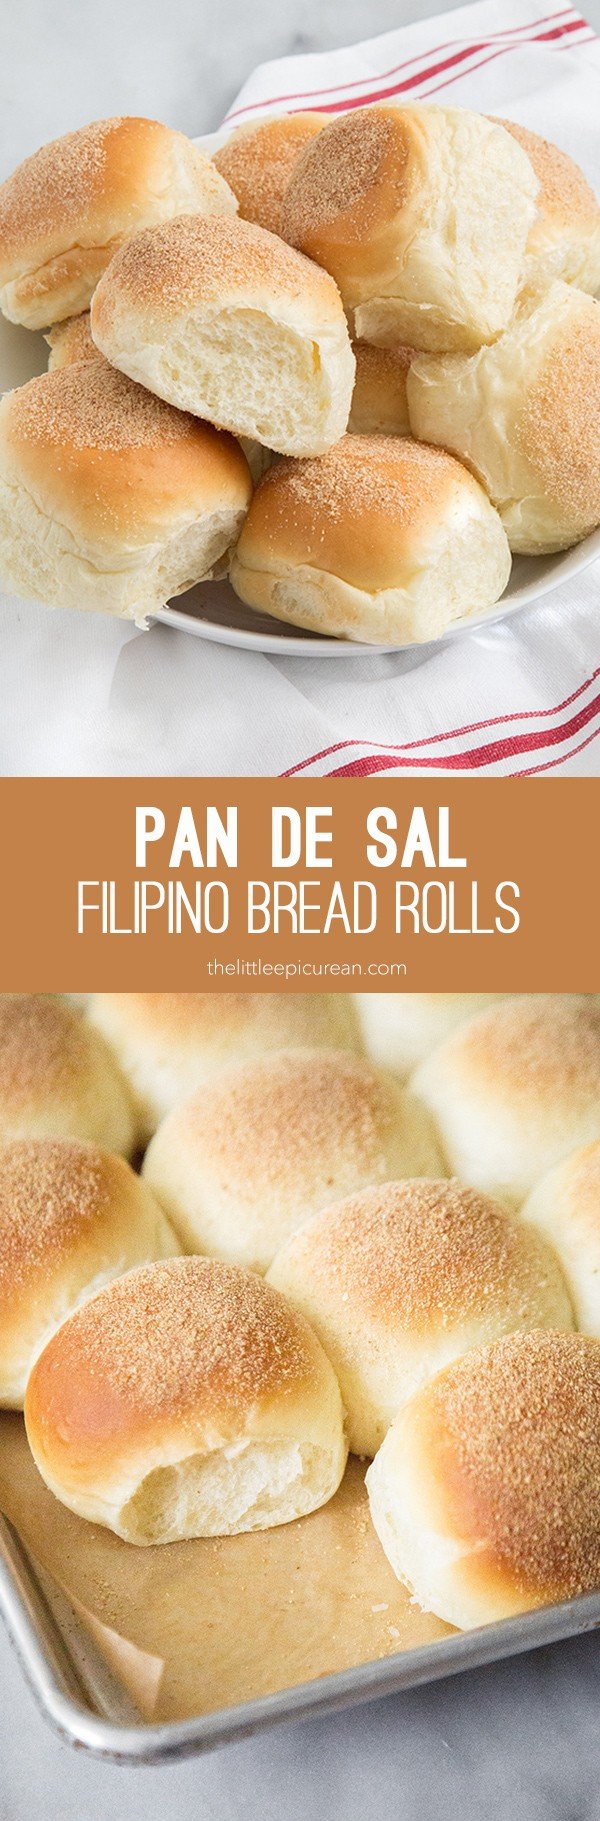


Hi!
Really want to make these! I have everything but only have 2% milk? Any thoughts or suggestions?
Thank you :)
Yes, you can use 2% milk. Low fat or reduced fat milk work. For sweeter bread, you could even use canned evaporated milk. Happy baking!
Hi I tried the recipe but the bread became hard when it was cold. I really miss the pandesal that you can buy at the bakeries by the corner. I don’t know what I did wrong, kindly tell me please. Thank you.
There are several reasons the bread turned out hard: 1.) perhaps the yeast was old or past its expiration date, 2.) dough was underproofed or not given enough time to rise, 3.) dough was overbaked causing dough to dry out, 4.) baked bread left out at room temperature instead of air tight container after cooling.
…since i don’t have butter, i used 2tbsp oil and it turned out great…i also used all bread flour thank you for sharing…
Thanks for trying out the recipe! Yes, oil or shortening can be used in place of the butter :)
Thanks Maryanne for this recipe! I want to try making it but want to lessen the quantity of 24 pan de sals into 12. Should I simply use half of the ingredients? Will the proportion be right and results same in terms of flavor and quality?
I suggest keeping to the 24 rolls. Once cool, you can freeze the other 12 rolls for later use.
Cutting the recipe in half works, but I find it’s more difficult working with a smaller dough. It will not knead well in the stand mixer. A smaller dough would have to be mixed together by hand.
Got it! One more thing, I can’t find active dry yeast in supermarkets around me. I only have the easy bake yeast this one specifically (https://www.tesco.com/groceries/en-GB/products/271257713). Should I use it the same way as the active dry yeast or just put it directly with the flour? Thank you again ?
I dont use stand mixer. I use table spoon until dough starts to form and has no runny parts then just pour it onto countertop and knead using a tiny bit flour until it no longer sticks. I use dry yeast…just make sure milk is not above 40 degrees celcius or you kill the yeast.
If I used instant dry yeast instead of active yeast, do i still need to dissolve it in water? because the instructions says that i no longer need to do that and I could directly add it to the dry ingredients, but whenever I watch/search recipes for pandesal they always instruct to dissolve it in water even if they are using instant yeast
No need to dissolve instant yeast in water. However, I would still do it out of habit.
always better result when you activate yeast in 37 degree celcius fluid. Sugar helps it activate. Hard to get it to activate cold into dough.
I just tried this over the weekend and it turned out great! Finally, a pandesal recipe that works.
Thanks MaryAnne.
how much sugar can i add without affecting the texture? thank you! :)
Adding too much sugar will affect the rising and proofing of the dough. I suggest sticking to the 1/3 cup listed in the recipe.
Hi Maryanne
This is the bomb! i honestly can say that I have attempted a few times before I have successfully reached the desired fluffiness/texture. Sometimes, the outcome is not so good, the outer part of the bread is tender and doesn’t look fluffy (even Proofing for 30 mins.).. I wonder why….
Thanks again for this recipe.
Hi Marianne, thanks for trying out the recipe. I’m sorry to hear you had some trouble. I’ve made this recipe countless times with excellent results.
Here are some possible reasons the bread isn’t working out:
1. Are you covering the dough while it is resting and proofing? Exposing the skin of the dough to air will cause it to form an undesired skin that bakes rubbery.
2. Are you proofing the dough at room temperature (about 70-75 degrees F)? Too cold and the dough will not rise properly. Too hot or too humid and the dough will rise too fast causing it to overproof.
3. Overproofing (over-resting) the dough will also cause the dough to collapse and lose structure. Overproofed dough will be not fluffy, nor will it expand during baking. The baked bread will end up hard and dense.
Wow I’m loving this pandesal I just made some with your receipe. I’m saving this receipe definitely gonna make it all the time. It’s nice eat some freshly baked pandesal thank you..
Thank you! That’s wonderful to hear! This is one of my favorite recipes!
Hi Maryanne,
How do I make homemade breadcrumbs for the Pandesal recipe. Please advise. Thank you.
There is a link in the blog post for how to make homemade breadcrumbs.