
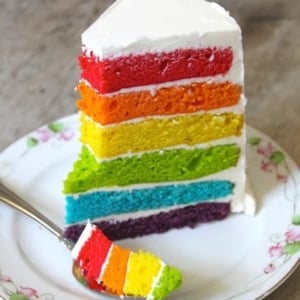
This bright and cheerful rainbow cake features six cake layers enrobed in smooth Swiss buttercream.
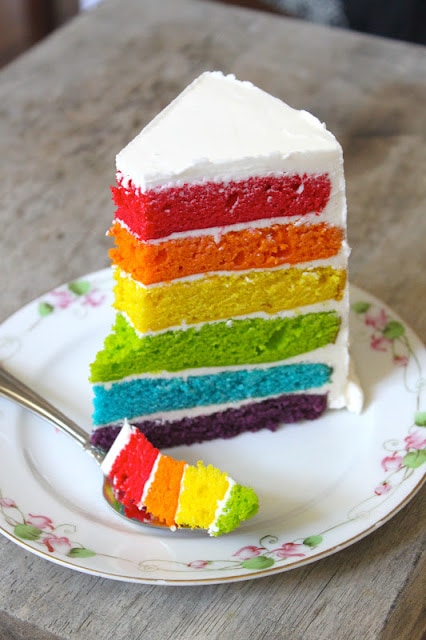
I think this is the perfect celebration cake for all occasions! On the outside it seems like a boring vanilla white cake. But once you slice into it, you get this surprising happy pop of color and excitement.
Rainbow cakes are great for parties and gatherings. They’re an instant crowd-pleaser! The harmony of colors appeals to everyone, young and old alike. Best of all, you can easily customize the colors to your liking or swap in different flavors or fillings.

Ingredients
This cake recipe starts with a simple vanilla cake base. Butter and vanilla are the two main ingredients that flavor this cake. As such, it is vital to use fresh butter and high quality vanilla.
The cake base is made with egg whites to produce a white cake base that allows the different colors to shine. You will need the standard cake ingredients of: sugar, flour, baking powder, baking soda, milk, and sour cream.
Coloring Cake Layers
There are several ways to color the cake. Use soft gel paste food coloring to achieve the most vibrant colors. DO not use liquid food coloring. The batter will be too thin. It will not bake off properly.
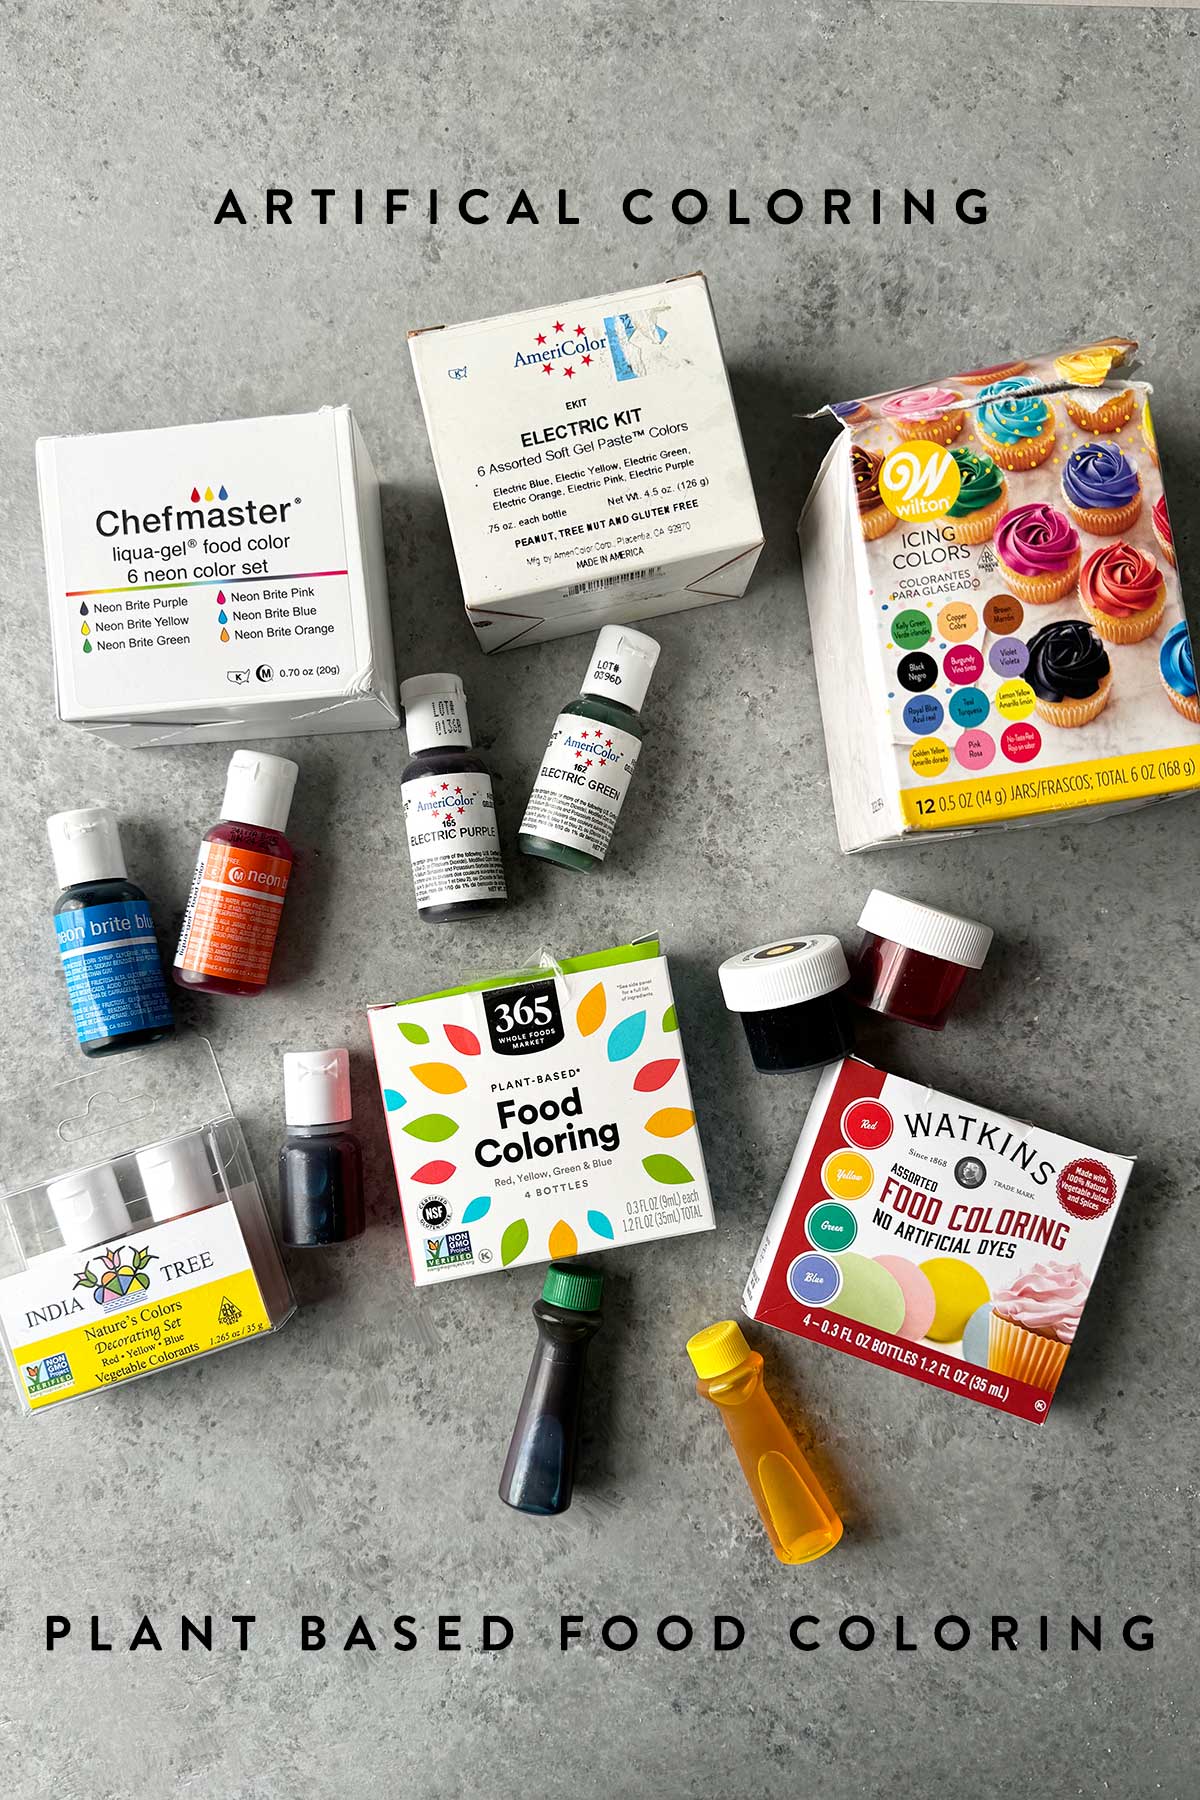
This rainbow cake recipe was specifically created for artificial dye gel food colors.
- For vibrant colors: AmeriColor Soft Gel Paste Food Color in super red, lemon yellow, electric orange, electric green, electric blue, and royal purple.
- For neon colors: use Chefmaster Neon Liqua-gel food color in neon brite pink, neon brite orange, neon bright yellow, neon brite green, neon brite blue, and neon brite purple.
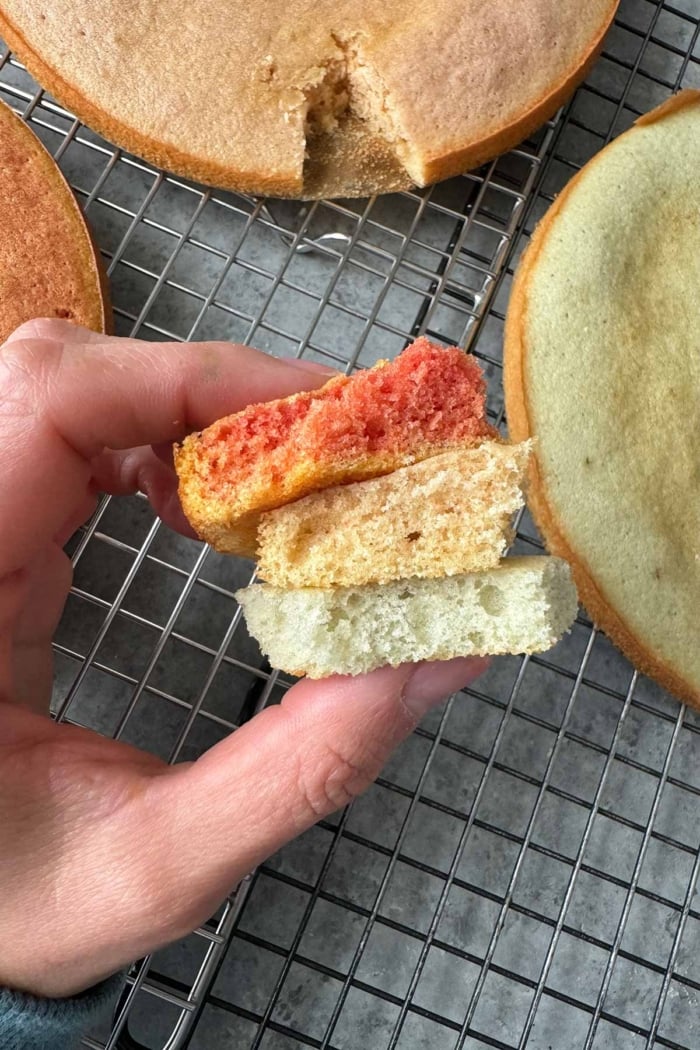
I have tested this recipe with food gels made with vegetable colorants (this India Tree color set). See results below.
Step-by-Step Instructions

Recipe Tip
Cake layers may be baked ahead of time. Cool to room temperature. Individually wrap the layers in plastic wrap. Store in the freeze for up to one month. Defrost at room temperature.
Cake Assembly

Serving Suggestions
Store assembled frosted cake in the fridge until ready to serve, up to three days in advance. Take note of any highly aromatic flavors in the fridge such as onions, garlic, fermented foods, or blue cheese that may seep into the cake.
Use a sharp knife to make clean cake slices. Wipe the blade between cuts to ensure clean lines.
A cold cake will be easier to slice. However, let the cake sit out for at least 15-30 minutes before serving for best flavor and texture. The buttercream and cake need time to soften.
Rainbow cake is delicious on it’s own! Make it even better with decorative garnishes such as fresh berries, cut fruit, or edible flowers. And of course, it’s wonderful with a scoop of ice cream on the side!

More Celebration Cake Recipes
- Coconut Confetti Cake
- Chocolate Butter Mochi Cake
- Birthday Cinnamon Roll Cake
- Funfetti Doughnut Cake
Rainbow Cake
Ingredients
Cake:
- 1 cup unsalted butter, (227 g), room temp
- 2 cups granulated sugar, (400 g)
- 5 large egg whites, (165 g) about ⅔ cup, room temp, lightly whisked
- 1 ½ teaspoon high quality pure vanilla extract, or vanilla paste
- ½ cup sour cream, (120 g), room temp
- 3 cups all-purpose flour, (390 g)
- 1 Tablespoon baking powder, (12 g)
- 1 teaspoon baking soda, (5 g)
- ½ teaspoon kosher salt, or fine sea salt
- 1 cup whole milk, (227 g)
- soft gel paste food colors*, see notes
Swiss Buttercream:
- 6 large egg whites, (210 g), about 1 cup
- 1 ½ cup granulated sugar, (300 g)
- 2 cup unsalted butter, (454 g), sliced into tablespoons, softened
- ½ teaspoon kosher salt, or fine sea salt
- 1 teaspoon high quality pure vanilla extract, or vanilla bean paste
Instructions
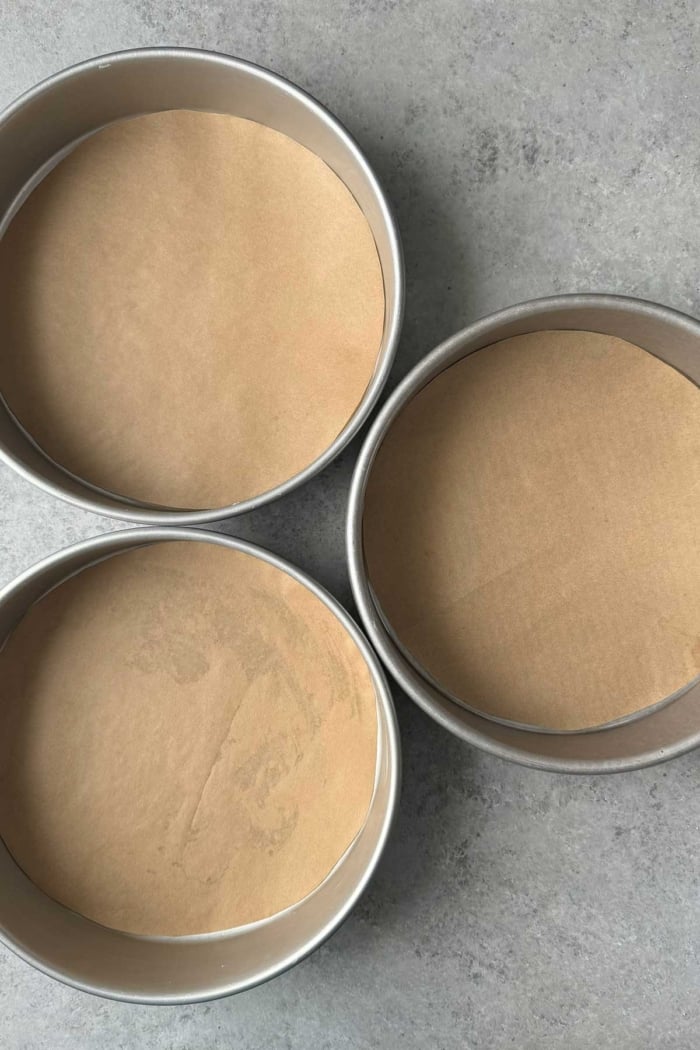
- Preheat oven to 350℉. Gather as many 8-inch round cake pans as you can find. Butter and line the cake rounds with parchment paper rounds. Set aside.NOTE: You may bake the layers in batches if you don't have enough cake pans. Clean cake pans between baking.
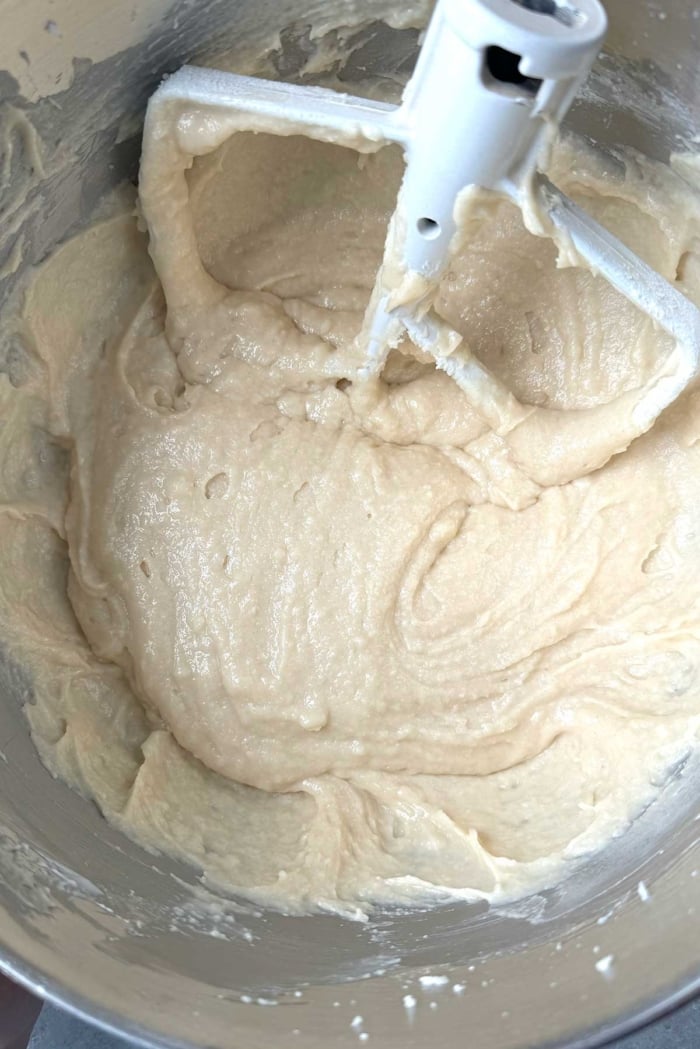
- In a bowl of a stand mixer with the paddle attachment, cream butter. Add sugar and continue to cream until lighter in color. Slowly add egg whites to the butter on low-medium speed. Add vanilla and sour cream. Mix until thoroughly combined.
- In a medium bowl, whisk together flour, baking powder, baking soda and salt. Alternate adding flour mixture and milk to the creamed mixture. Add the flour in three additions, beginning and ending with the flour.
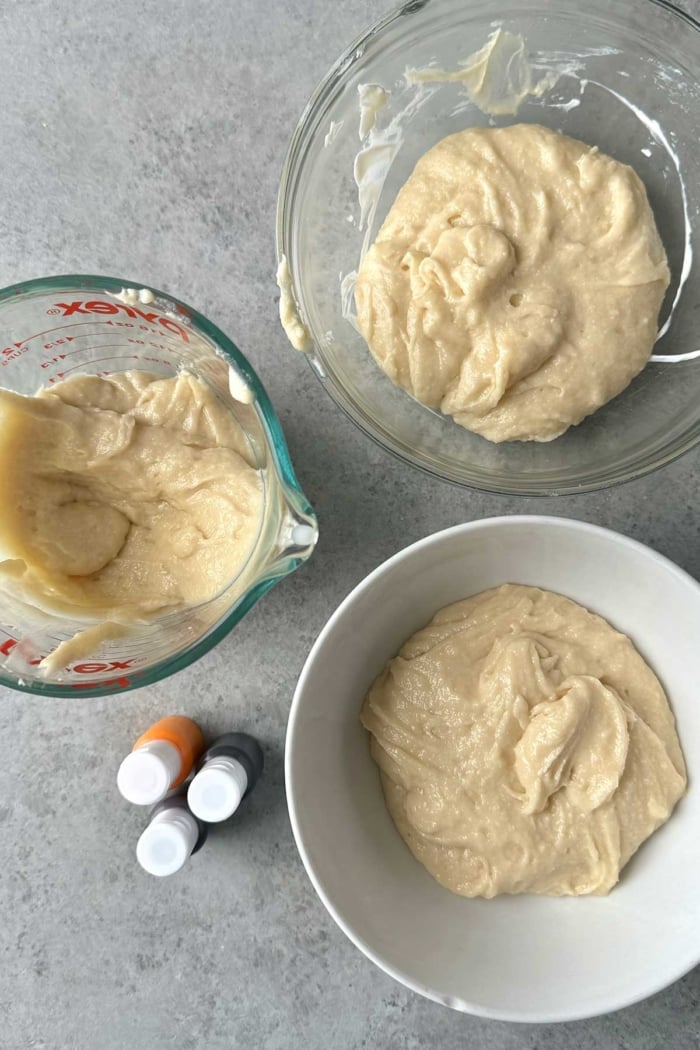
- Use a kitchen scale to weight cake batter. Take the weight and divide it by 6. (My total weight was 1530 grams. Divide by 6, it was 255 grams.) Measure out equal amounts of batter into 6 small bowls. Note: If you don’t have a scale, it was roughly 3/4 cup of batter into 6 bowls.
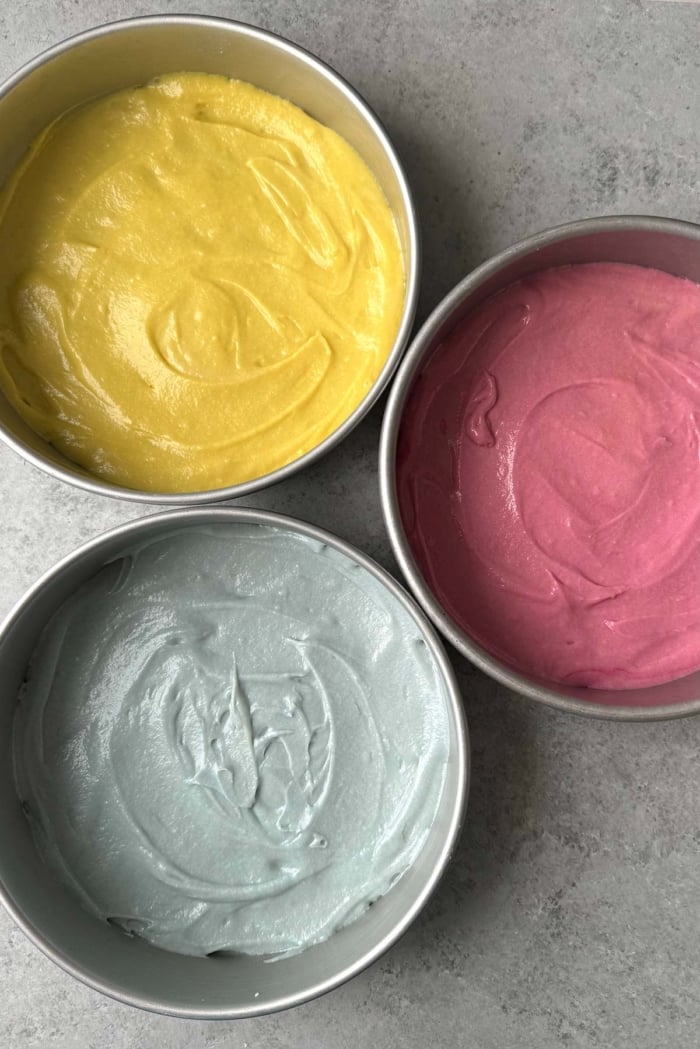
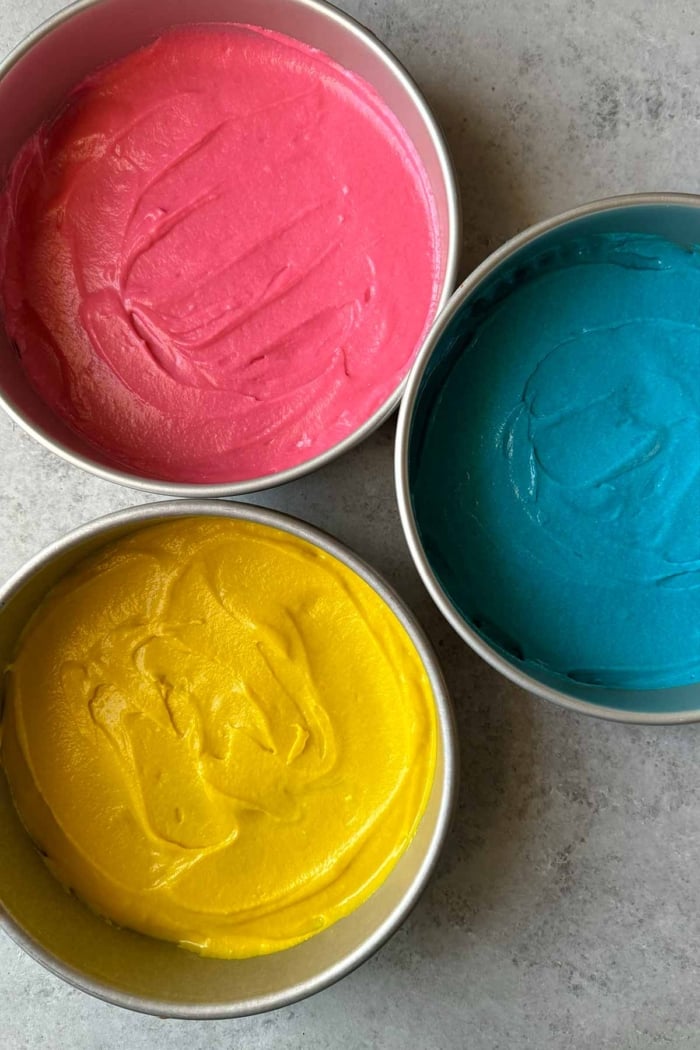
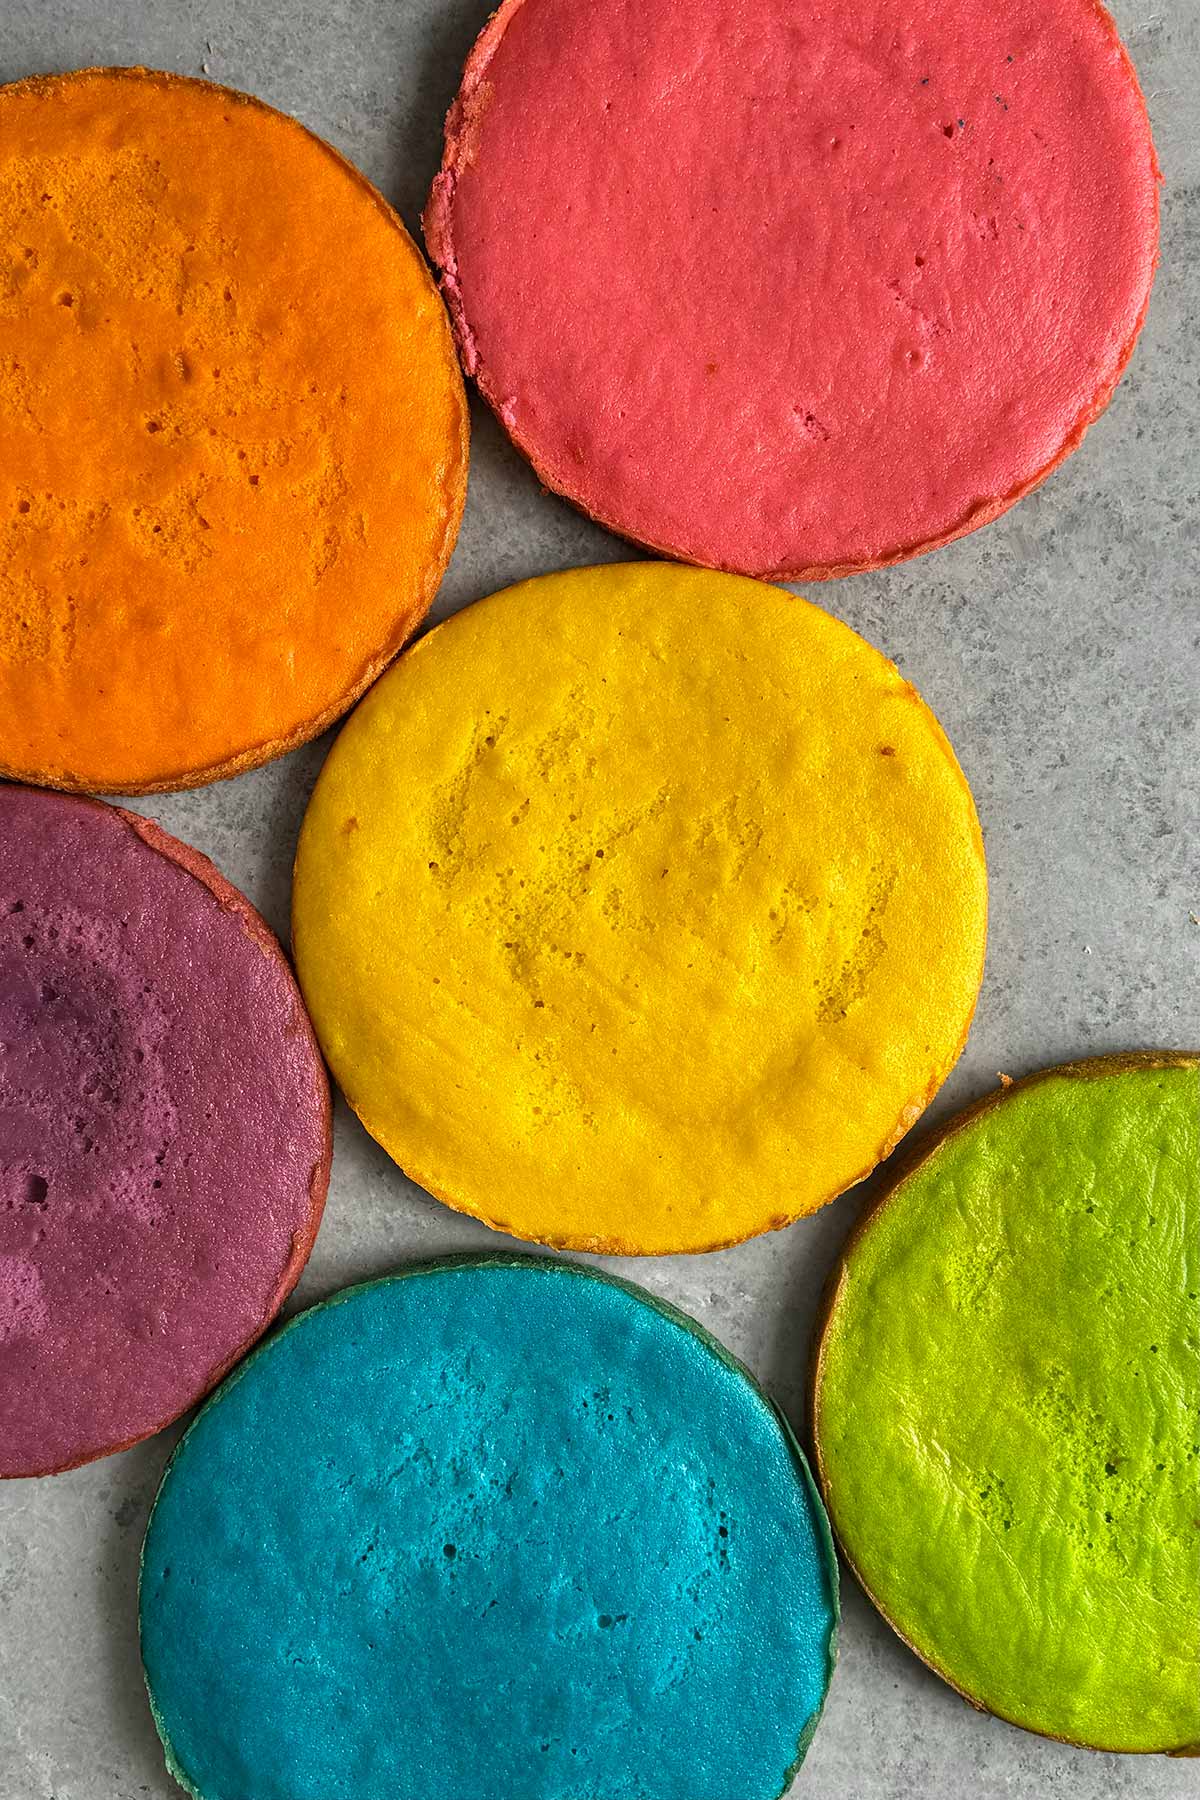
- Add food coloring to individual bowls. I used about 4-8 drops of coloring for each. Some colors required more gel than others to get the vibrant hues I wanted. Be sure to use food gels. Adding liquid food coloring will make your batter too runny and thin.
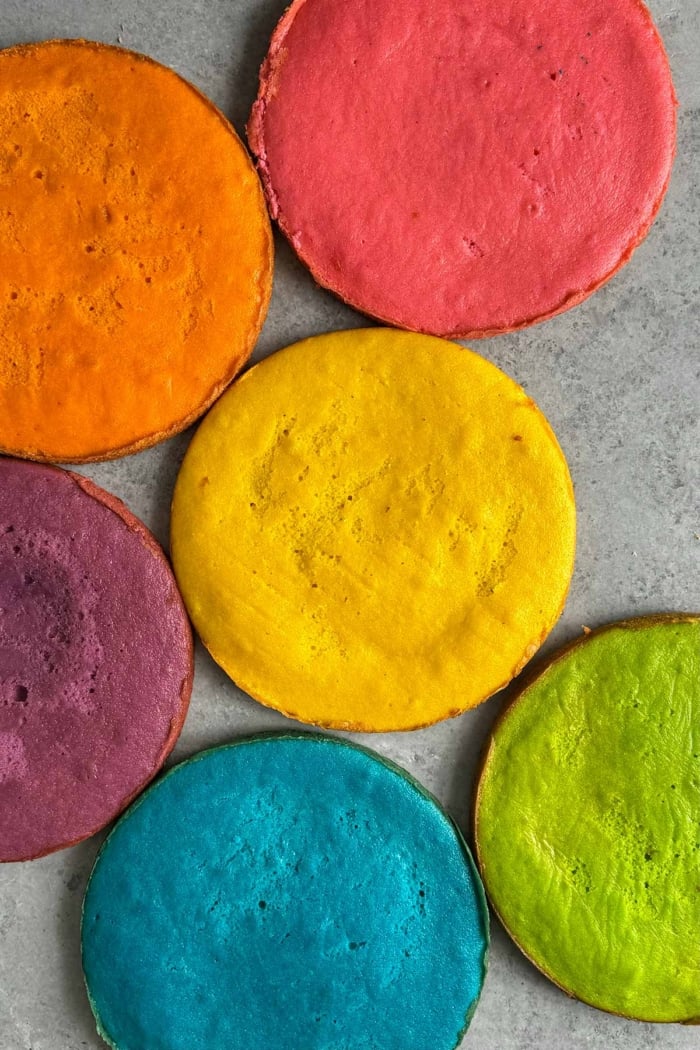
- Transfer colored batter to prepared cake pan. Bake for 13-15 minutes until cake is set. Let cool in pan for 3 minutes before unmolding and allowing to cool completely on the racks. Continue to bake off cakes until you have completed all six colors.
Buttercream:
- Whisk together egg whites and sugar in the bowl of stand mixer. Place bowl over a pot of simmering water to create a bain-marie or double boiler. Make sure the simmering water does not touch the bottom of the bowl. Whisk mixture until it reaches a temperature of 160°F.*Alternatively, if you don't have a thermometer, heat the mixture until all the sugar has melted. Test this by dipping your pointer finger into the mixture and rubbing it against your thumb. The mixture should feel smooth. You should not be able to feel the granules of sugar.
- Return bowl to stand mixer. Using the whisk attachment, beat mixture at medium speed until it has cooled to room temperature (about 75-80°F) and meringue has started to form.
- Reduce to low speed. Add butter one tablespoon at a time. Add salt and vanilla. Increase speed to medium-high and continue to beat until buttercream is light and fluffy.
Assembly:
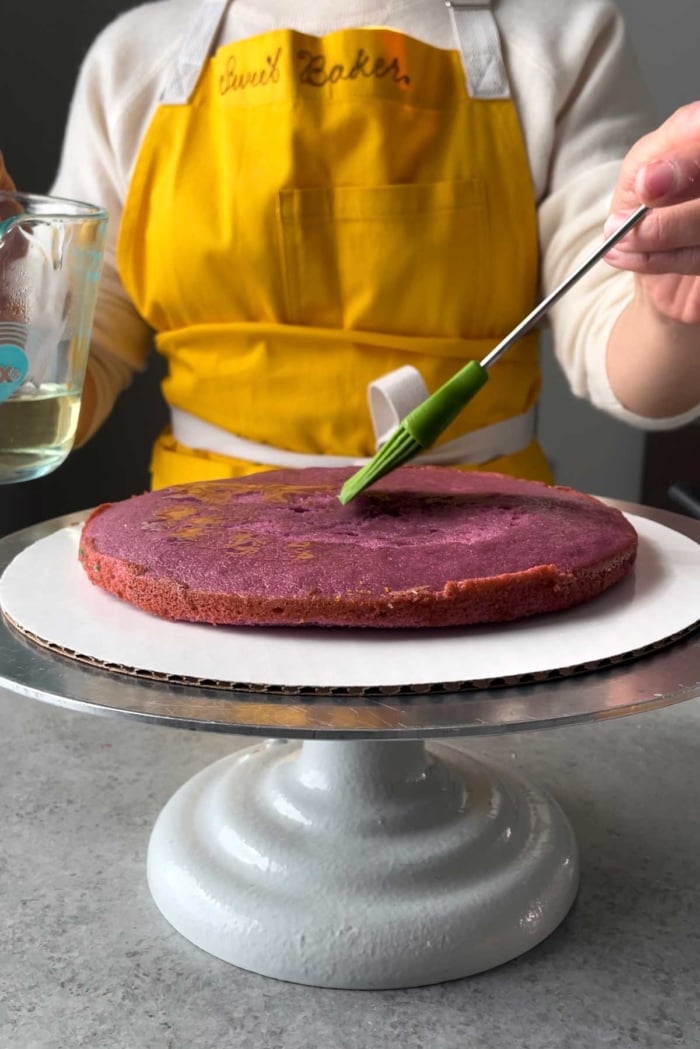
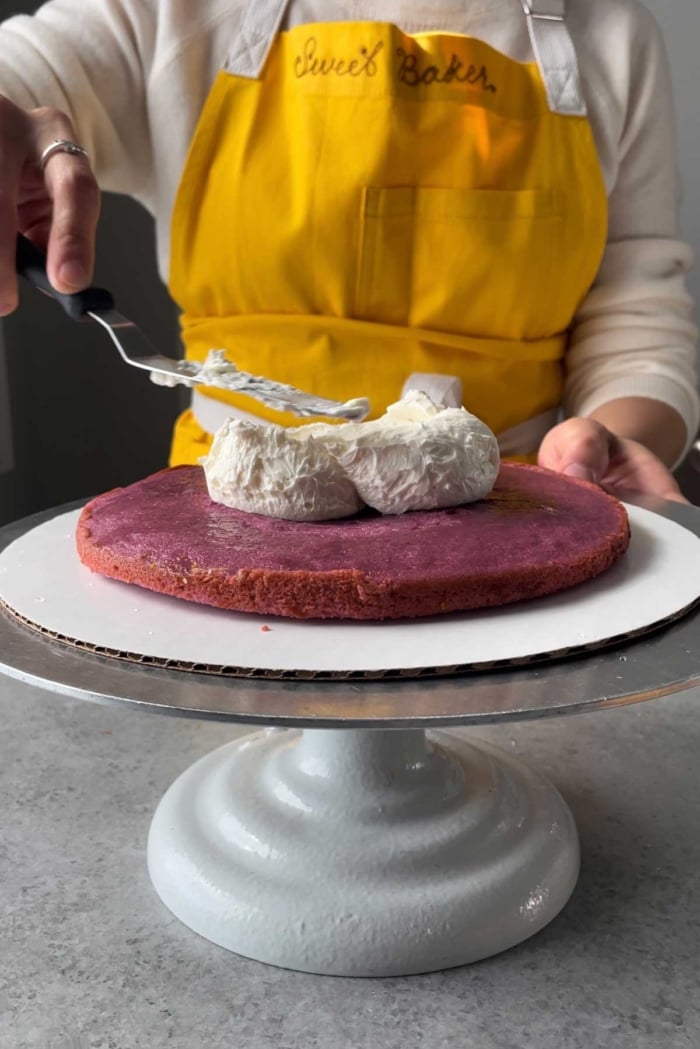
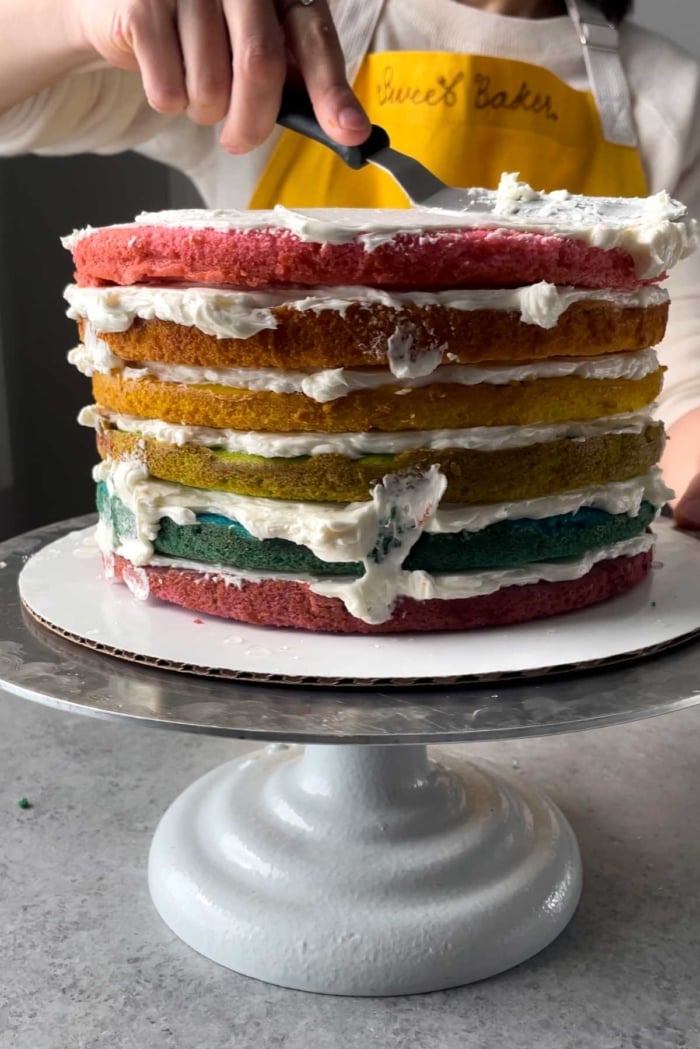
- Place the purple layer of cake on a cake board. If desired, lightly soak cake layer with simple syrup (or other flavored syrup). Spread about 1/4 cup buttercream on cake.
- Repeat adding syrup and buttercream on remaining layers (blue, green, yellow, orange, and red).
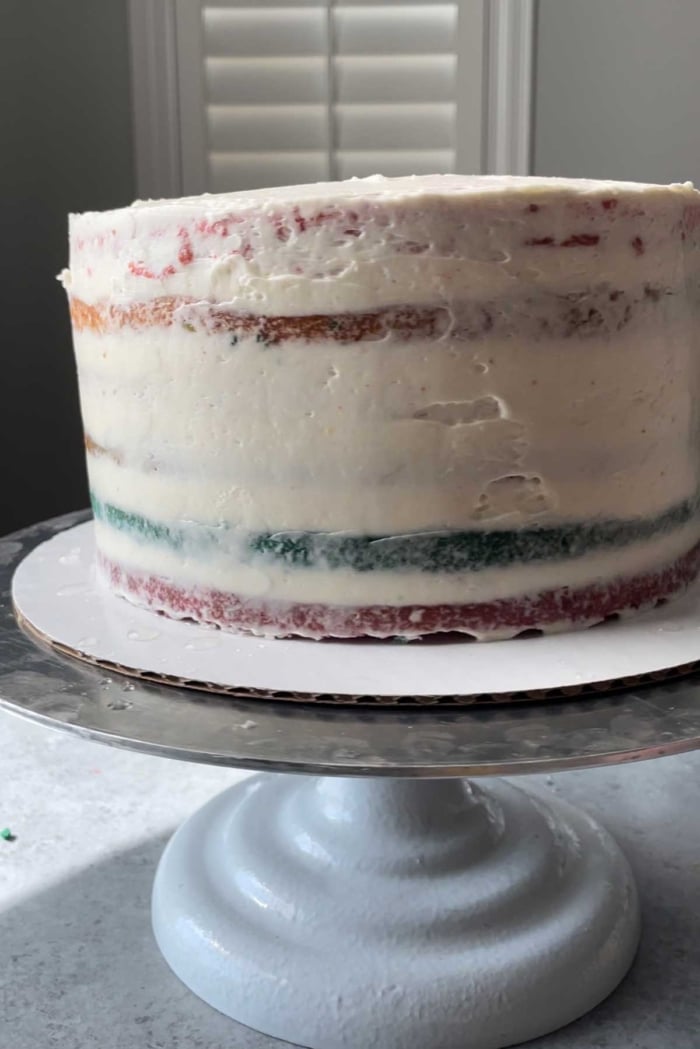
- Spread a thin layer of buttercream around the sides of cake to seal in the crumbs (crumb coat). Place in the fridge and allow to chill for 15 minutes to set buttercream.
- Coat cake with final thicker layer of buttercream. Decorate cake as desired. Store cake in the fridge until ready to serve.
Notes
- For vibrant colors use AmeriColor Soft Gel Paste Food Color in super red, lemon yellow, electric orange, electric green, electric blue, and royal purple. Be sure to use food coloring GEL. Please do not use liquid food coloring. The batter will be too thin and not bake off properly.
- For neon colors use Chefmaster Neon Liqua-gel food color in neon brite pink, neon brite orange, neon bright yellow, neon brite green, neon brite blue, and neon brite purple.
- I have tested this recipe with food gels made with vegetable colorants. Unfortunately, the heat from baking chemically alters the colors, making them very muted.
- Recipe makes just enough buttercream to coat cake with a thin layer. If you have a heavy hand with frosting- I suggest doubling the buttercream recipe. Excess buttercream may be stored in the freezer for up to a month.
- If you add the butter when the meringue is too hot, it may melt and the buttercream may not emulsify. If this happens, place the mixing bowl in the freezer for a couple minutes to cool down the mixture. Once cooled, started whipping again.
- If the butter is too cold when added to the meringue, the buttercream may end up chunky. Use a torch to warm the bowl or place over a bain-maire to soften the butter.
Nutrition
Nutrition information is automatically calculated, so should only be used as an approximation.
 Like this recipe? Rate & comment below!





Approximately how many people does this cake feed?
The cake serves 12-15 people. More if you cut thin slices since the cake is pretty tall.
Hi
How soon before serving should this cake be made?
1/2 days? I’m going to make it for Monday but could do making it Monday if possible?
Thanks
Hannah
Oops, I meant i’d like to make it Saturday if possible x
Hi Hannah,You can make the cake layers up to two days in advance as long as the cake is wrapped well. Wrap each cake layer individually, or you can stack them with parchment paper in between each layer. Keep the wrapped cakes at room temperature.Making the different colored cake batters takes the longest time. It should only take an hour or two to completely build and frost the cake. You can make the cake a day before serving it.
Thanks!
Also, does it need to go in the fridge overnight?
Thanks
I would refrigerate the cake. I don’t feel too comfortable leaving it out because of the egg whites and butter in the frosting, especially with the heat in Southern California. If you do decide to refrigerate it, be sure to let the cake sit at room temperature for 15 minutes or so to soften.
Hi. Great post!
How did you cut your cake so neatly? With no icing getting on the cakes, and no crumbling?
Was the cake cold? Knife hot? What type of knife?
And thanks!
Thanks, Maddie! I use a very sharp 8-inch chef’s knife. The cake was cut at room temperature. I also used the knife at room temperature. I only warm up my knife when cutting cheesecakes and mousse based desserts. I think using a sharp and clean knife the key to cutting the cake neatly. Wipe your knife clean after every slice. Also, cut the slice in one motion. Begin at the center of the cake and cut down until you hit the cake board, then gently pull out the knife. I hope that helps :)
hi, can i use icing colors for the cake batter? or is it a must to use food colouring?
Hi, Jayi. Icing color should also work. I think its pretty much like gel paste. Its more concentrated than liquid food coloring, so you won’t be adding too much water to the batter. I prefer using gel paste coloring because it doesn’t alter the taste of the cake after baking. I hope that helps!
it looks delicious and amazing…
Thank you, Nuray!
HI,I love this cake a lot, but I have to say, I spotted it already months ago on this blog:http://www.whisk-kid.com/2009/08/say-it-with-cake.htmlwas this also your source of inspiration? Then, you have to mention it…Have a nice weekend,iren
Hi Iren. If you read the recipe you would have noticed the link I had to the original website. You must have missed it.
Sorry, I really missed it.When I compare these two cakes, I prefer your version, because there is more cake and less buttercream in between. The colours also look more vibrant this way.Anyhow, it is just a beautiful cake – I love it so much!Iren
Found your blog via the lovely image above on Pinterest. The cake is gorgeous (going to attempt it for a party in a couple of weeks), the message is lovely (I’ve never understood the hate!) and the rest of your blog is downright delicious! I’m in Seattle (gay marriage signed in to law 2 weeks ago!) and see you visited recently. Glad you had a yummy trip!
Many thanks, Emily! So glad you found me. YAY for Seattle! That’s awesome :) Yes, so many yummy places in Seattle.
This cake looks amazing=)
Thank you, Aleksandra!
how perfect are those colors and a perfect celebration for the day. A truly beautiful post. i love that quote.
Thank you, Richa! Isn’t it such a great quote?! Glad you like it!
Wonderful post! What a happy cake too, now that is a celebration!
Many thanks, Abby! :)